Milk bucket upcycling - Milchkübel Upcycling

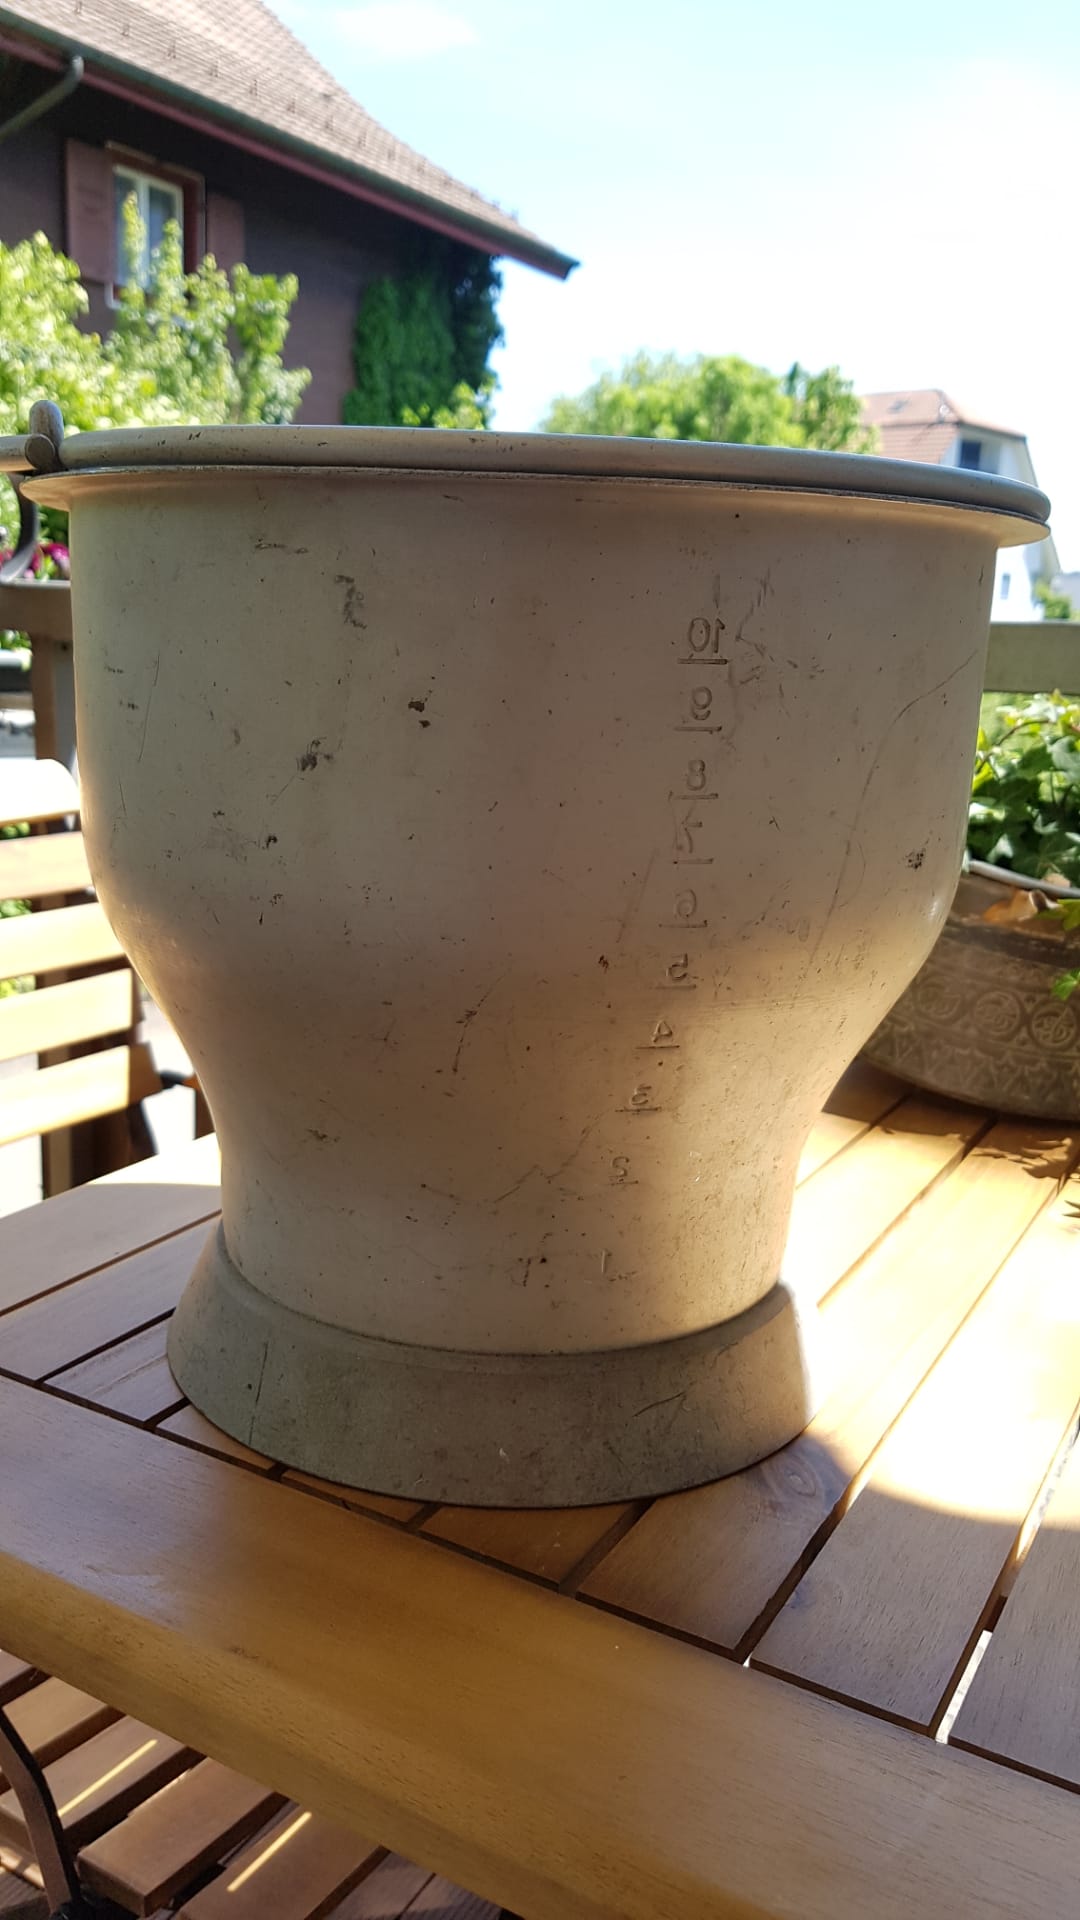
Quite a while ago I went to the flea market to buy flower pots for our new balcony. It happened to be the last flea market before winter, so the sellers wanted to get rid of their stuff. Not only did I get a bunch of our flower pots for a cheap price but the guy also gave me this milk bucket for free. It didn’t quite look as nice on the outside though, so I decided to paint it:
Sand the outside of the bucket so the paint sticks well. Take a damp cloth and wipe it.
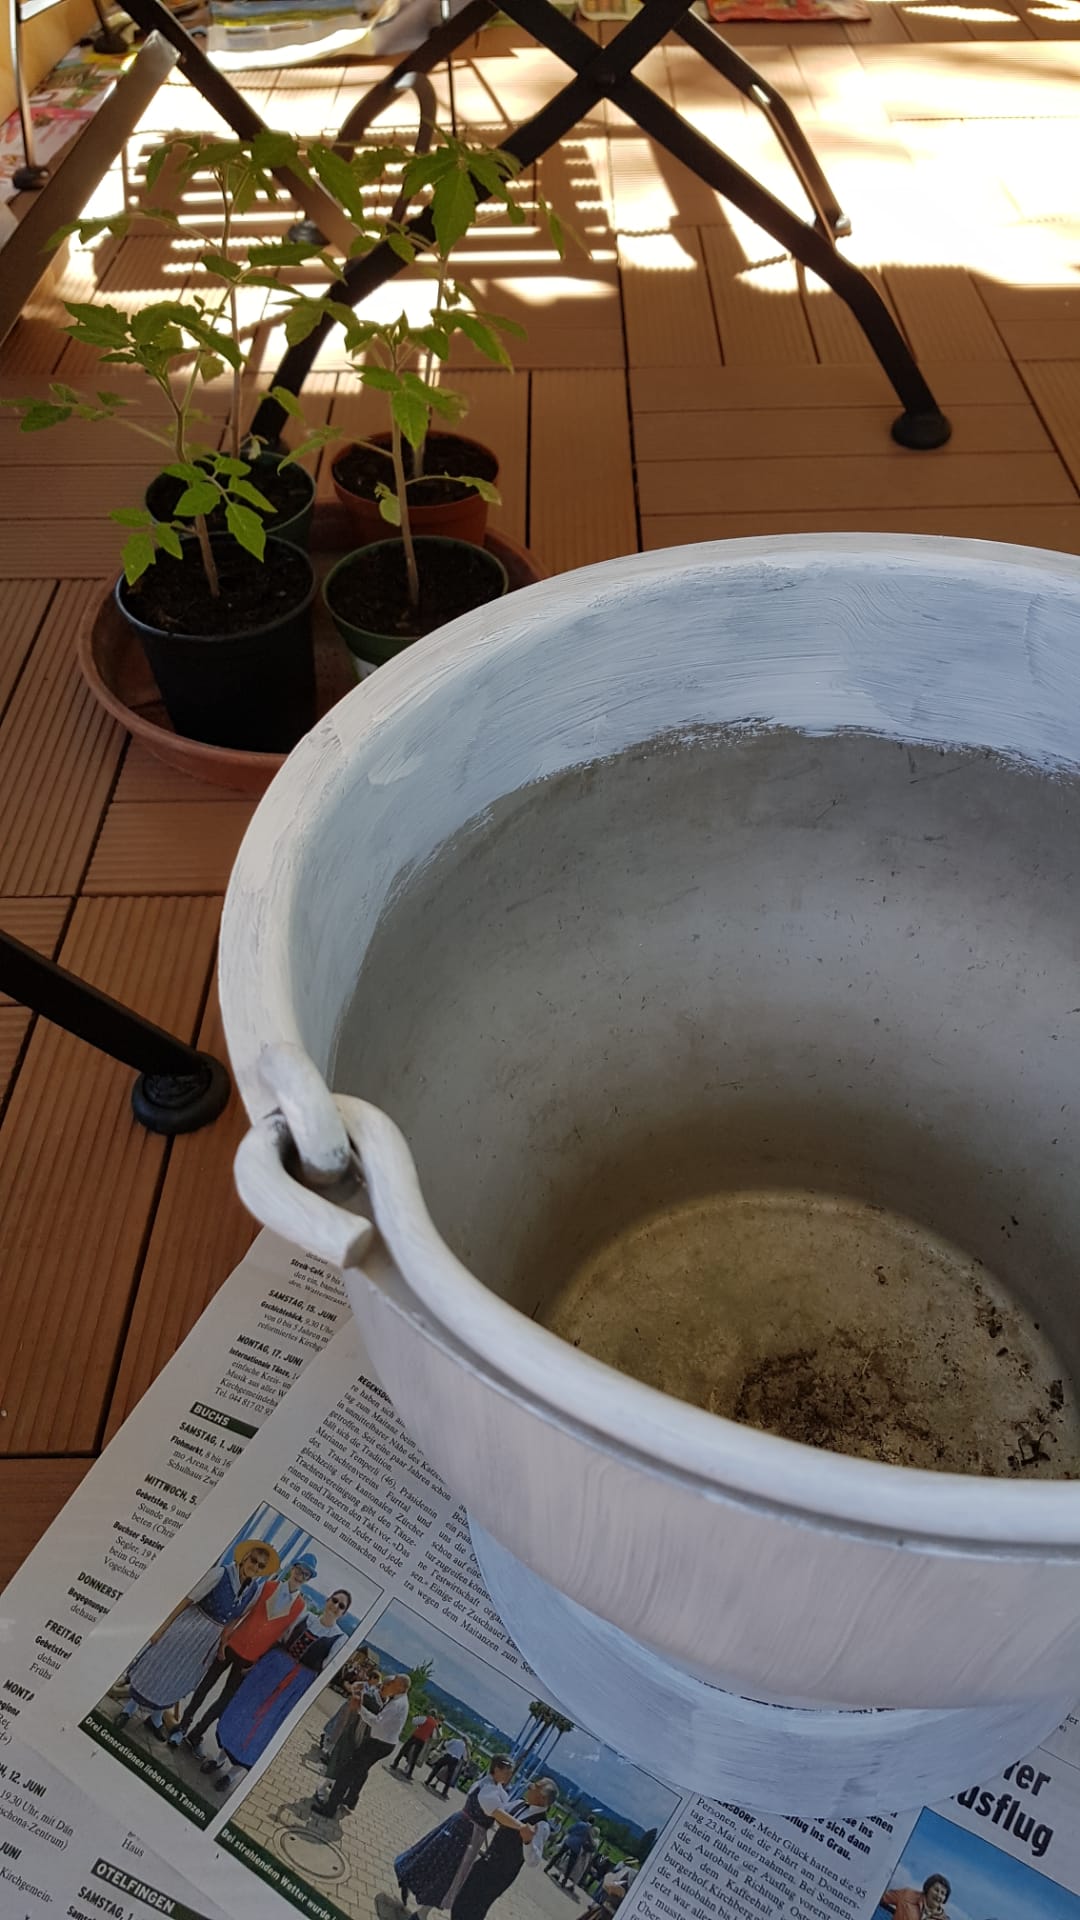
Take white, waterproof paint and coat the outside with paint. I had to make two layers of paint until it looked nice. Also paint the first 5cm of the inside of the pot so you can’t see the original color of the bucket.
Let it dry and plant!
Vor einer Weile ging ich auf den Flohmarkt um Blumentöpfe für unseren Balkon zu kaufen. Es war der letzte Flohmarkt vor dem Winter und die Verkäufer wollten ihre Sachen loswerden. Ich bekam die meisten meiner Töpfe zum Spottpreis und den Milchkübel bekam ich sogar gratis. Er sah aber von aussen nicht mehr sehr schön aus, deshalb entschied ich mich ihn anzumalen:
Die Aussenseite mit Schleifpapier anschleifen, damit die Farbe besser haften bleibt. Dann mit einem feuchten Tuch abwischen.
Den Kübel mit wasserfester, weisser Farbe anmalen. Ich musste zwei Schichten Farbe malen. Dann auch die obersten 5cm der Innenseite bemalen, damit die alte Farbe des Topfes nicht zum Vorschein kommt.
Trocknen lassen und anpflanzen!


First coat, Erste Farbschicht