Chalkboard Art: Tips & Techniques

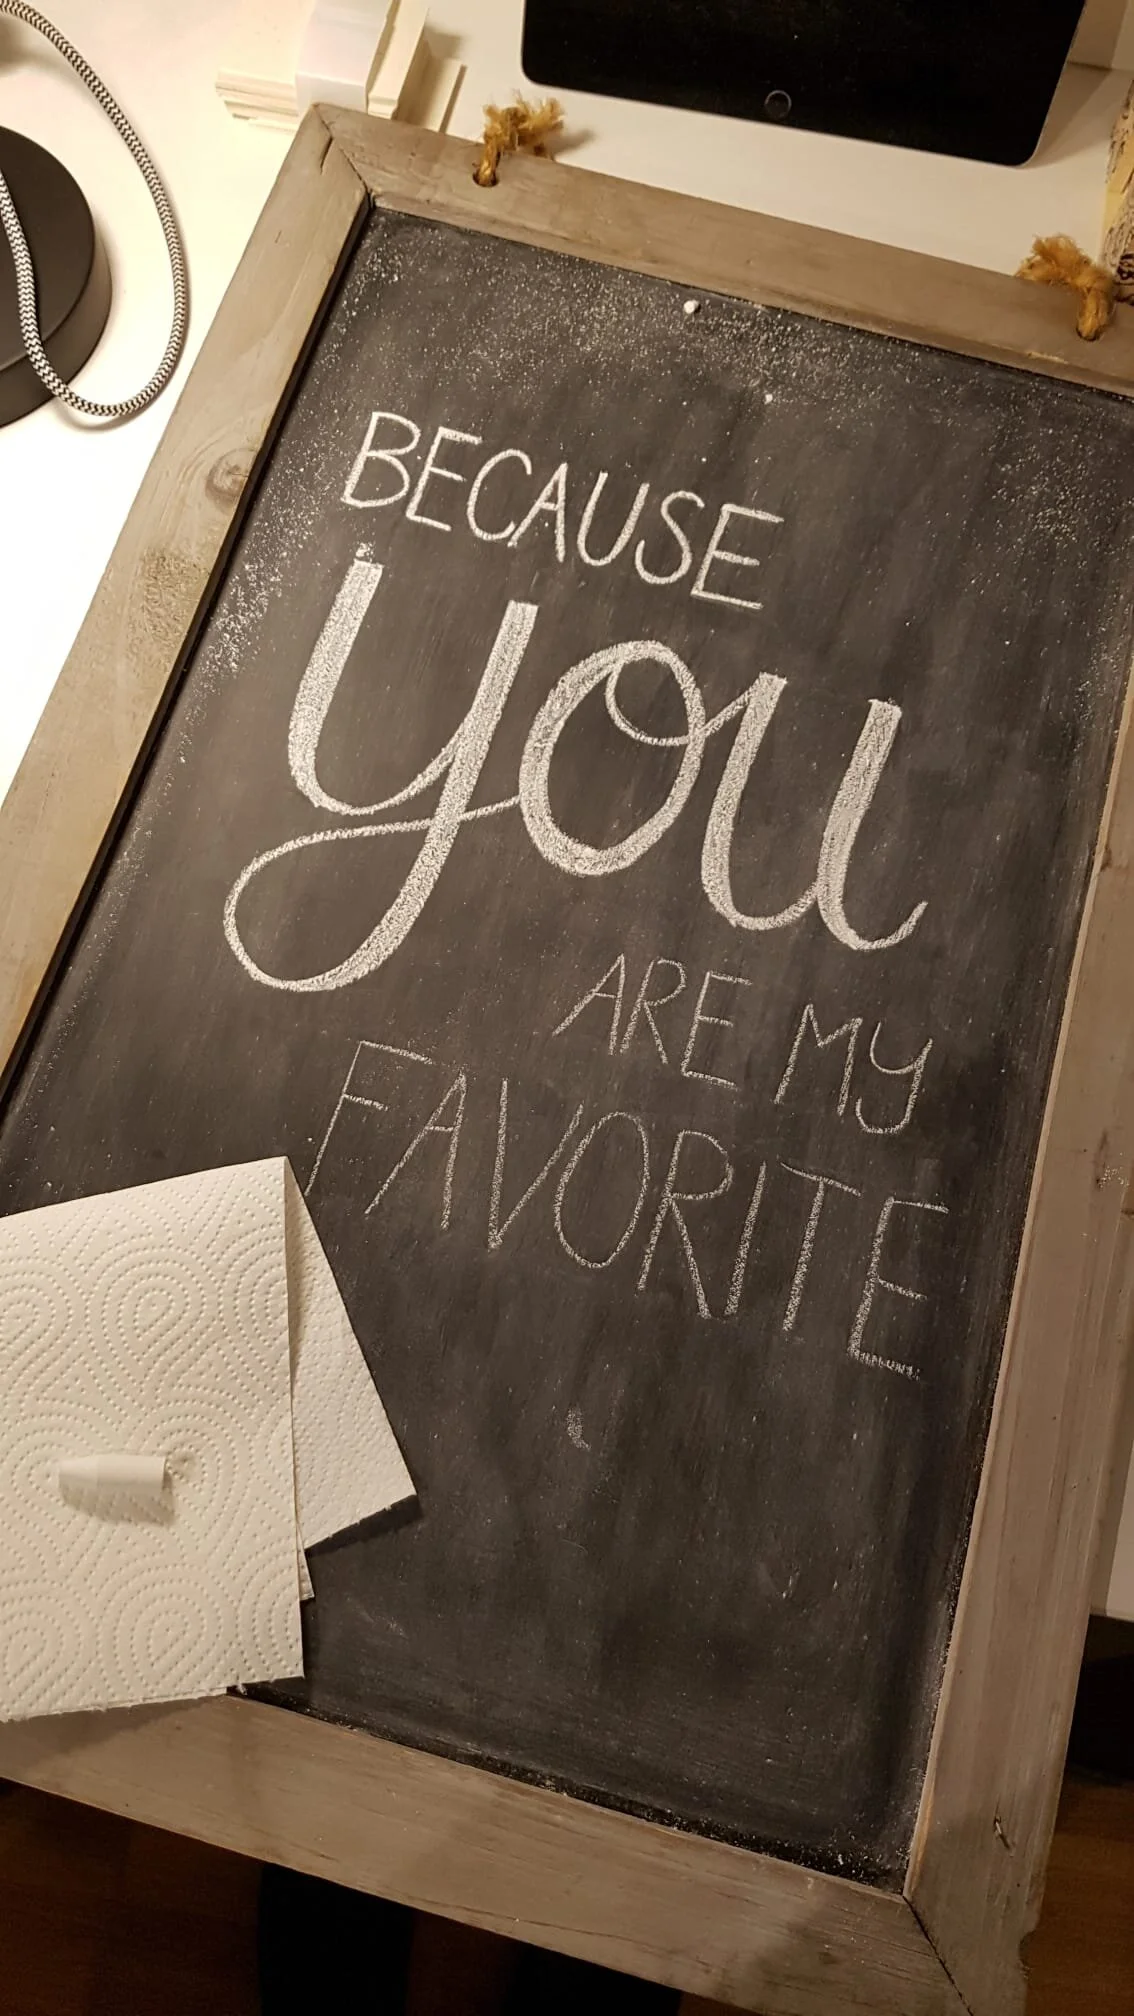
I am not necessarily a chalkboard letterer. I prefer paper and pen or the ipad over chalk. But from time to time I enjoy the challenge and the different materials. Things like erasing are easier (at least when you compare it to paper, at the same time it’s also harder though because if you accidentally touch anything finished it will look less nice.
Another challenge I found was the kind of chalk I used. It was a very soft kind and for the first board I used 4 pieces of chalk! Pretty much after every single letter I had to sharpen it again. I felt like that wasn’t how it is supposed to be, especially considering that people do entire walls with chalk! So I tried out some school chalk and it worked out so much better! Only used 1 chalk for the second board. So make sure you use a “hard” kind as it will make it easier.
You really don’t need much to write on such a board. If you don’t have a chalkboard you can take a normal picture frame, paint the wooden back wall of the frame with black chalkboard paint and when you put it all back together you can just leave away the glass in the front.
What you need:
Chalkboard
3 pieces of chalk (hard)
ruler
q-tips
paper towels
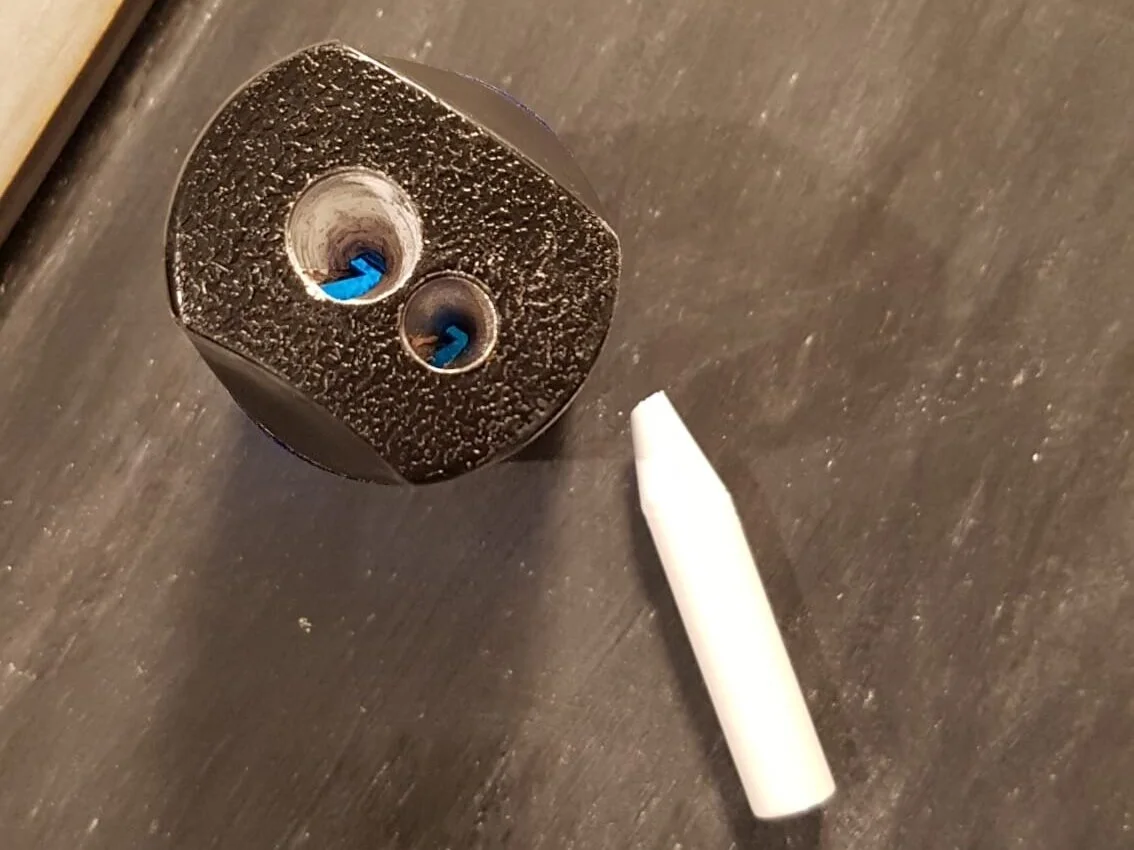
pencil sharpener with big whole
Here I give you step by step instructions. The numbers in the back show you which picture it is.
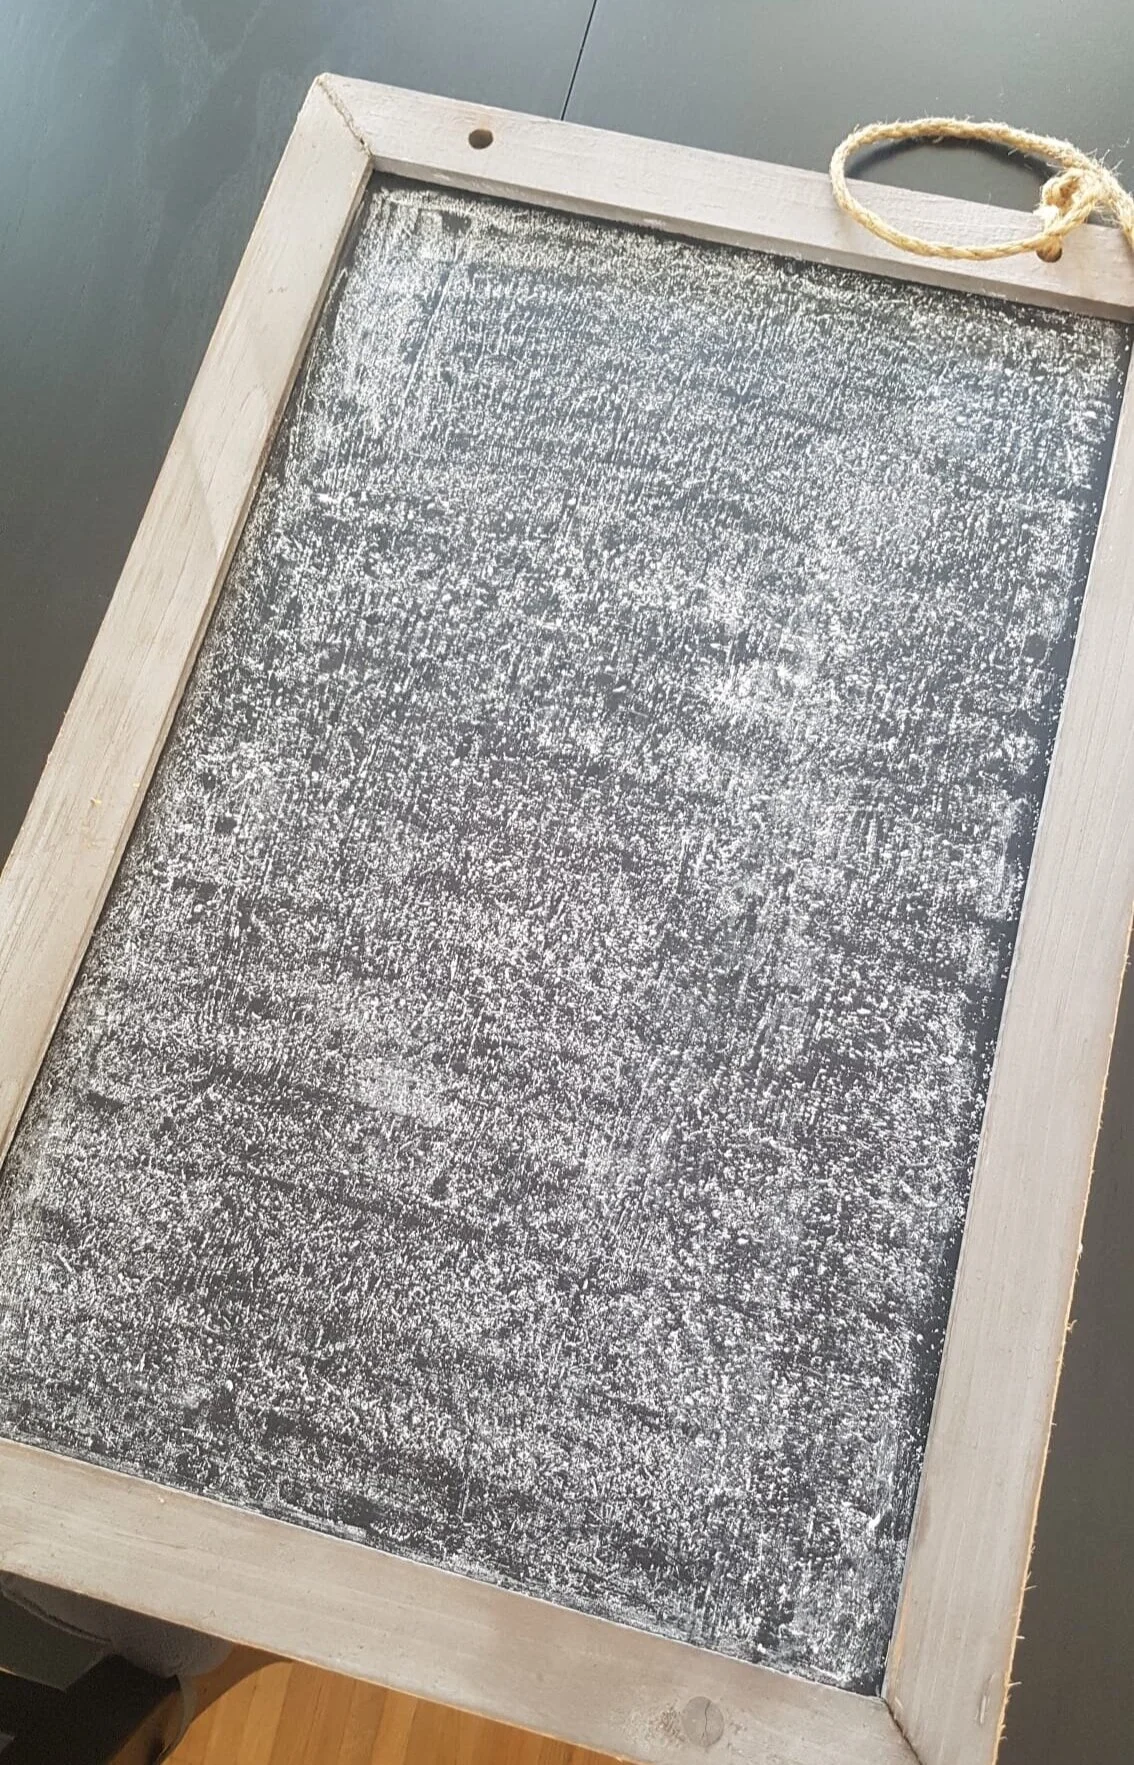
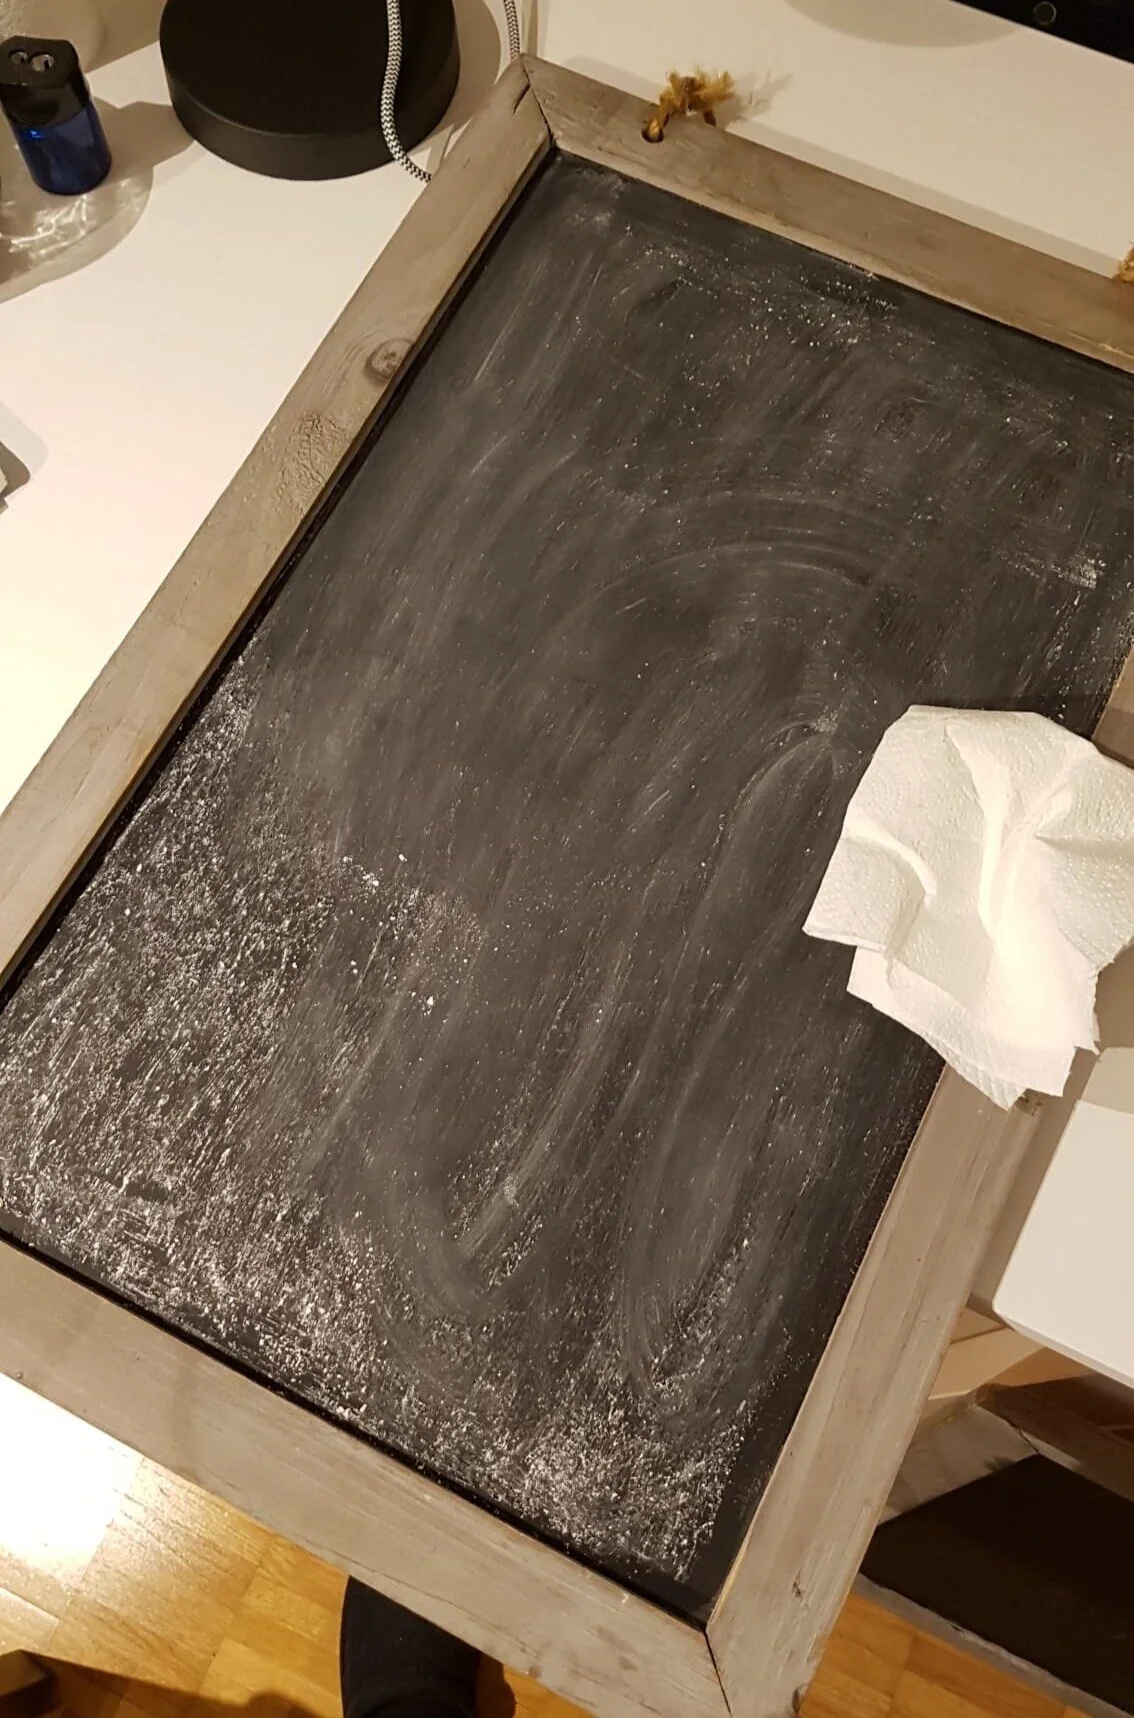
Prepare your board. Use a stick of chalk and cover your entire board in white. (1) Use a dry paper towel to wipe it off. The board will look less black and a little more messy but it prevents the writing from “burning in” your board. (2)
Make a sketch of your lettering on paper.
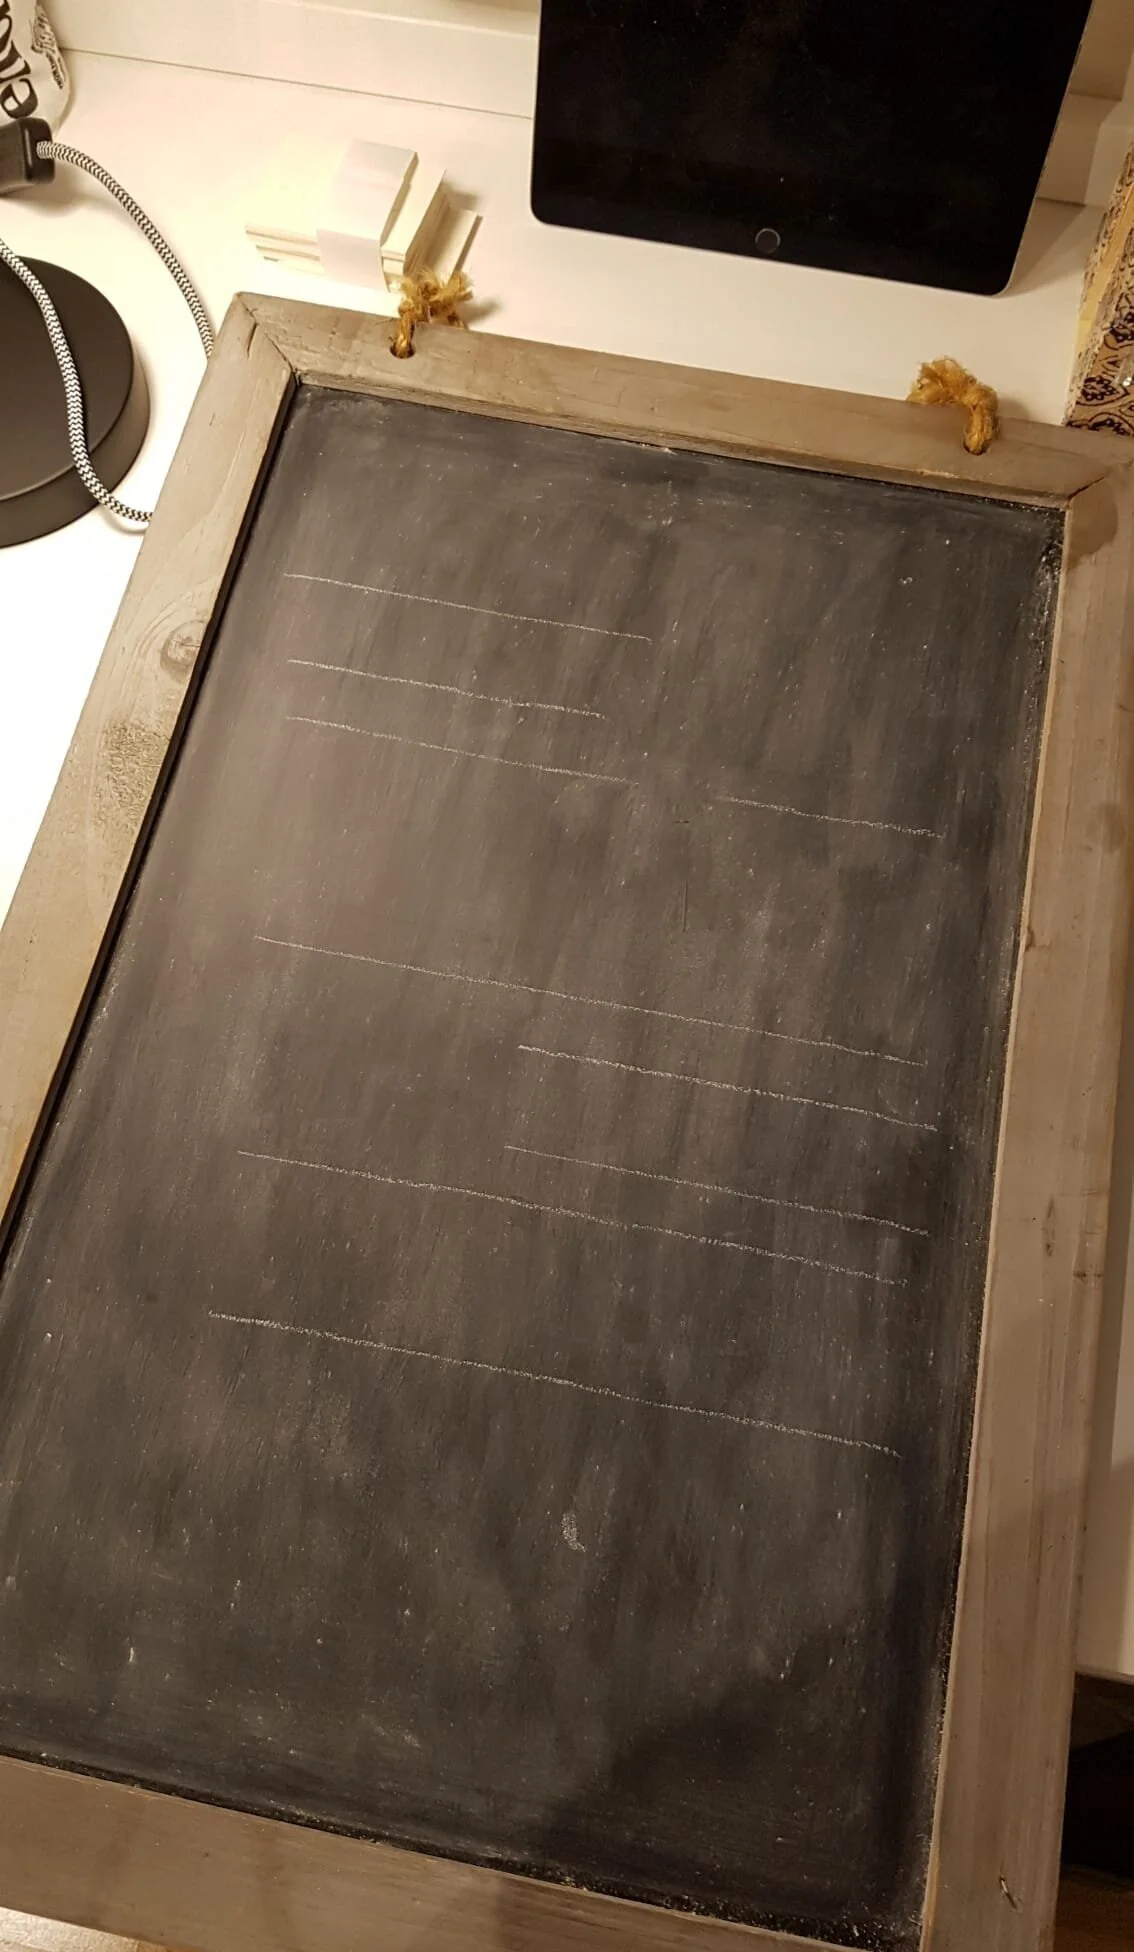
Sharpen the chalk with a pencil sharpener. (3) Use a ruler to draw the lines. Make a bottom line and a top line, this will help you to create letters with the same height. (4)
Roughly write out the words. If you realize that the words aren’t in the right place or need to move slightly left or right or a letter isn’t nice you can still erase it well. If you do want to make some changes, just take a dry q-tip and brush the chalk away. For big mistakes you can also use the paper towel. (5)
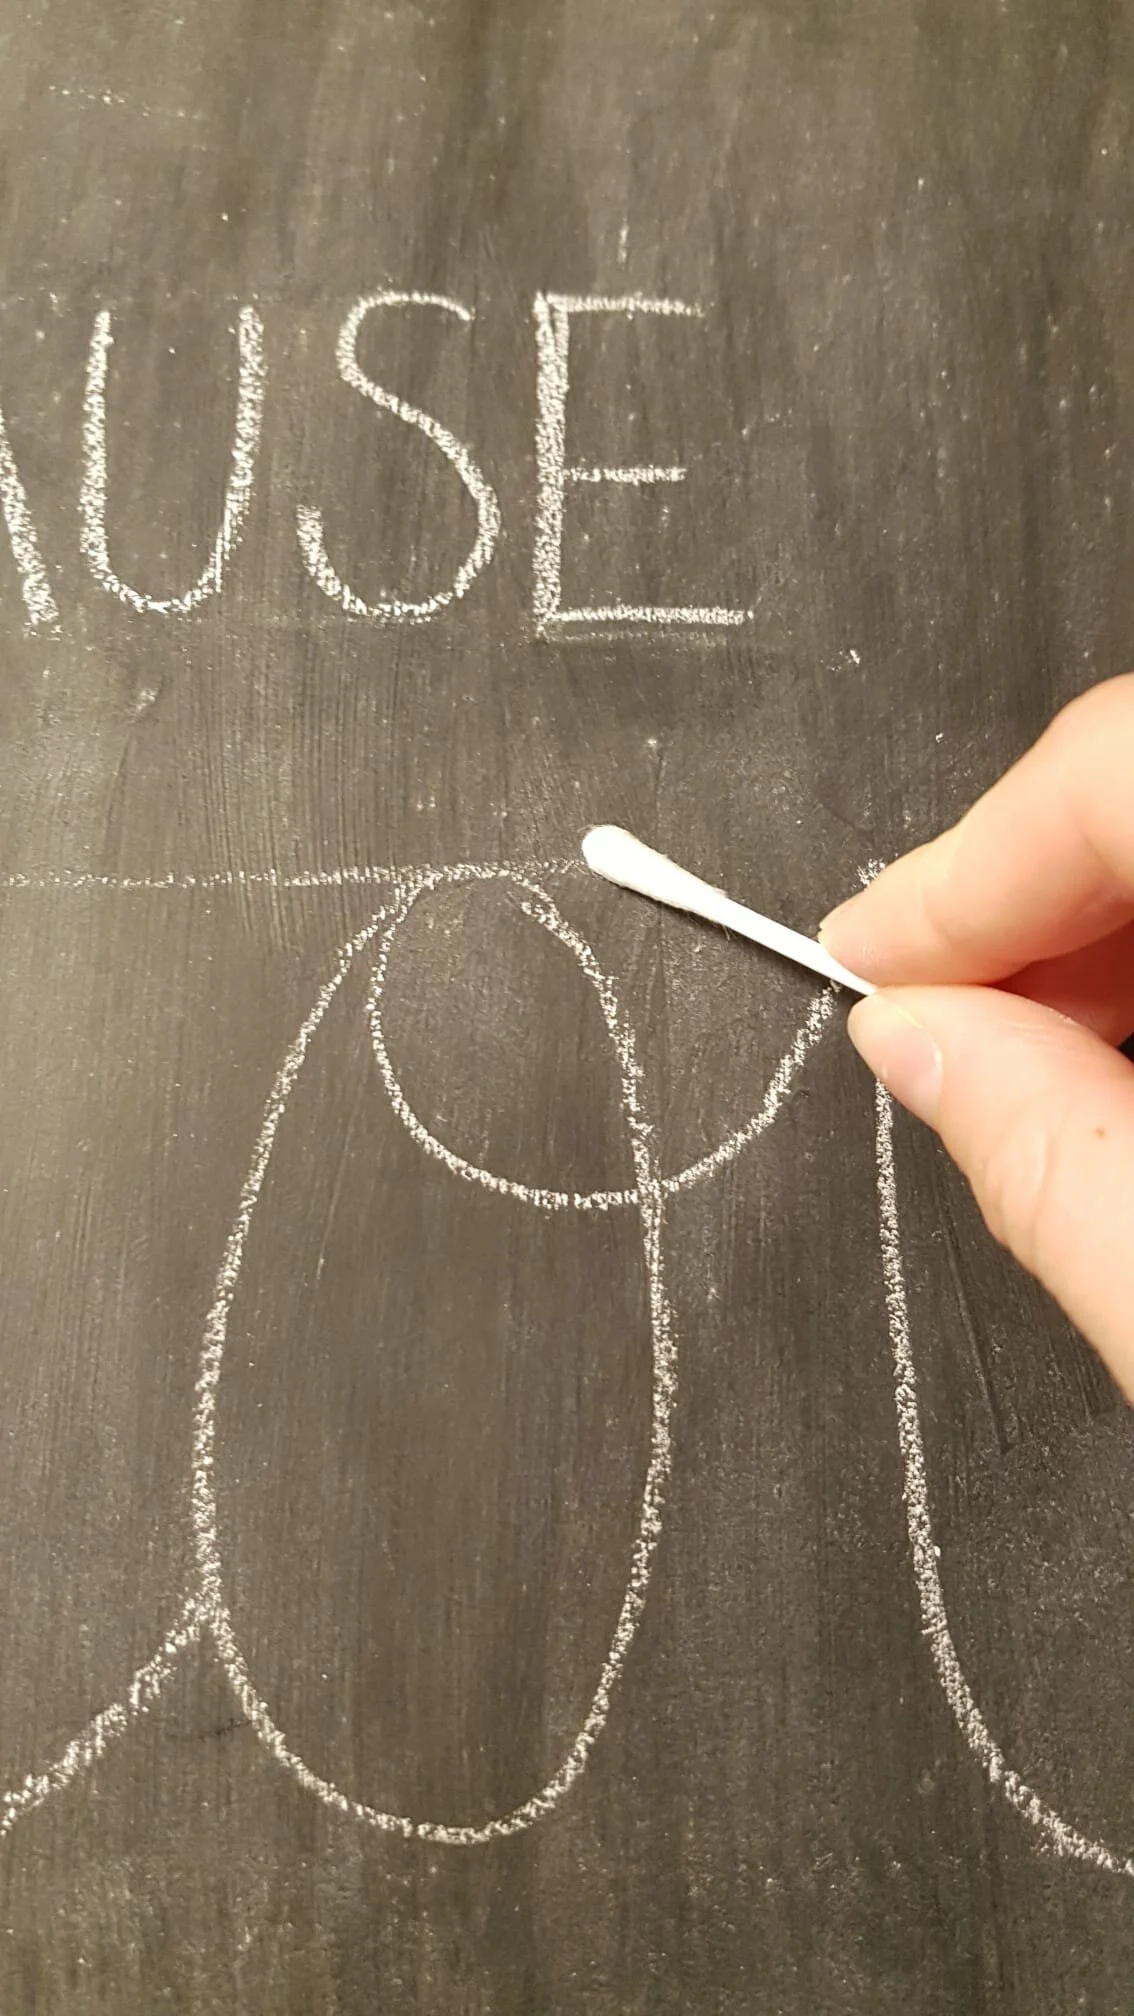
When you are happy with the draft, you can take the dry q-tip and start wiping the guide lines away. (6)
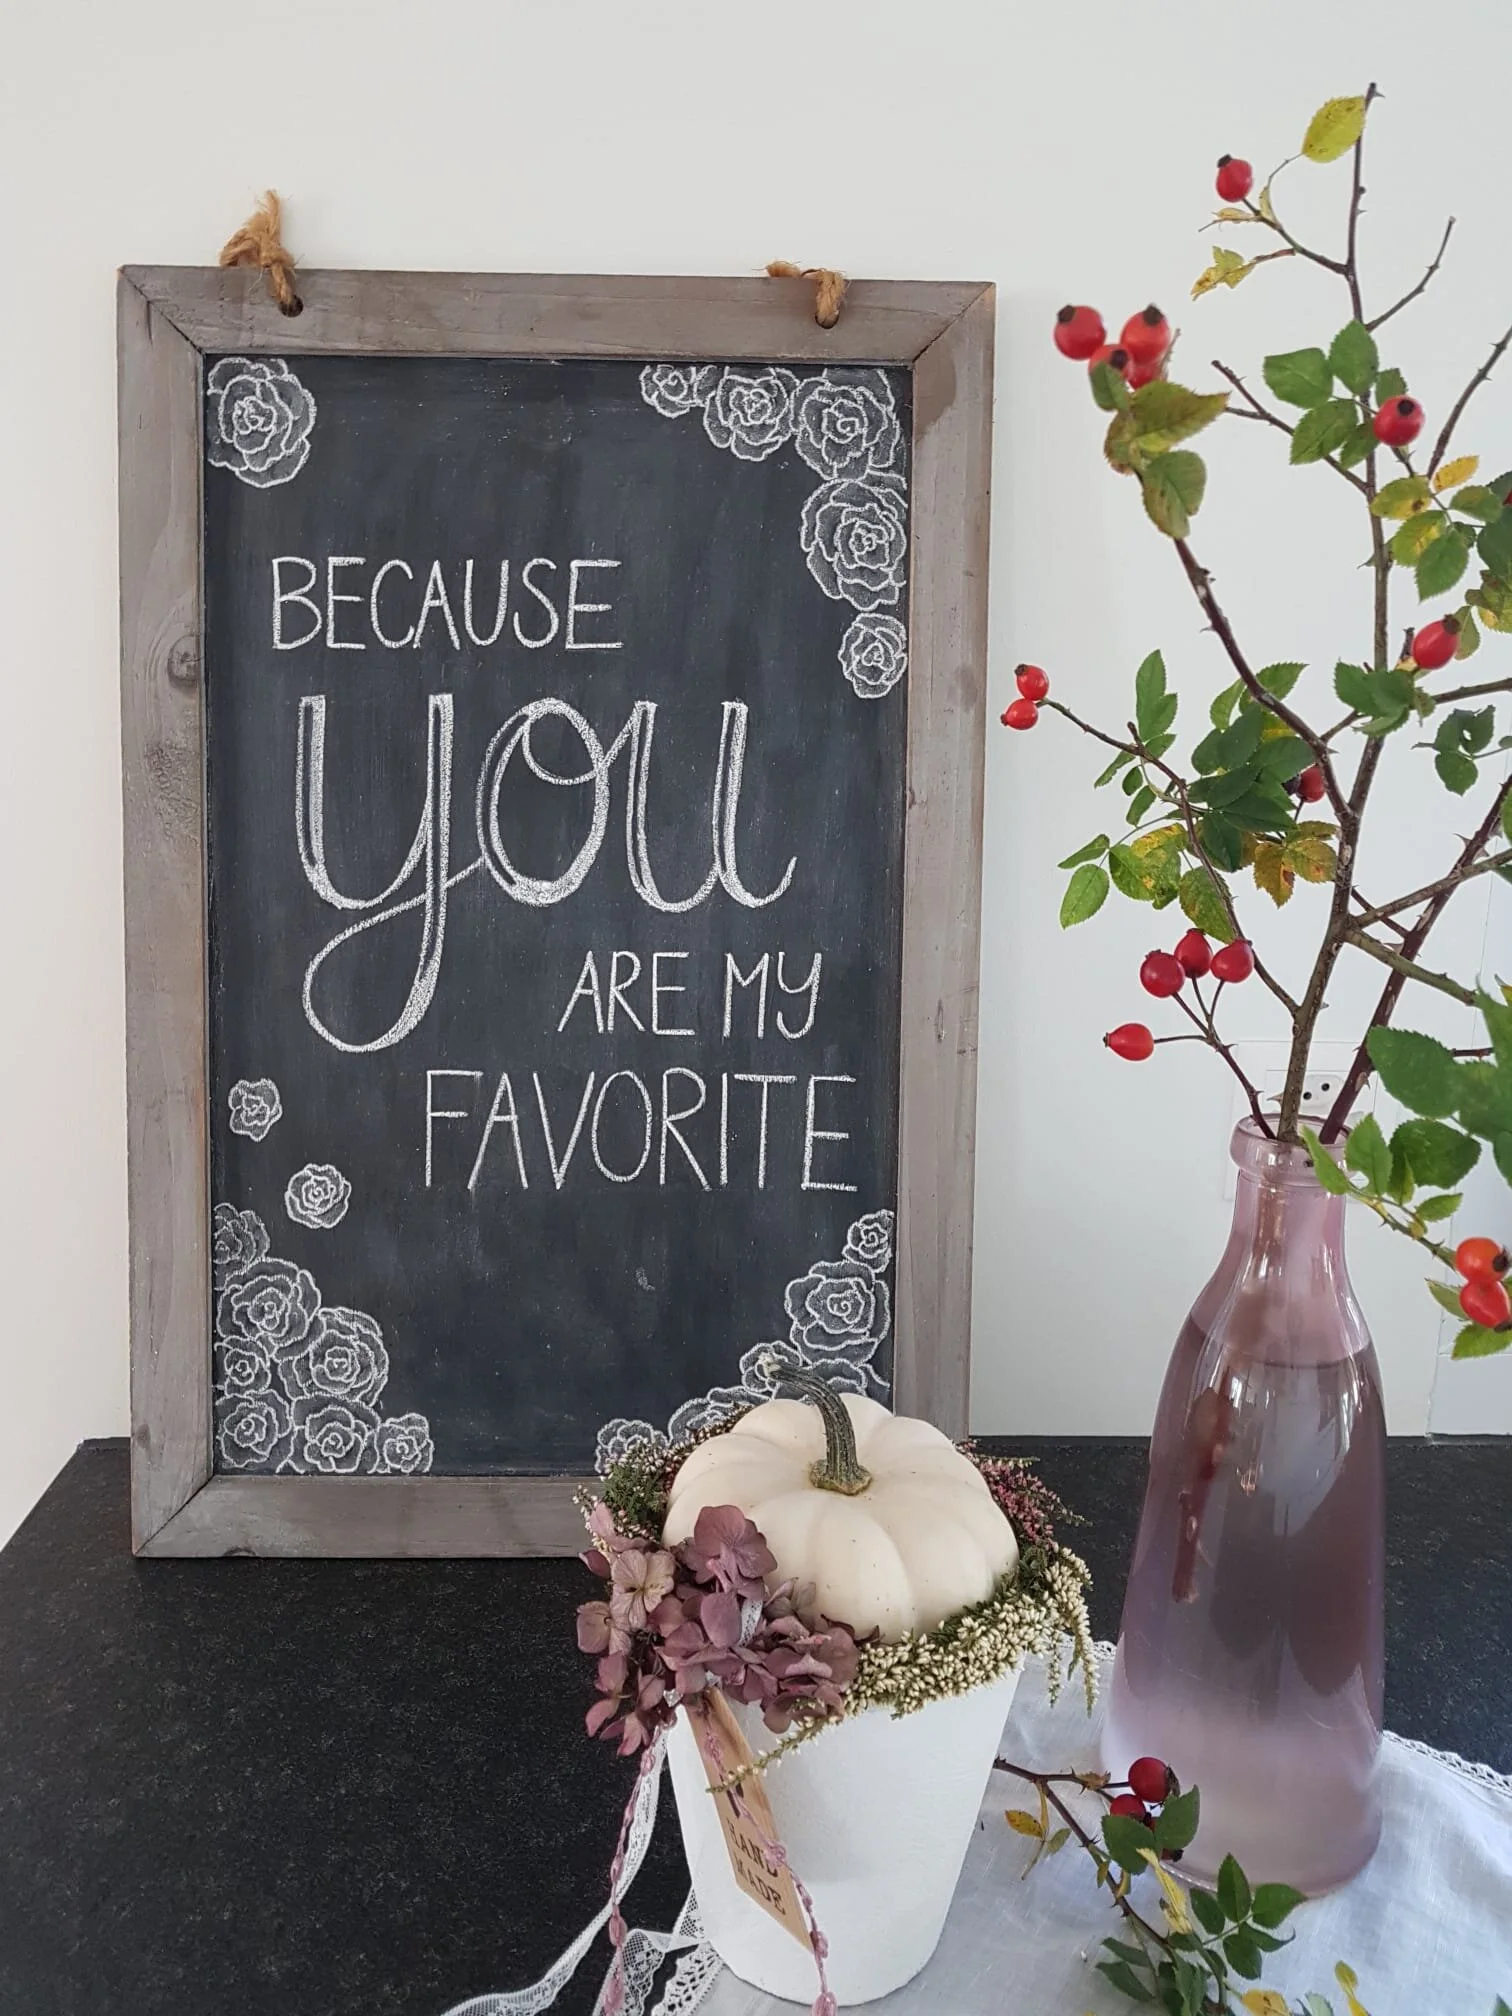
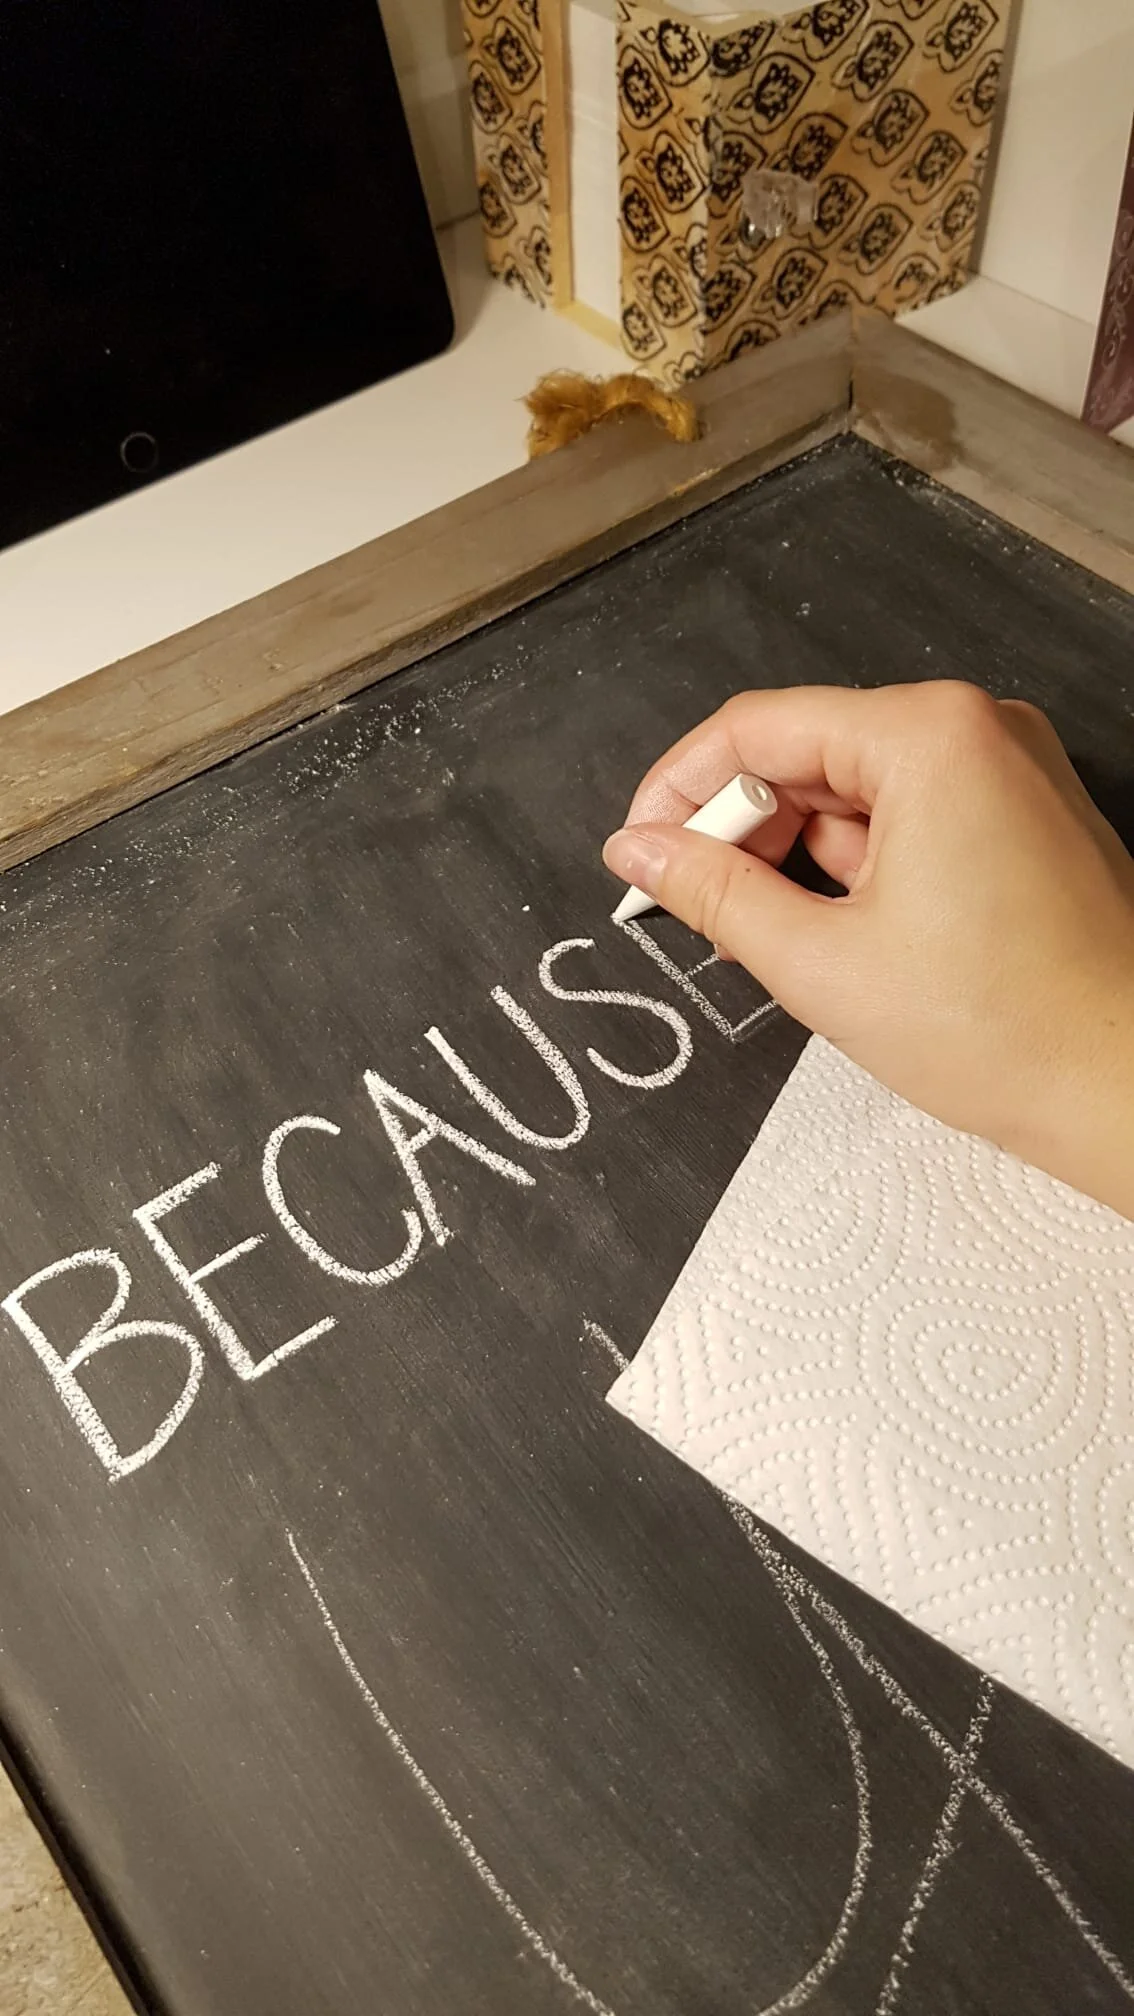
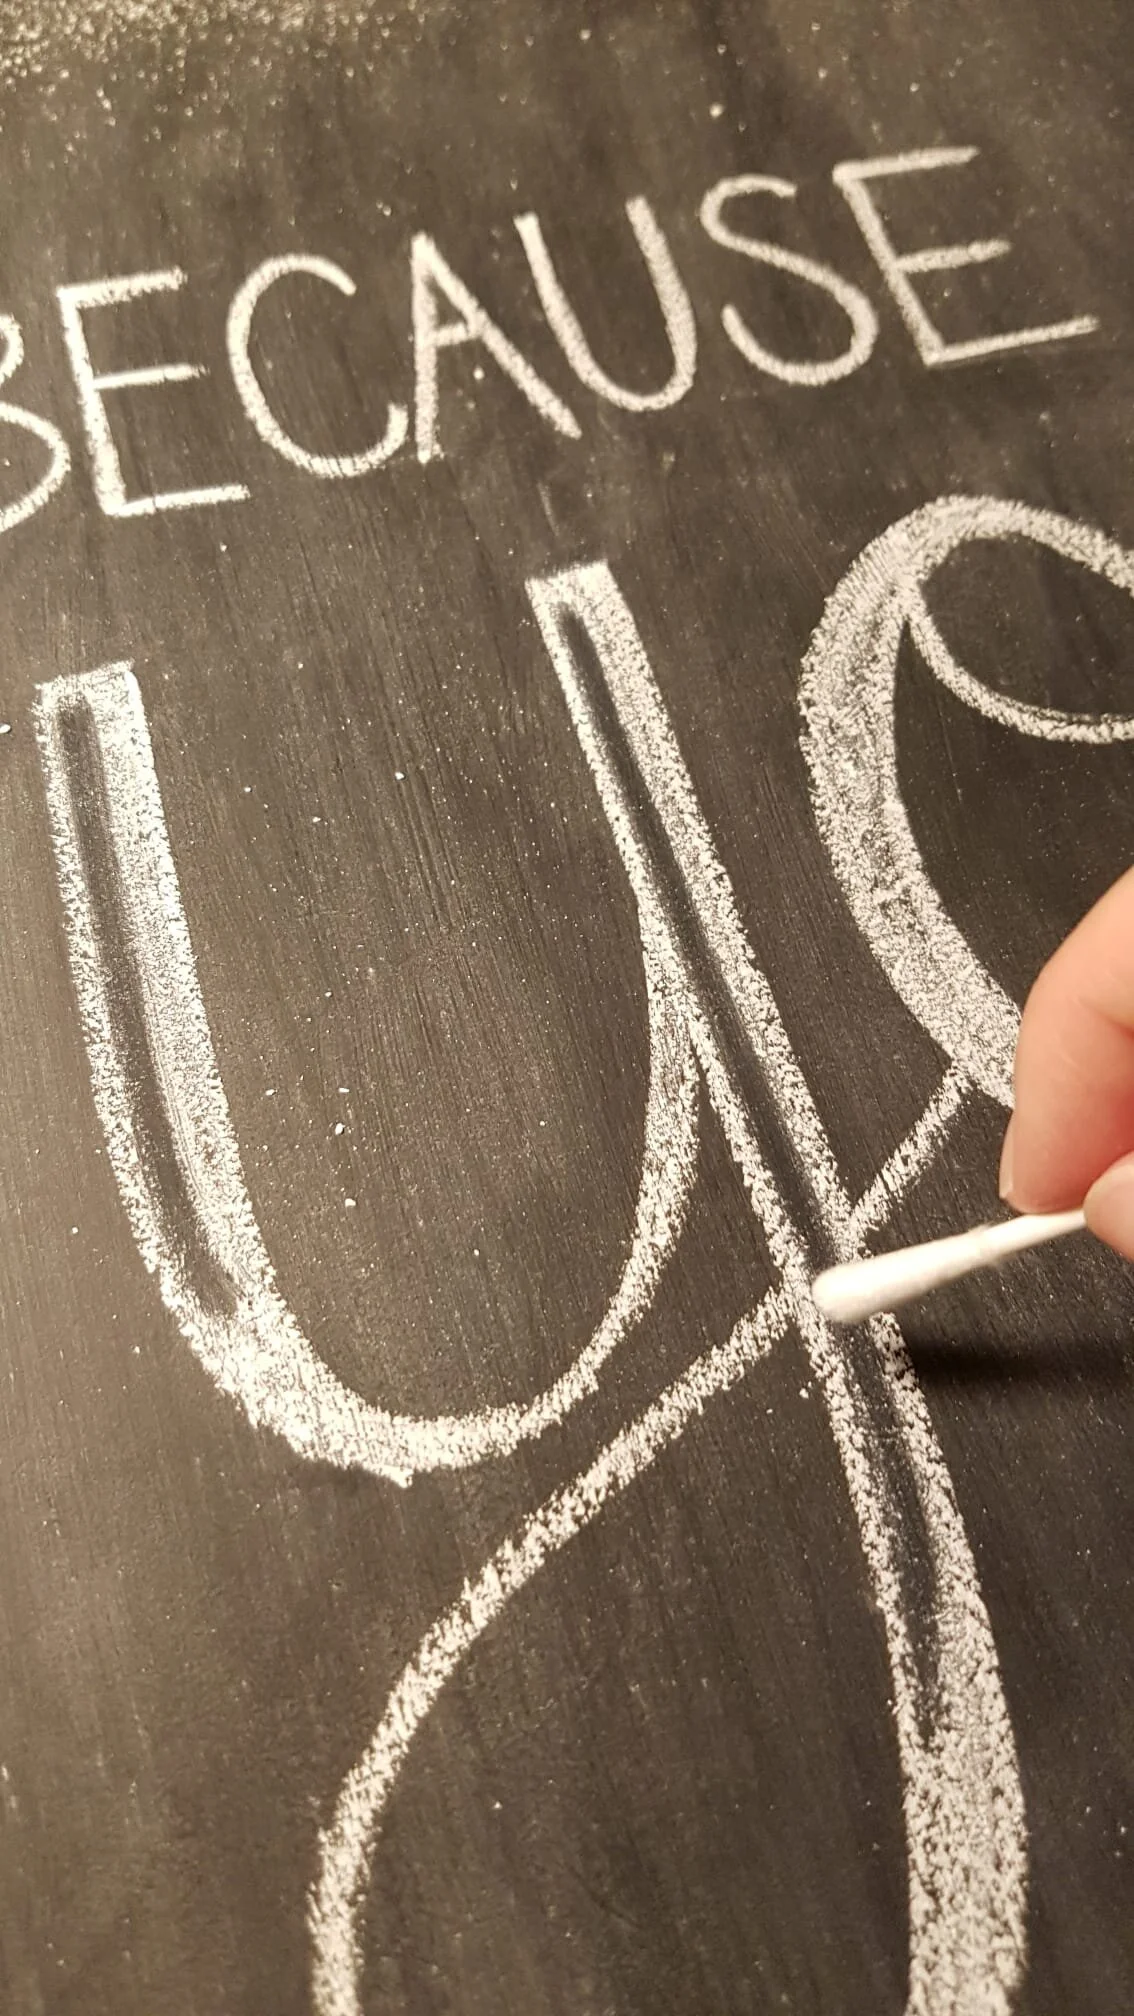
Now trace your drafted letters. (7 + 8) To add the effect like in picture 9, wipe the inner part of the letter with a q-tip as well.
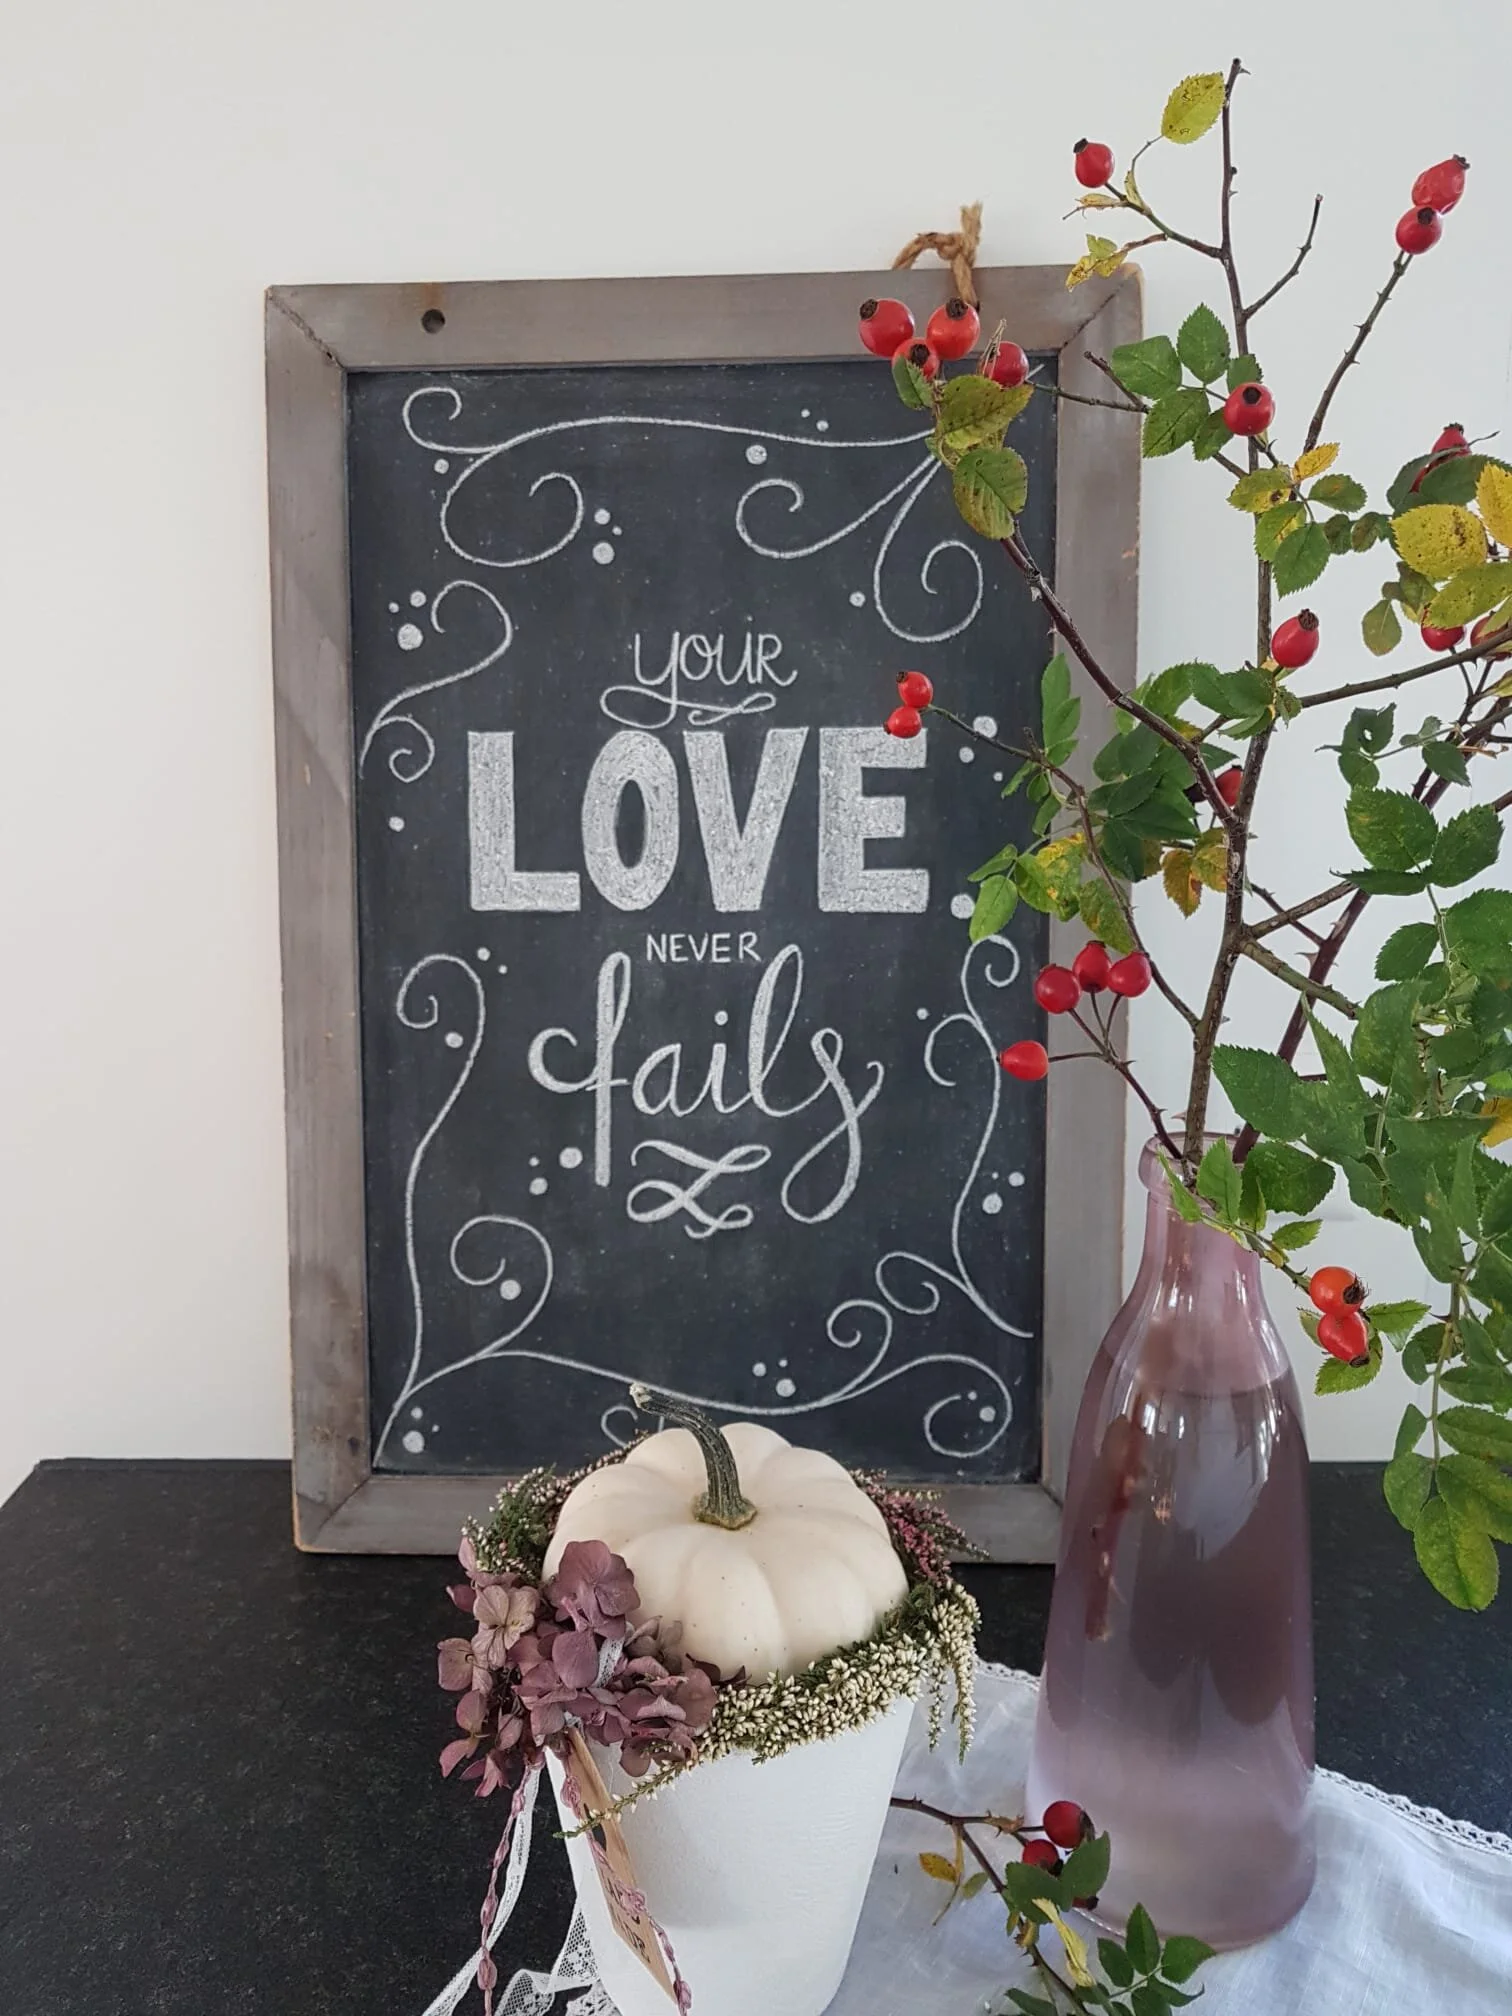
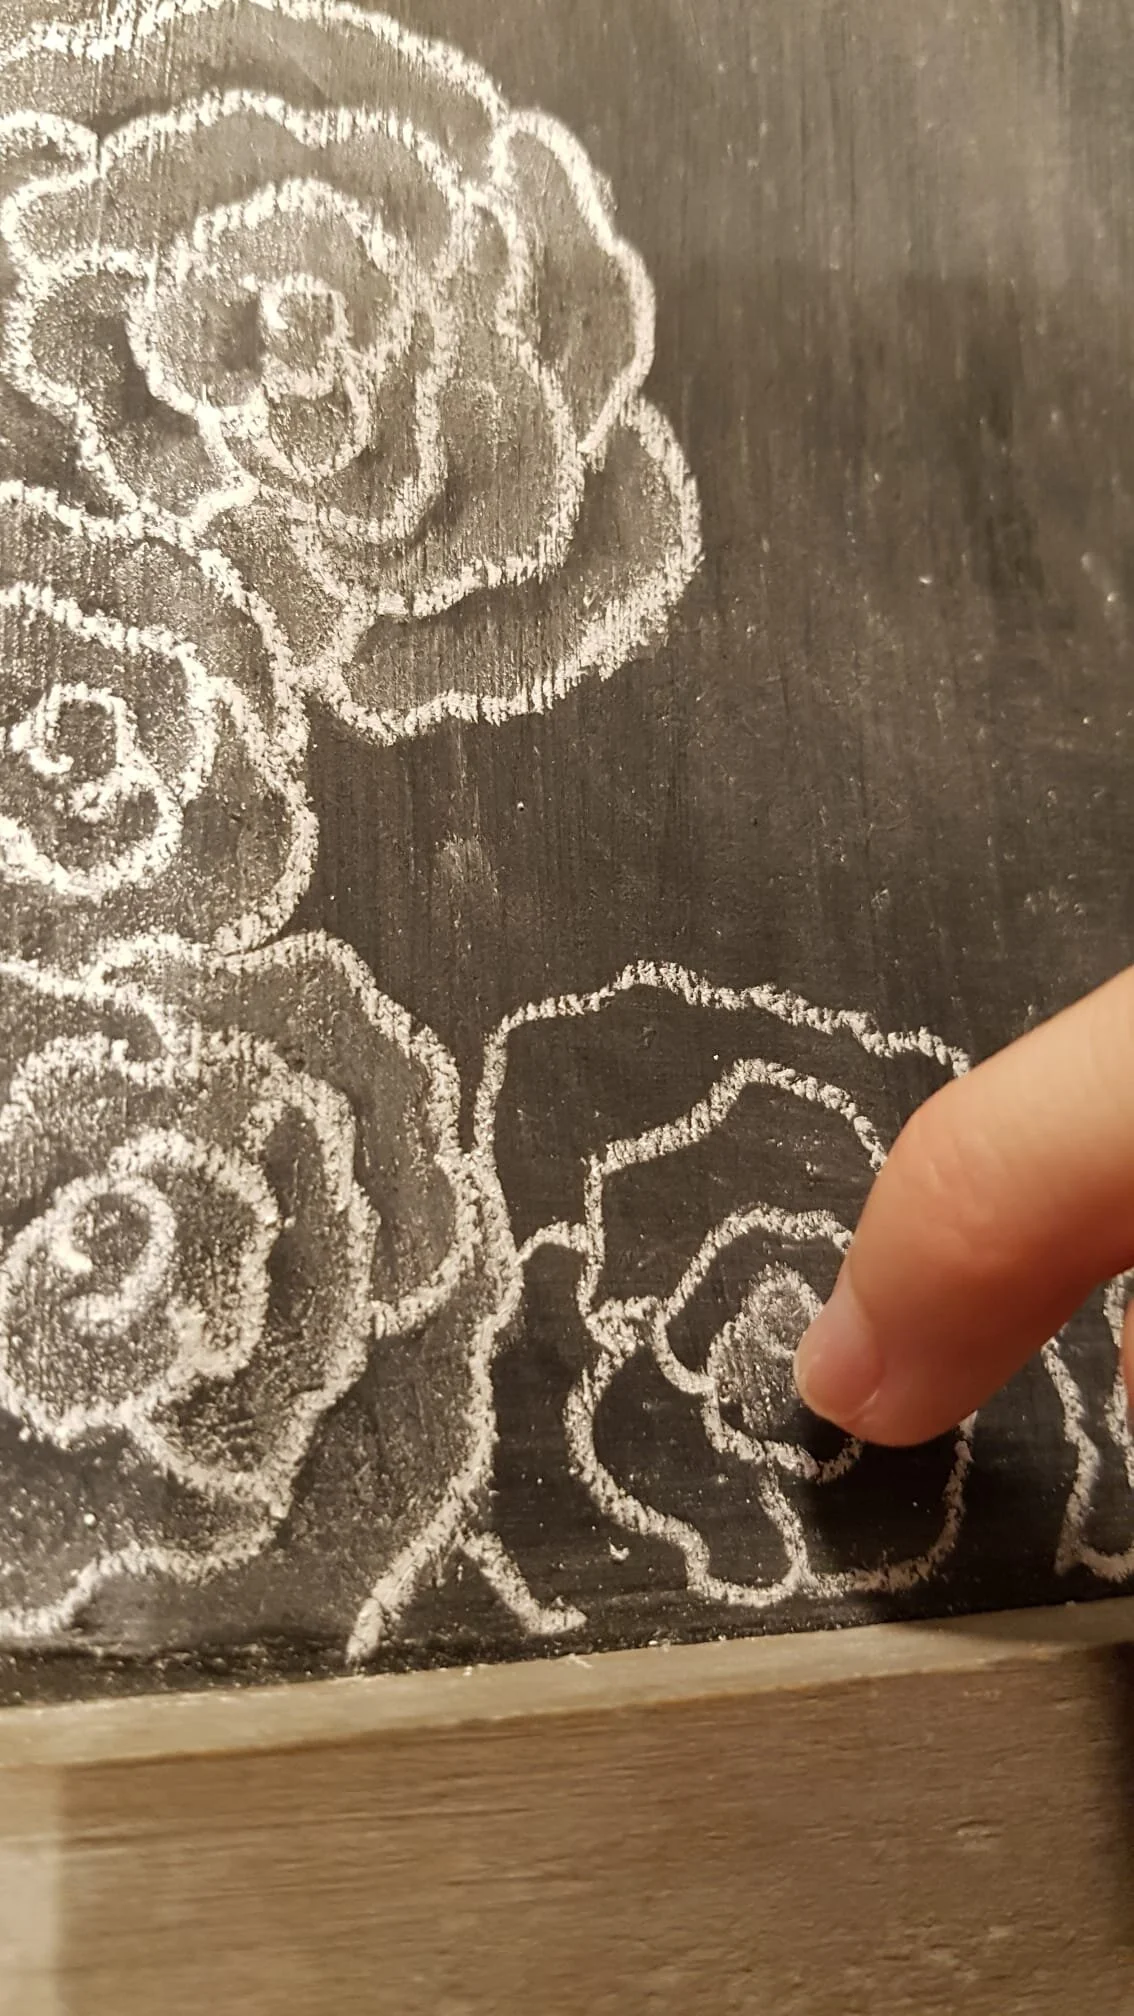
Once the letters are done you can experiment with different decorations. I have a couple “go to’s” for that such as leaves, polka dots, water drops, lines and spirals. There is an endless amount of different options for decorations though. Here is a guide for the roses I made.
Start drawing the rose in the middle with a curl. Draw wavy bows around until the rose has the size you want. (10)
Smudge the lines with your finger so the rose is colored white. (11)
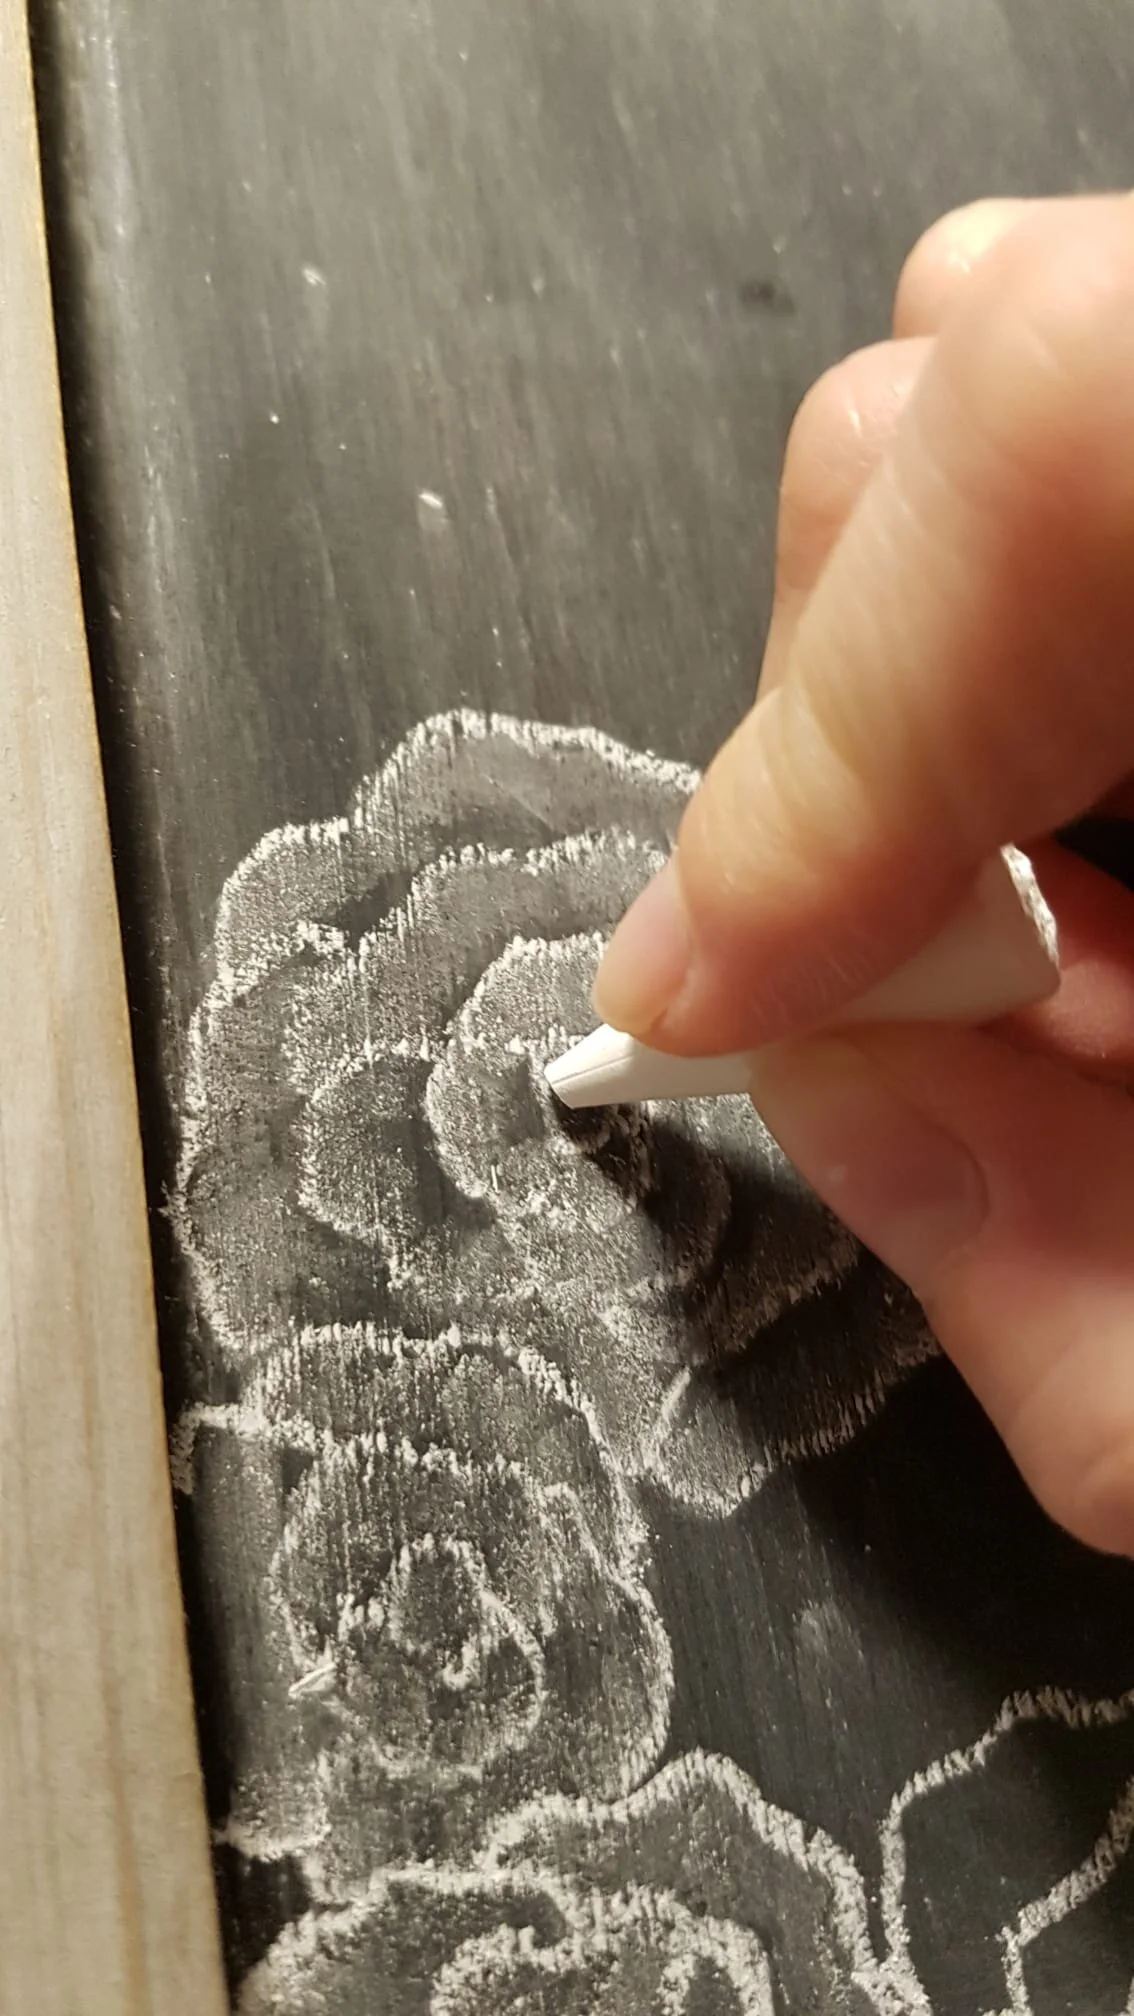
Trace the lines again so they stand out from the rest. (12)
Shake off the dust and there it is!
All that I have learned from the amazing book from Valerie McKeehan called “The complete book of chalk lettering”. Check it out - it’s, in my opinion, the best lettering book out there!
1
2
3
4

5
6
7
8
9

10
11
12