Watercolor Christmas Cards in Procreate
Lately, I’ve been painting a lot with watercolors, as I was asked to illustrate images for a Christmas story. The drawings were created on thick watercolor paper using my Winsor & Newton watercolors. Before this, I had only tried creating a watercolor-style illustration on the iPad once, and I wasn’t completely convinced by the result.
But since I needed to send my Christmas cards to Switzerland and could no longer do it by mail (I was, of course, running late), the iPad became my only option. Luckily, Procreate had recently released an update with new watercolor brushes that make digital painting feel much more realistic.
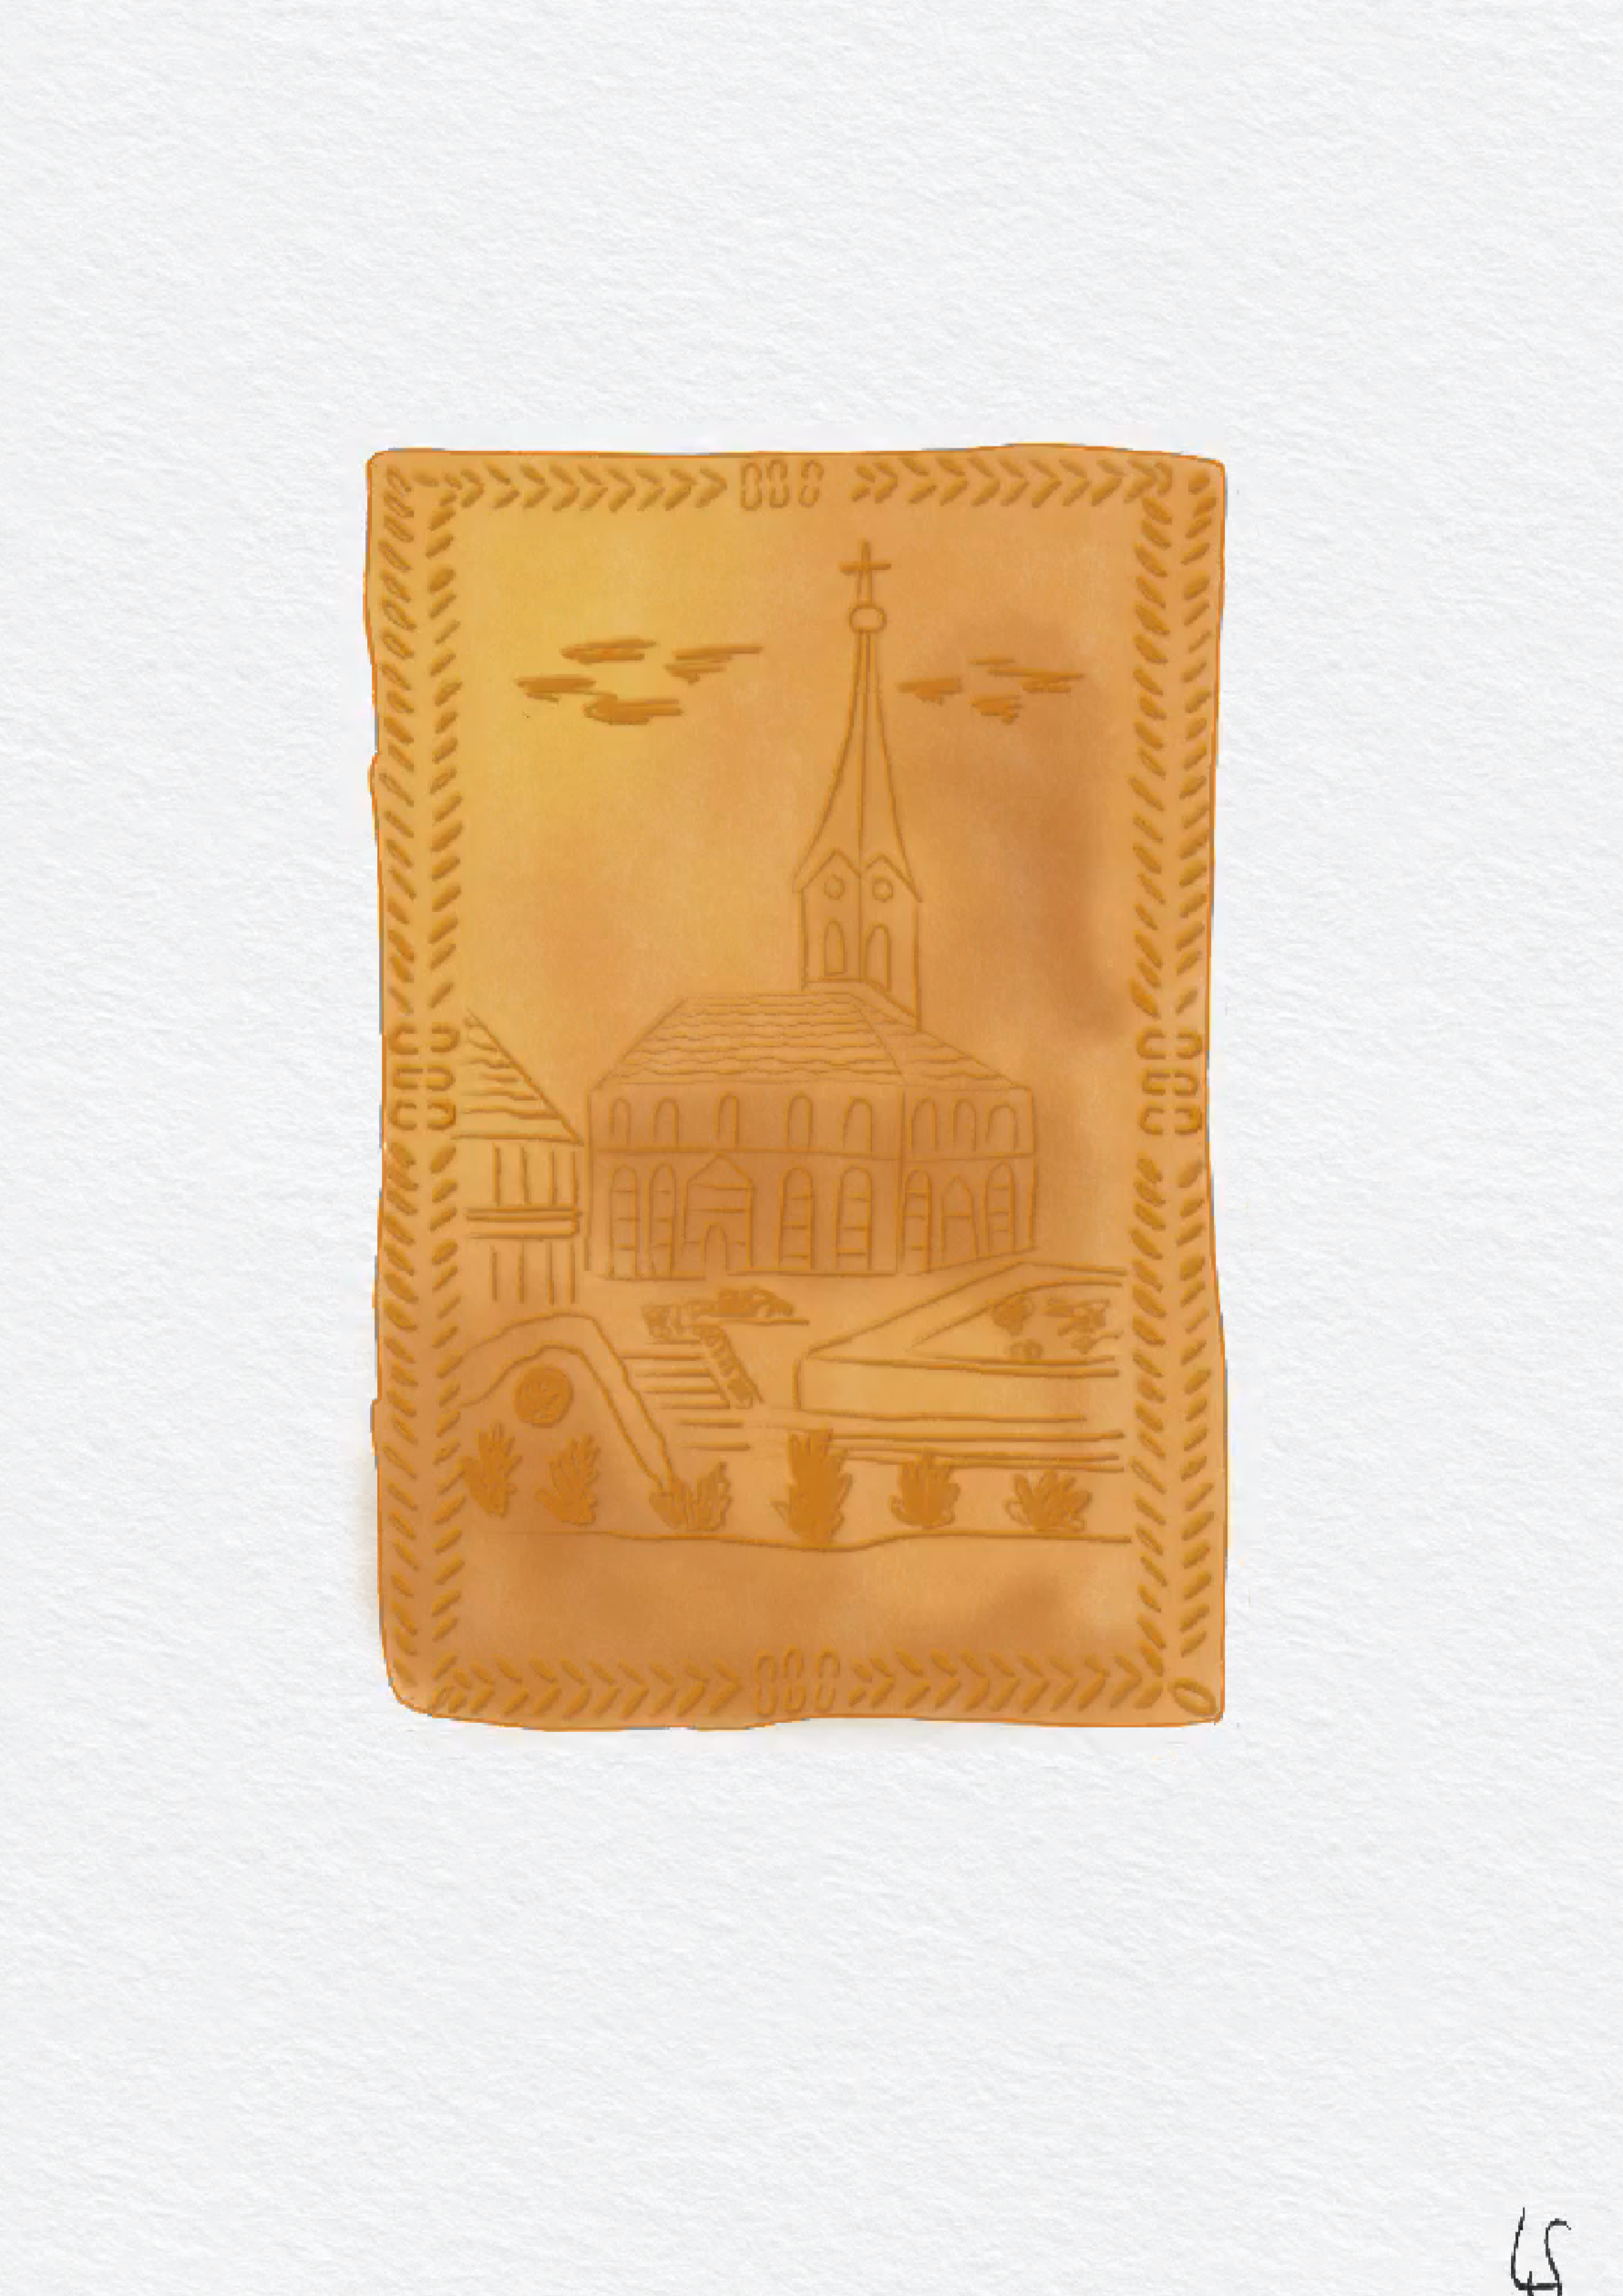
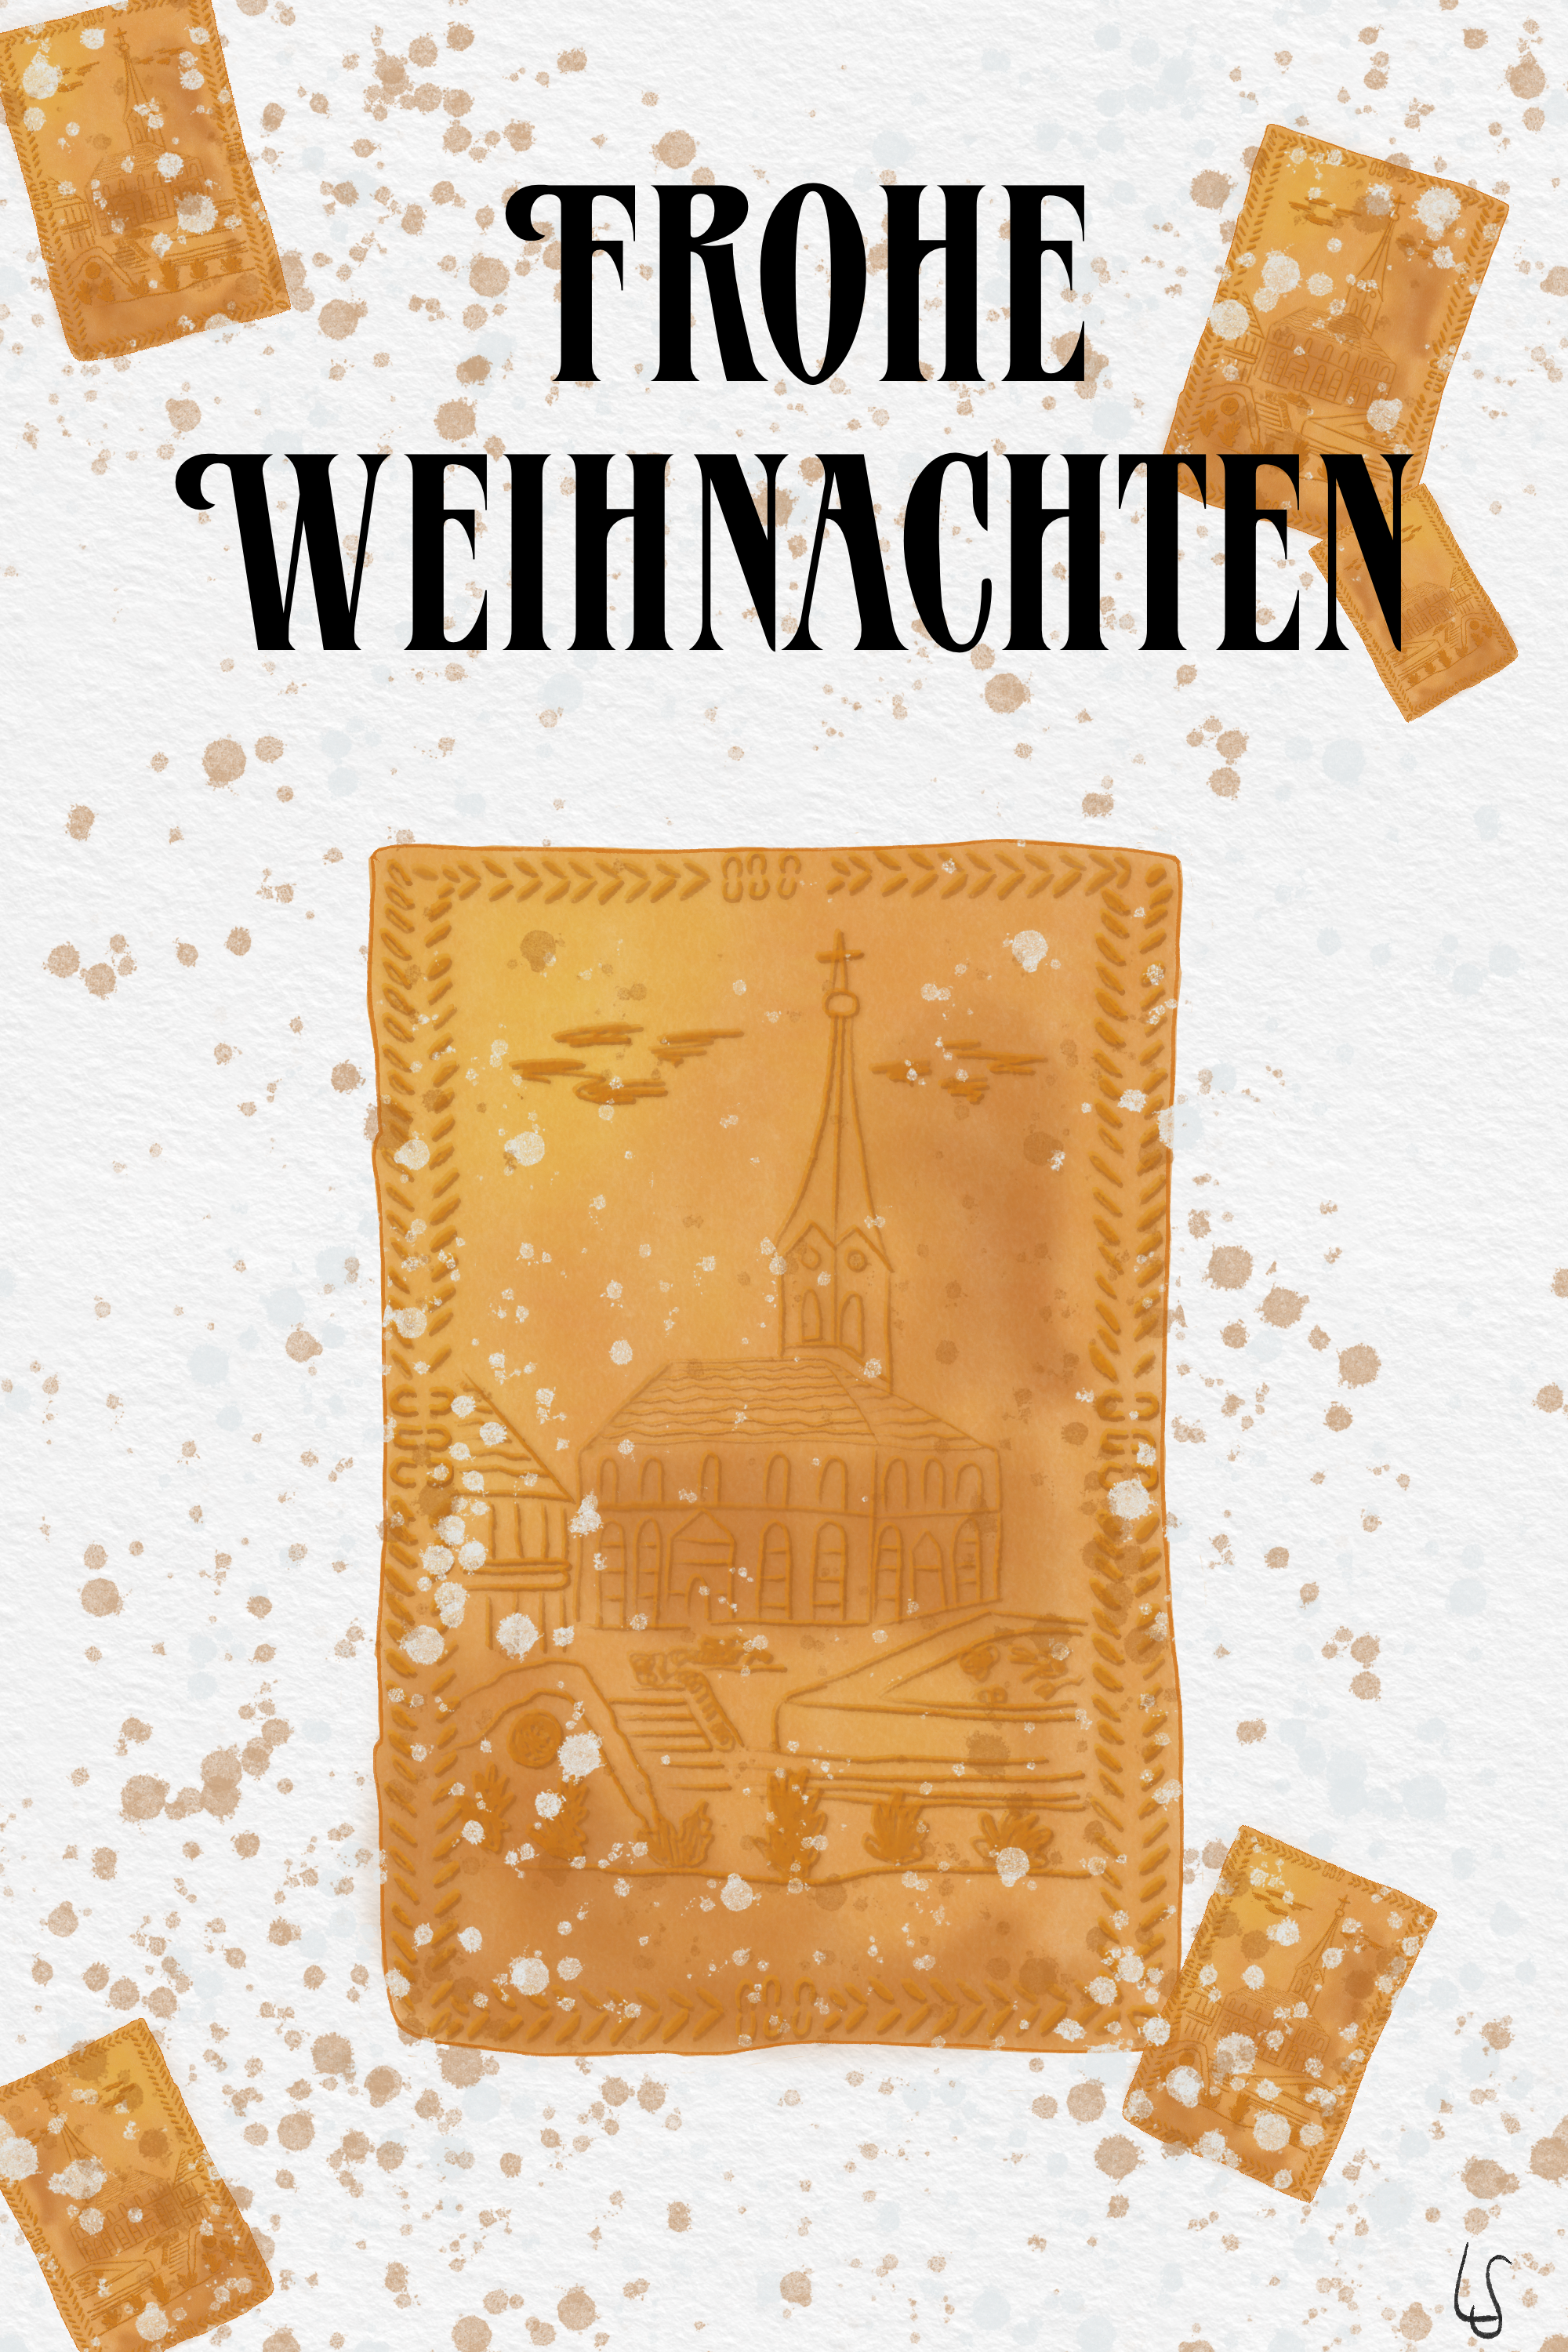
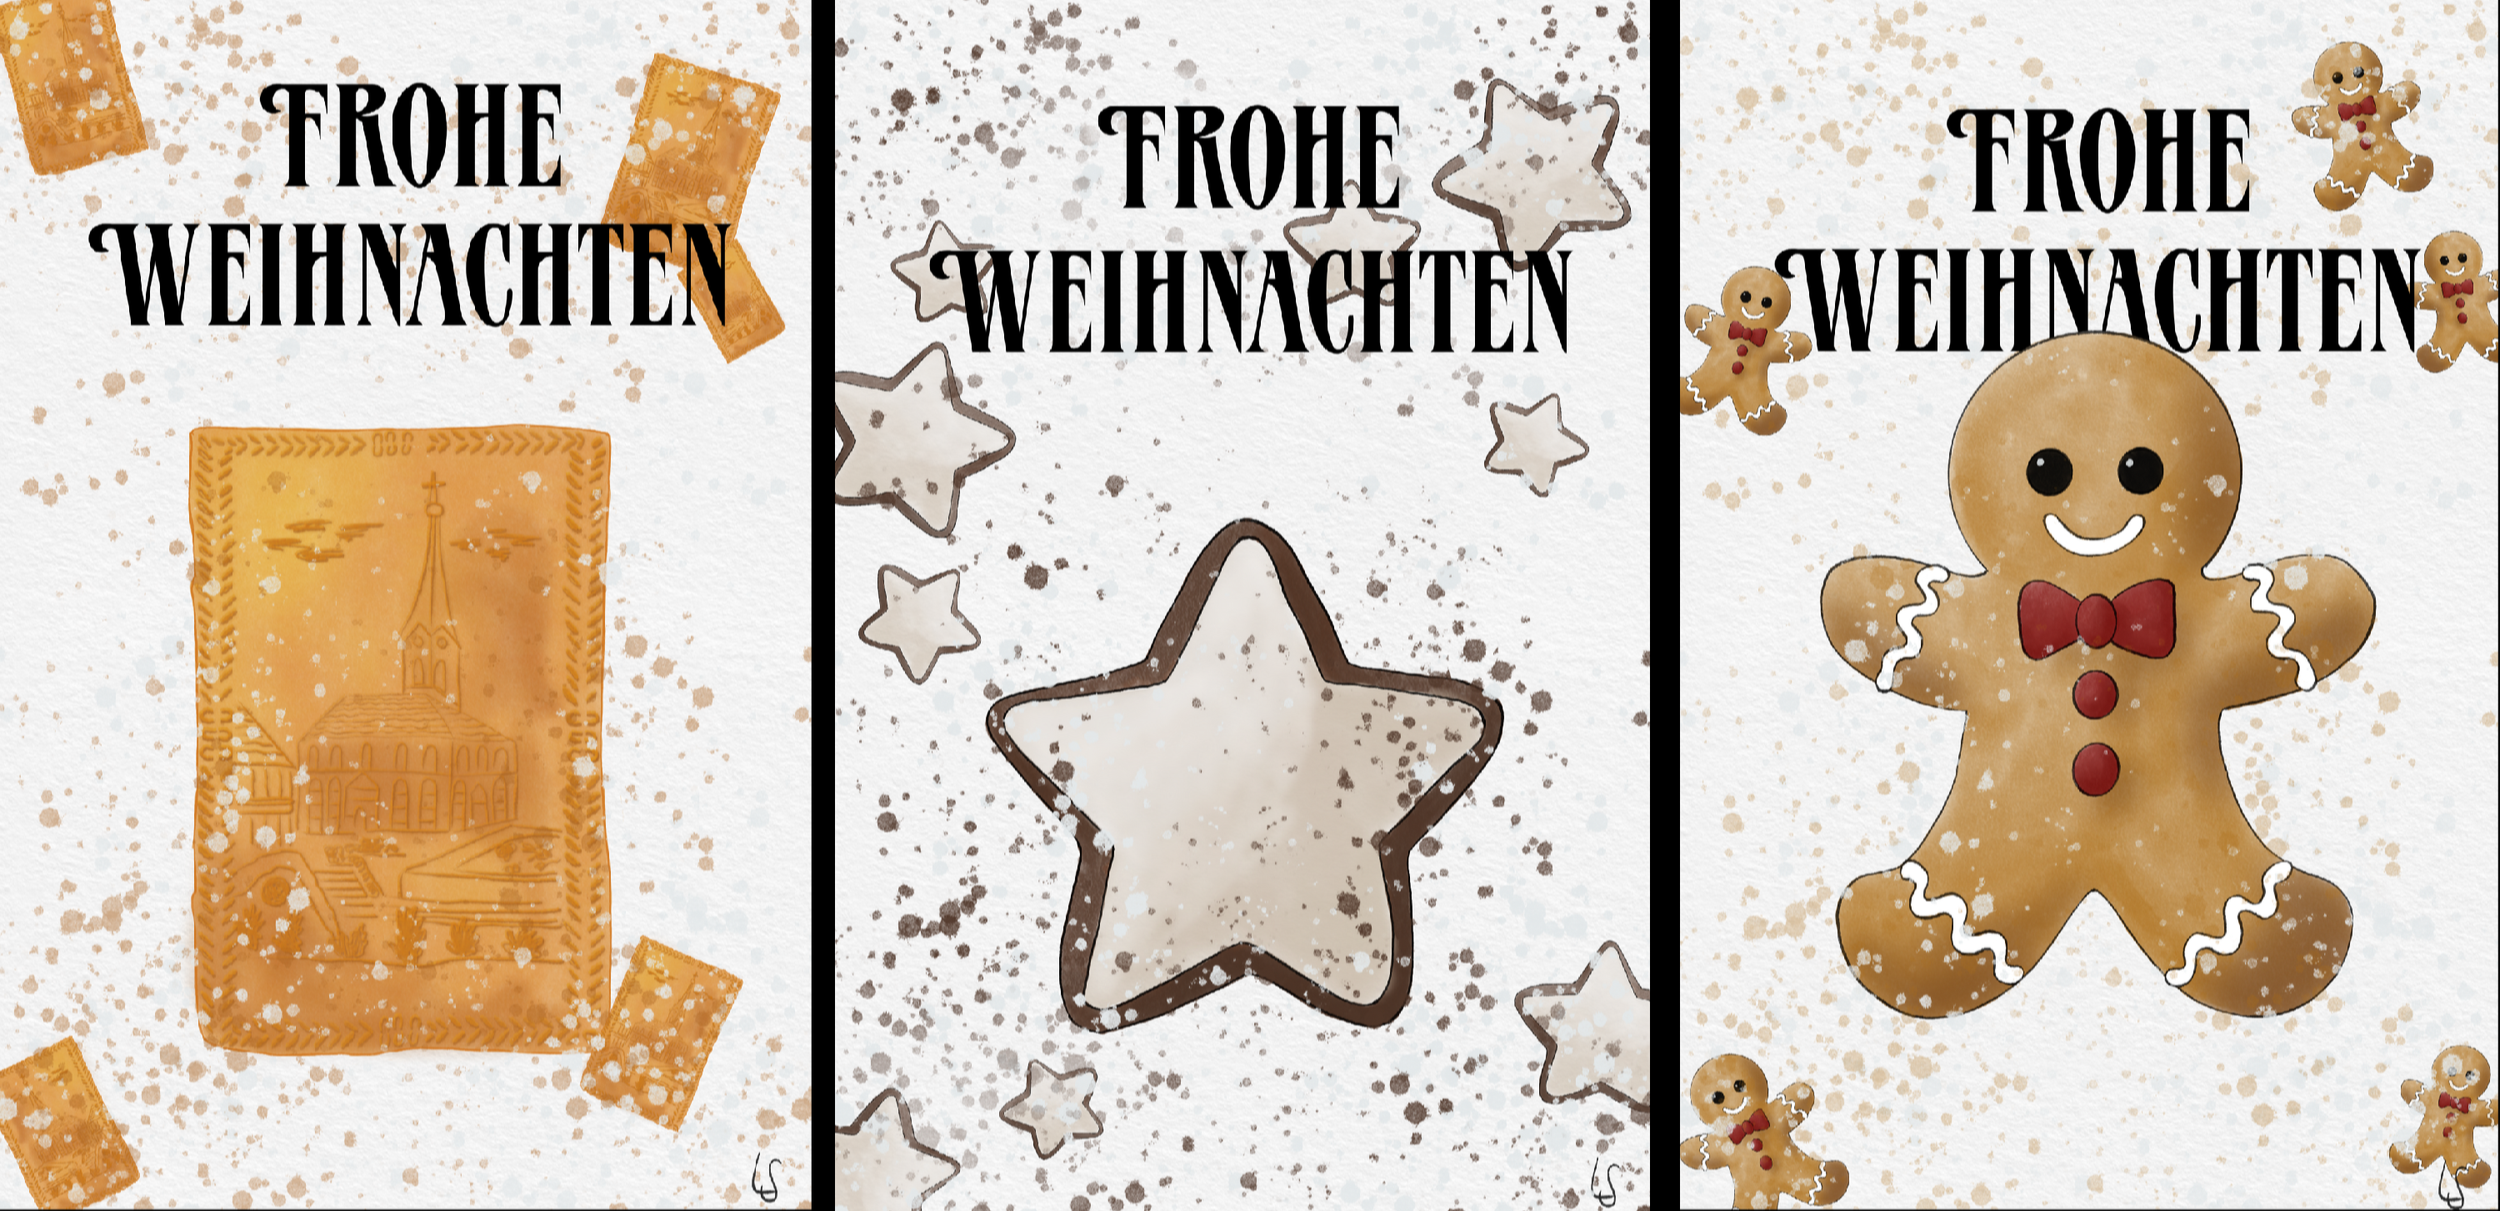
I decided to create three cards in a similar style, all featuring a hand-drawn Christmas cookie: a Zimtstern (German cookie that translates to Cinnamon Star), a gingerbread cookie, and a Tirggel (a Swiss honey cookie). I duplicated the illustrations and adjusted their size and angle to create a fuller card design. I also added lots of paint splatters to give the images a more playful feel — and just like that, the cards were finished.
Below is a short step-by-step overview of my drawing process:
I start by sketching the outer shape with a thin black pen. On a new layer underneath the outline, I fill in the shape using the “Bridgewater” brush (found under watercolor brushes). It doesn’t matter if I paint outside the lines. I slightly darken the color and add some shading.
Finally, I carefully erase any paint that goes beyond the edges.

Draw outline and color

Shading and remove color where necessary
3. Color in the other parts of the little figure as well (make sure to open a new layer again) and add some shading if needed.
4. Write the title using the text tool and move the text layer underneath the drawing layer so the text disappears behind the figure. Depending on how dark and dense the watercolor is, parts of the text may need to be erased behind it. To do this, go to the layer menu of the text layer and tap “Rasterize” so parts of the text can be erased.
5. Open a new layer below the text layer but above the drawing layer for the paint splatters. Then, using the “Flicks” brush under Spraypaints, add the splatters. I chose an off-white/gray and the same color as the figure, with the latter set to 37% opacity.


Add splatters and font
6. Duplicate the gingerbread man, downsize, turn it, and spread on the card.

Duplicate gingerbread man and spread on card

The Zimtstern and Tirggel cards were created in the same way. Only for the Tirggel, I played a bit more with the shading color to make it look more like a cookie. I usually chose a darker color for shading, then clicked on the “N” on the layer and selected “Multiply.” On a new layer, I painted the highlights with the same color. This time, instead of “Multiply,” I used “Color Burn.” Using these two options together gave the cookie a more realistic, baked look.