DIY Personalized Cozy Baby Blanket
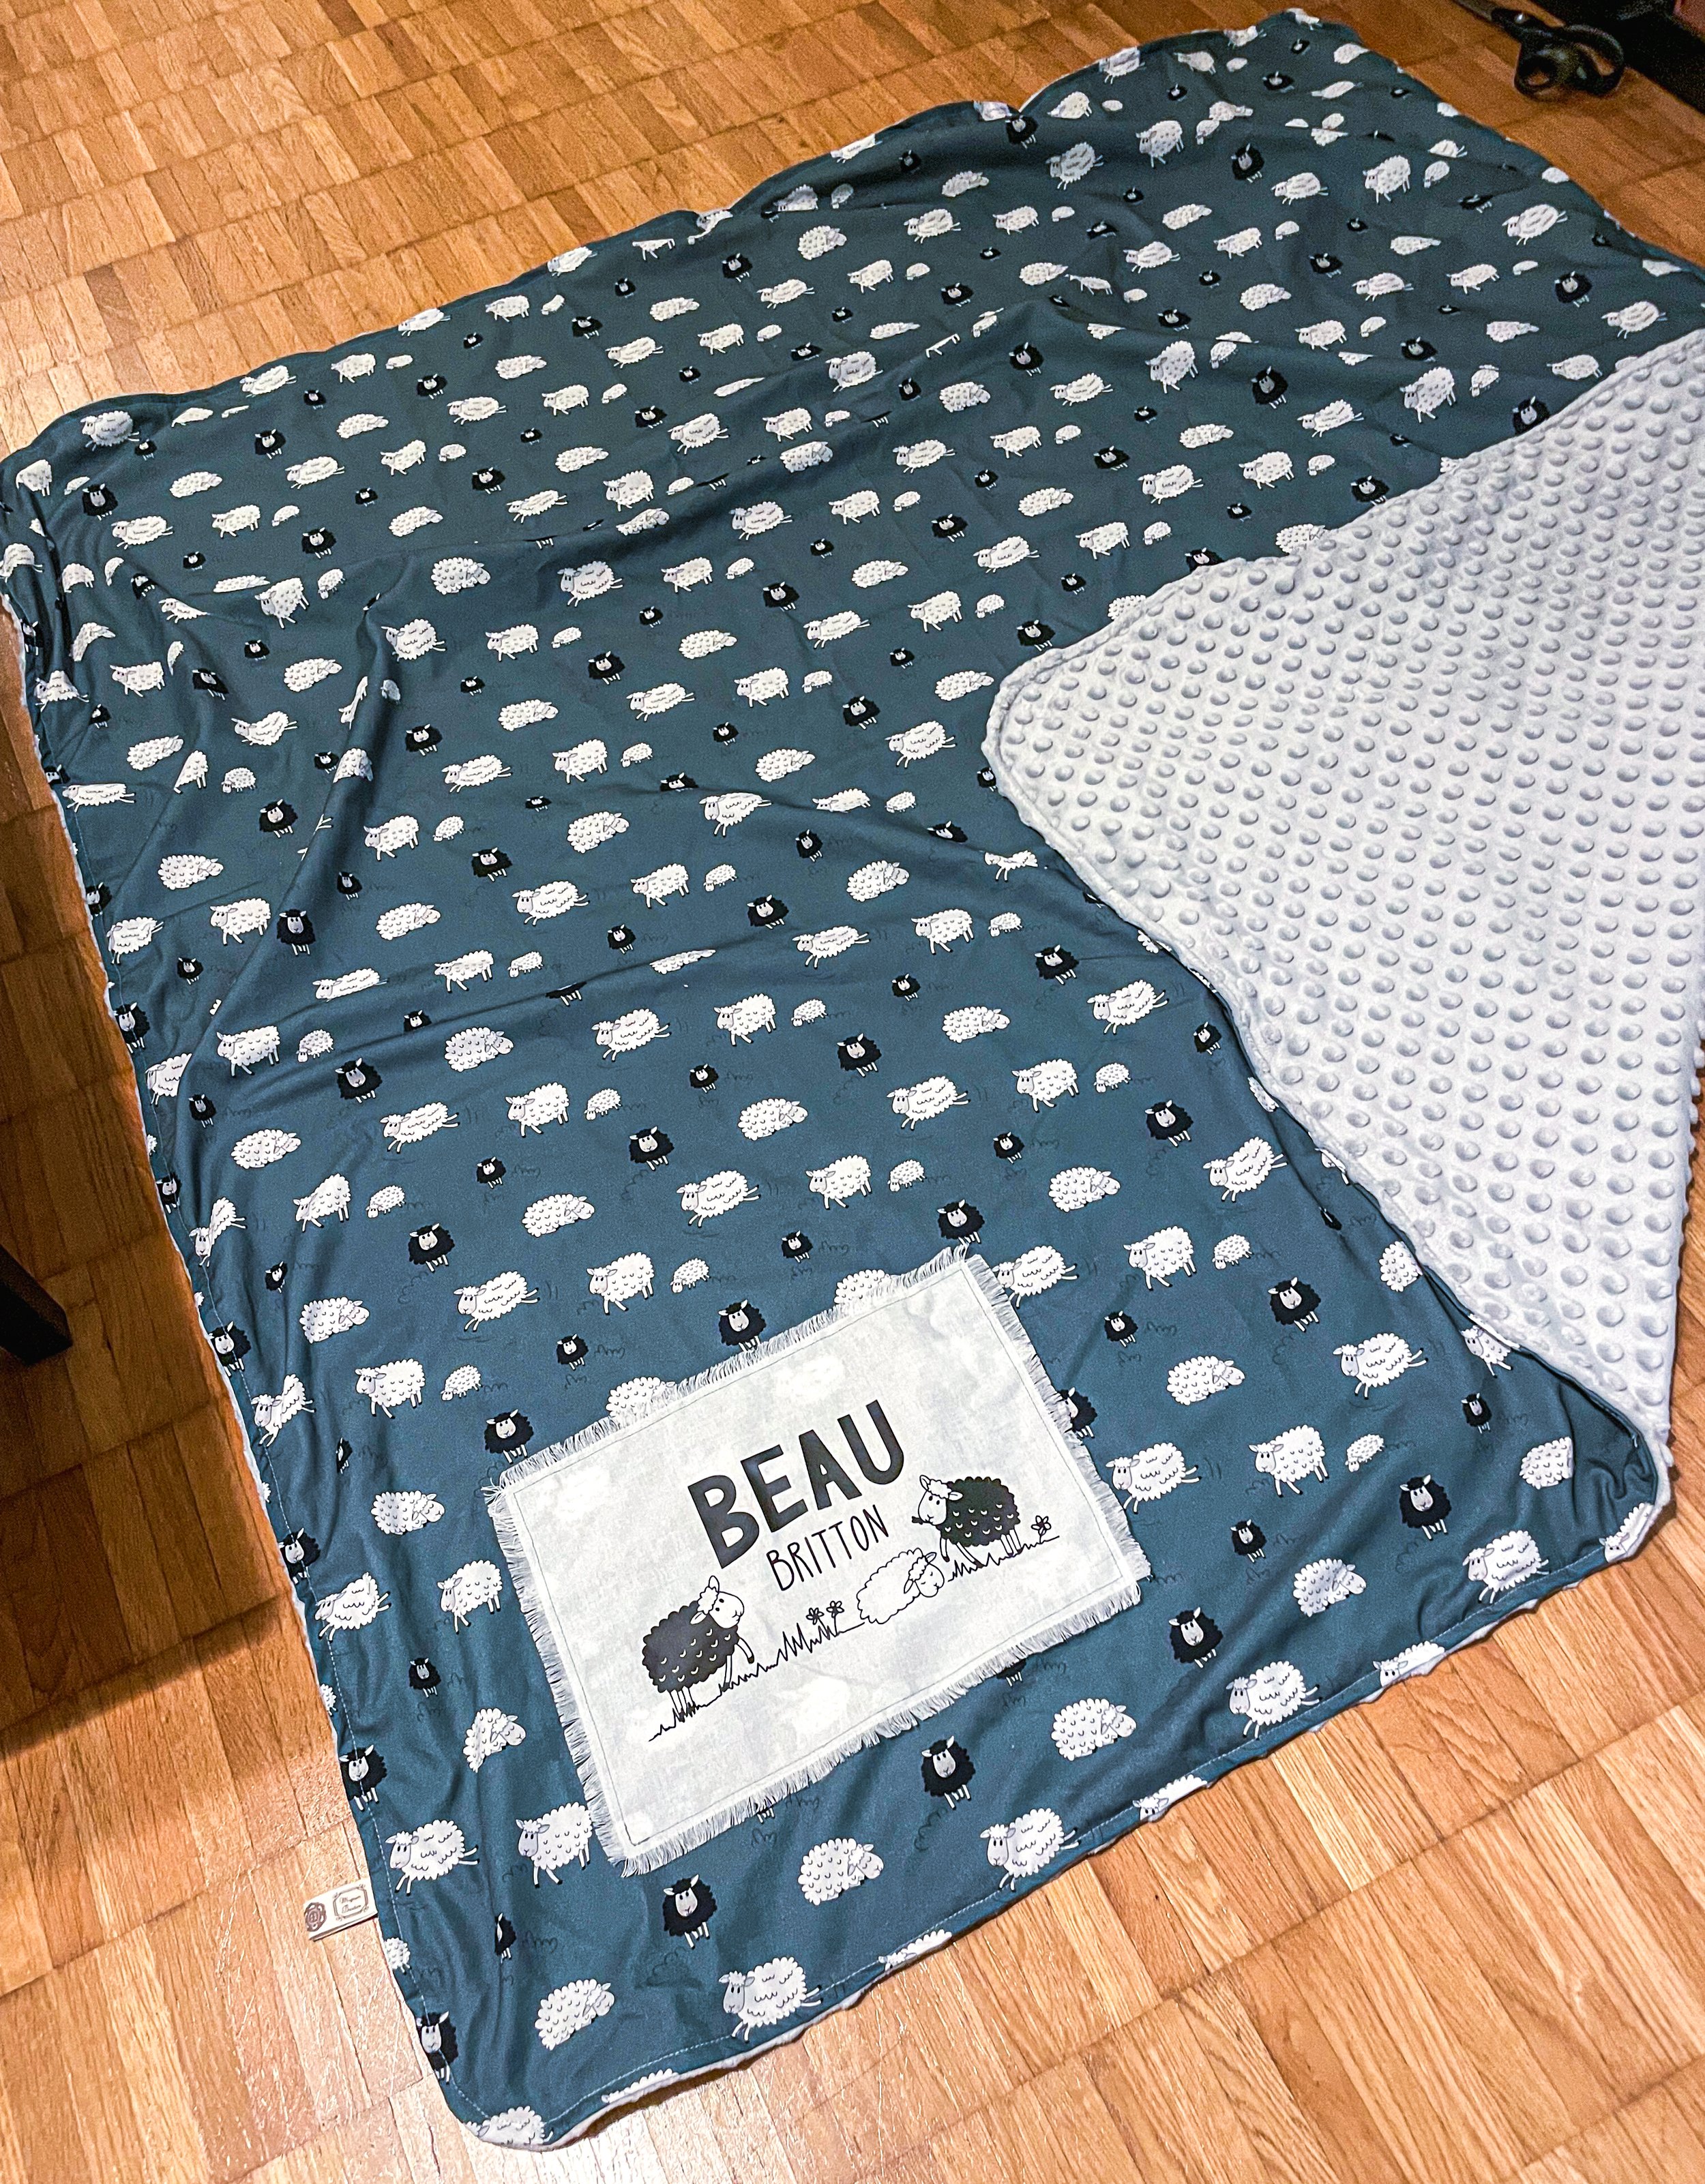
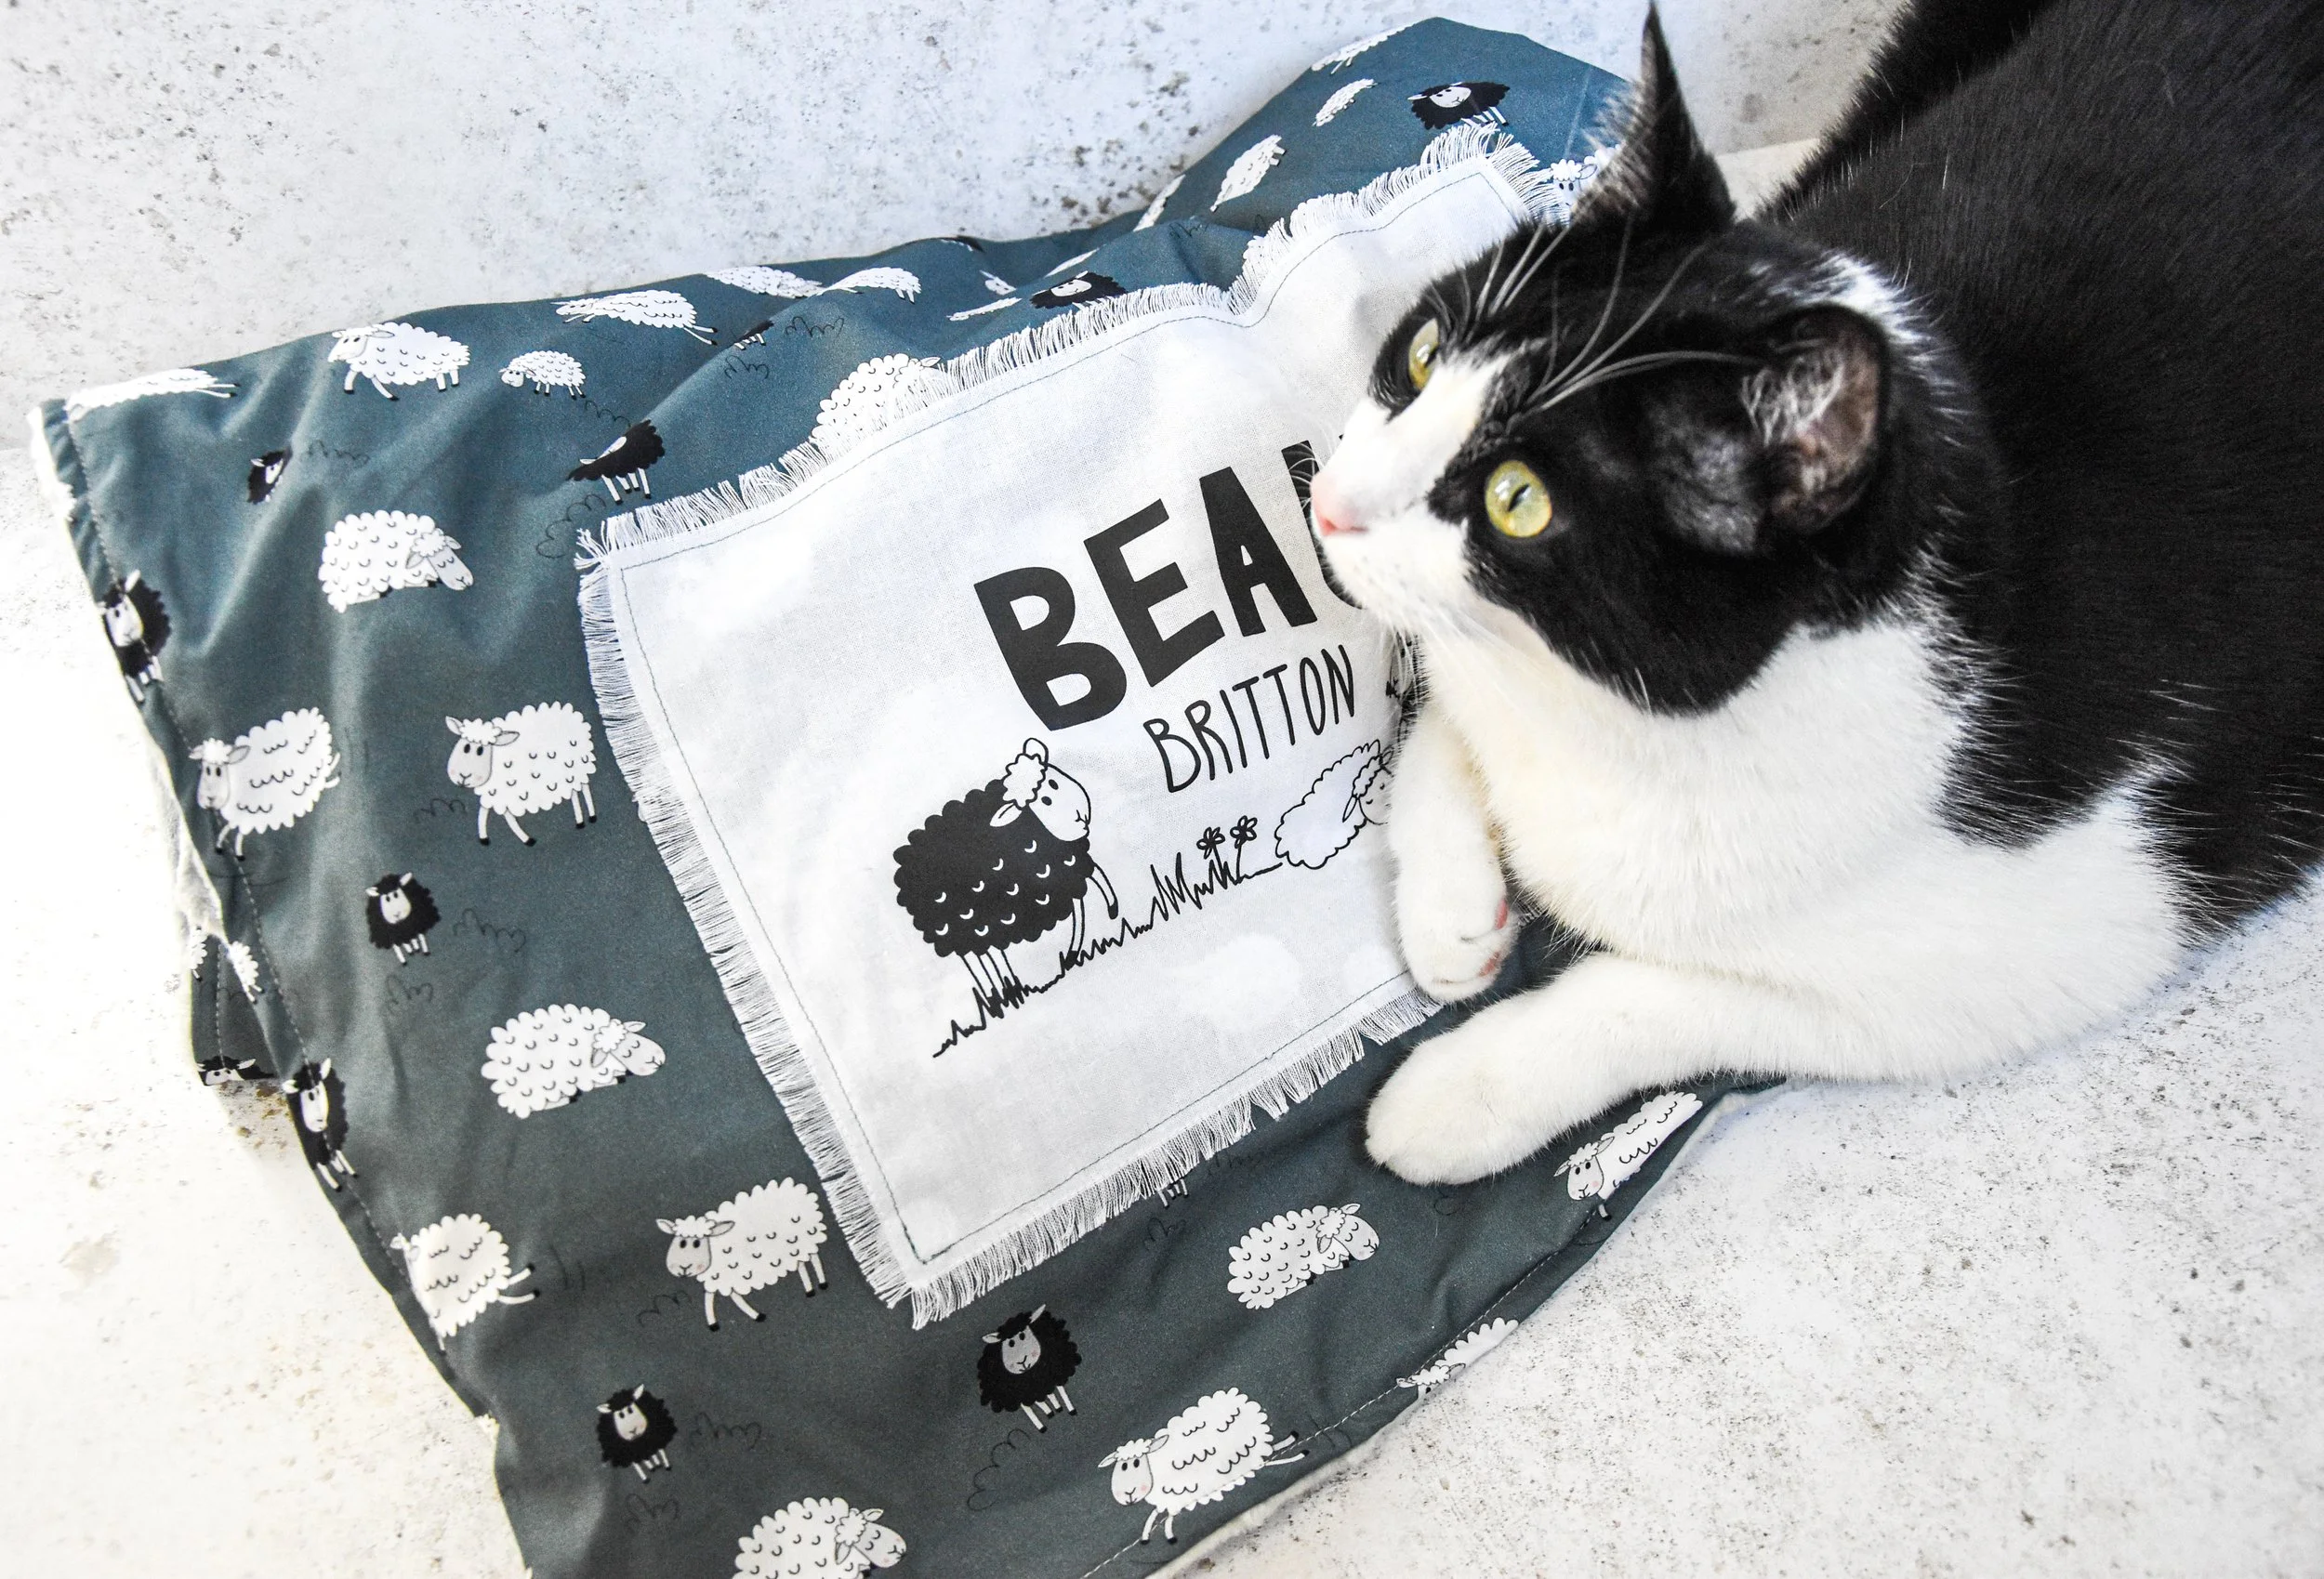
Good friends of ours became parents to a sweet little boy 5 months ago. We’ve already had the chance to spend some time with him and follow along as he grows. Ever since he was born, I had planned to sew a little blanket for him myself, but with the move and our new jobs, it took me a while to finally find the time. Luckily, the days are getting shorter and colder now, so a blanket made a much more fitting gift than it would have at 36°C!
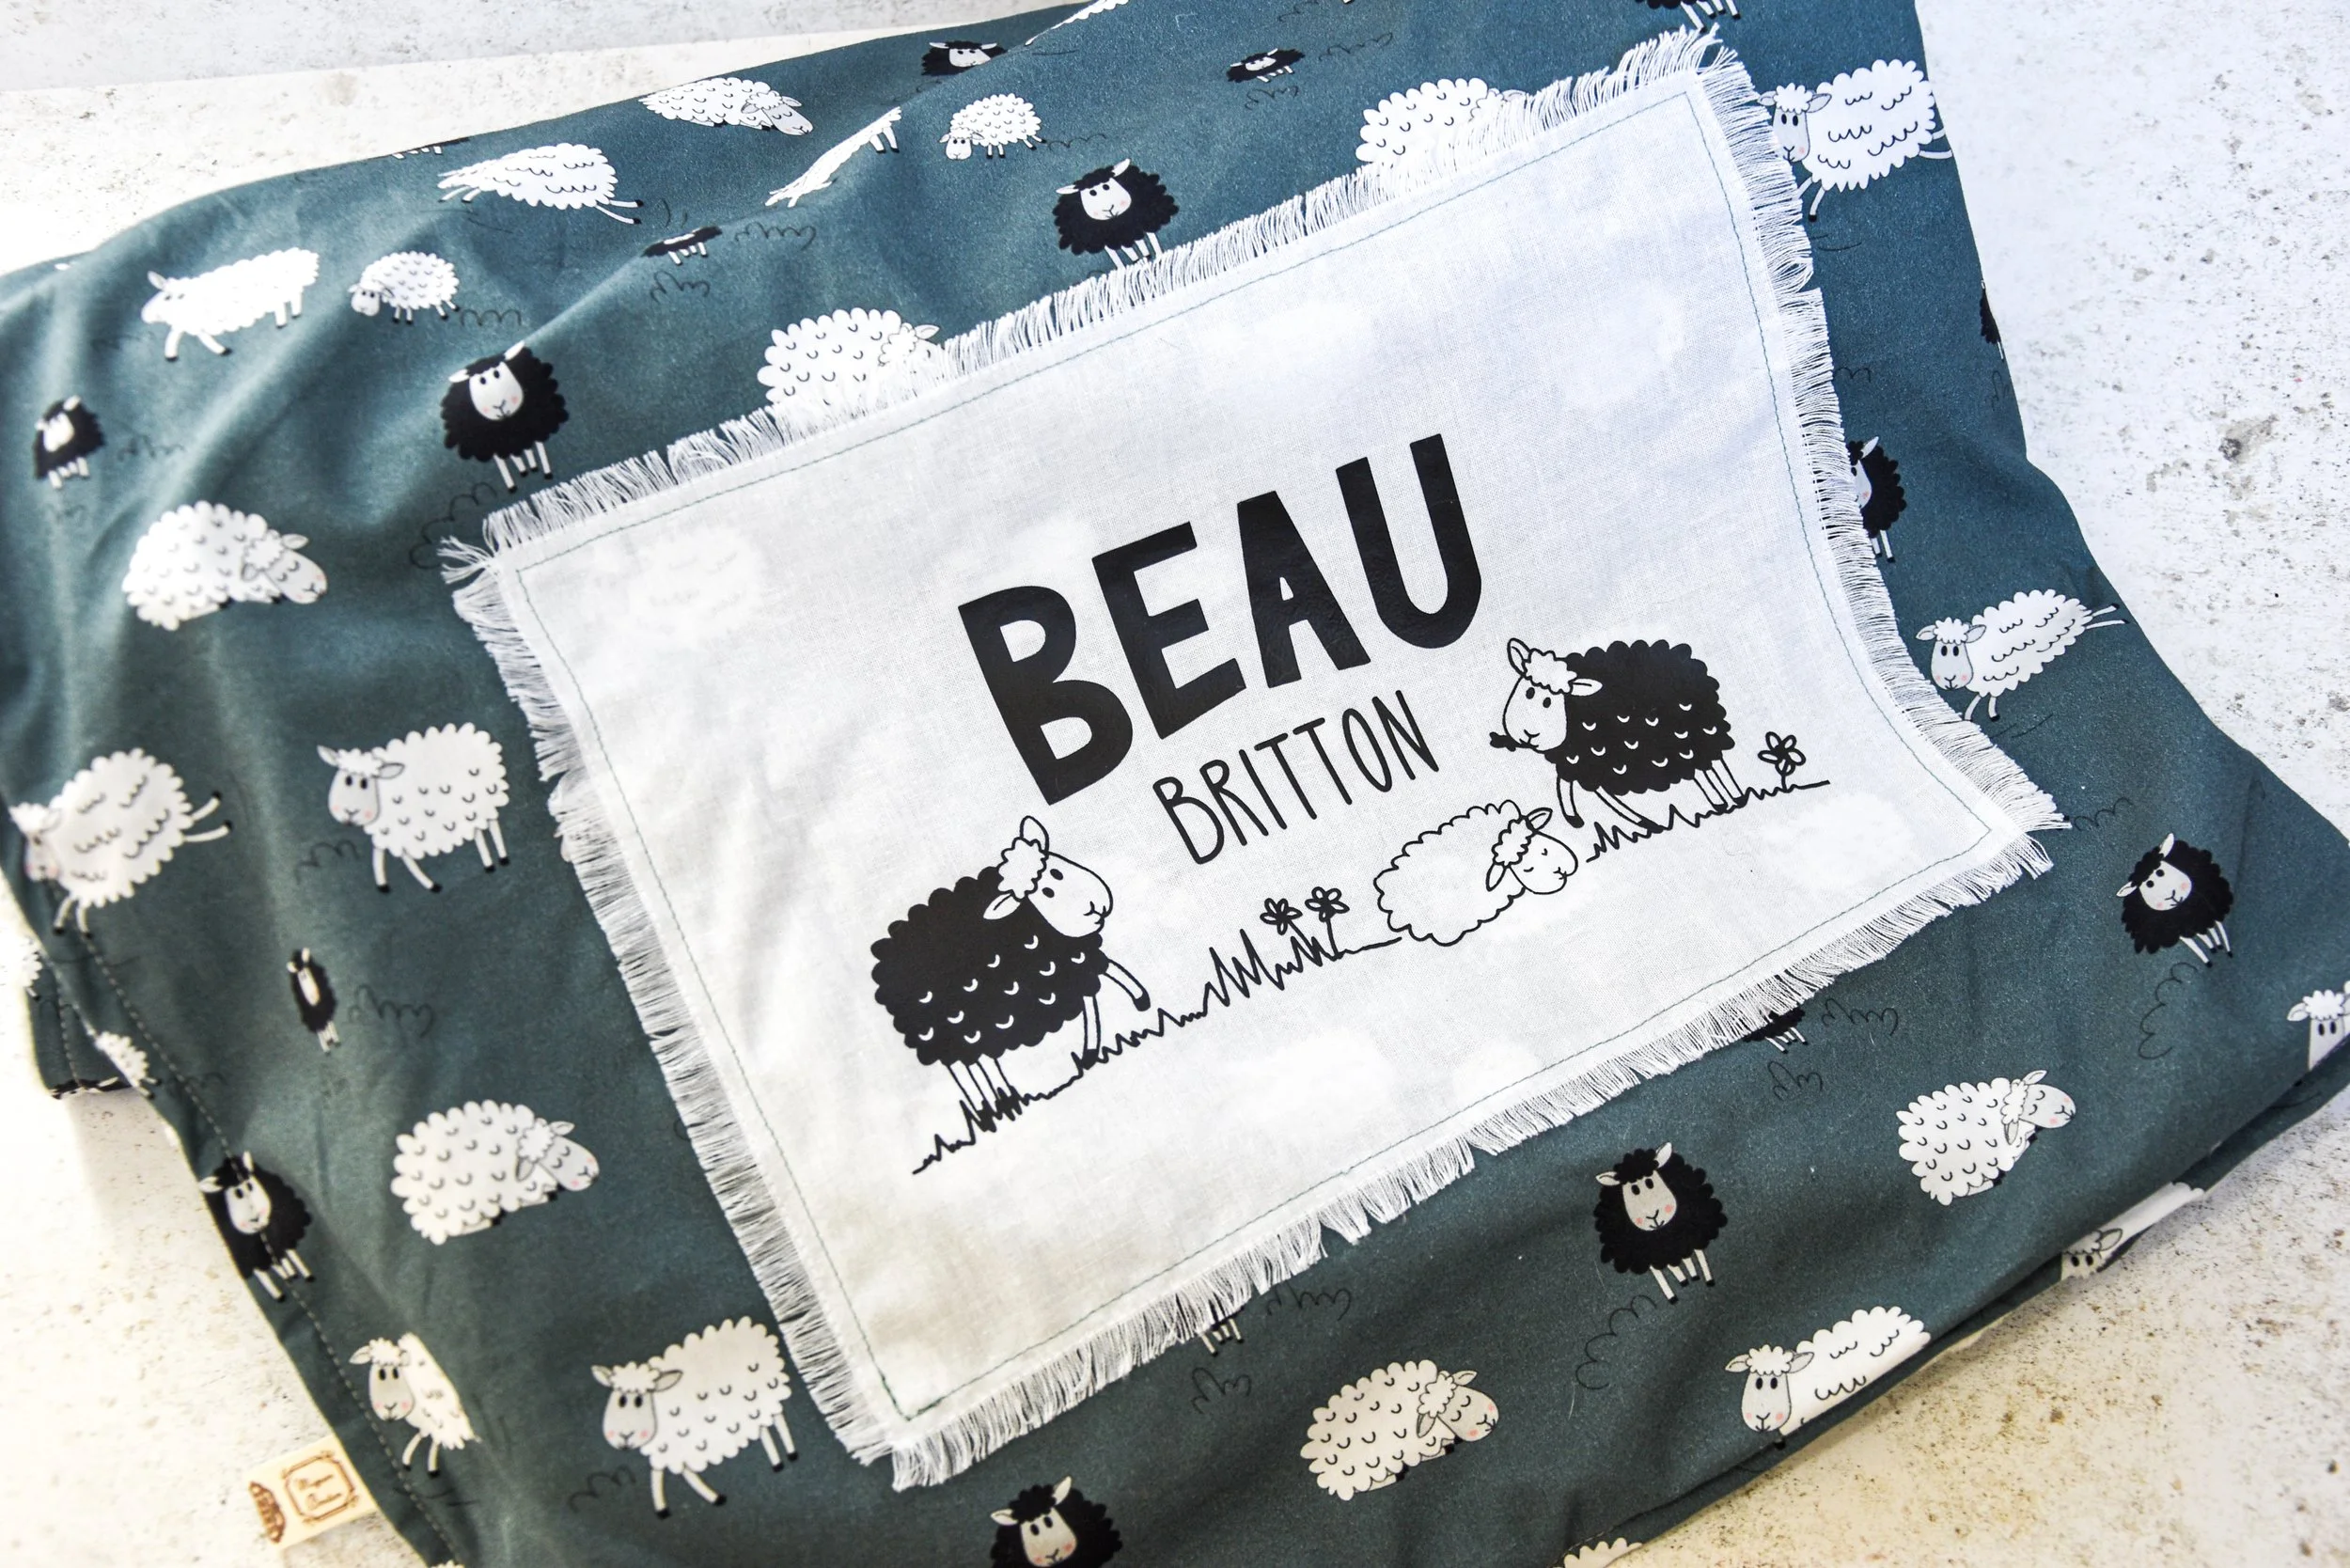
For the blanket, I first chose a cotton fabric with a cute design and neutral colors. I paired it with matching fleece for a cozy underside. While I was waiting for the order to arrive, I designed the personalized part on my iPad, which I then cut out of heat transfer vinyl using my cutting machine. Once all the pieces were ready, all that was left was sewing everything together, and the gift was ready! I also drew the matching card on my iPad.
Baby Blanket 140cm x 140cm (55”x55”)
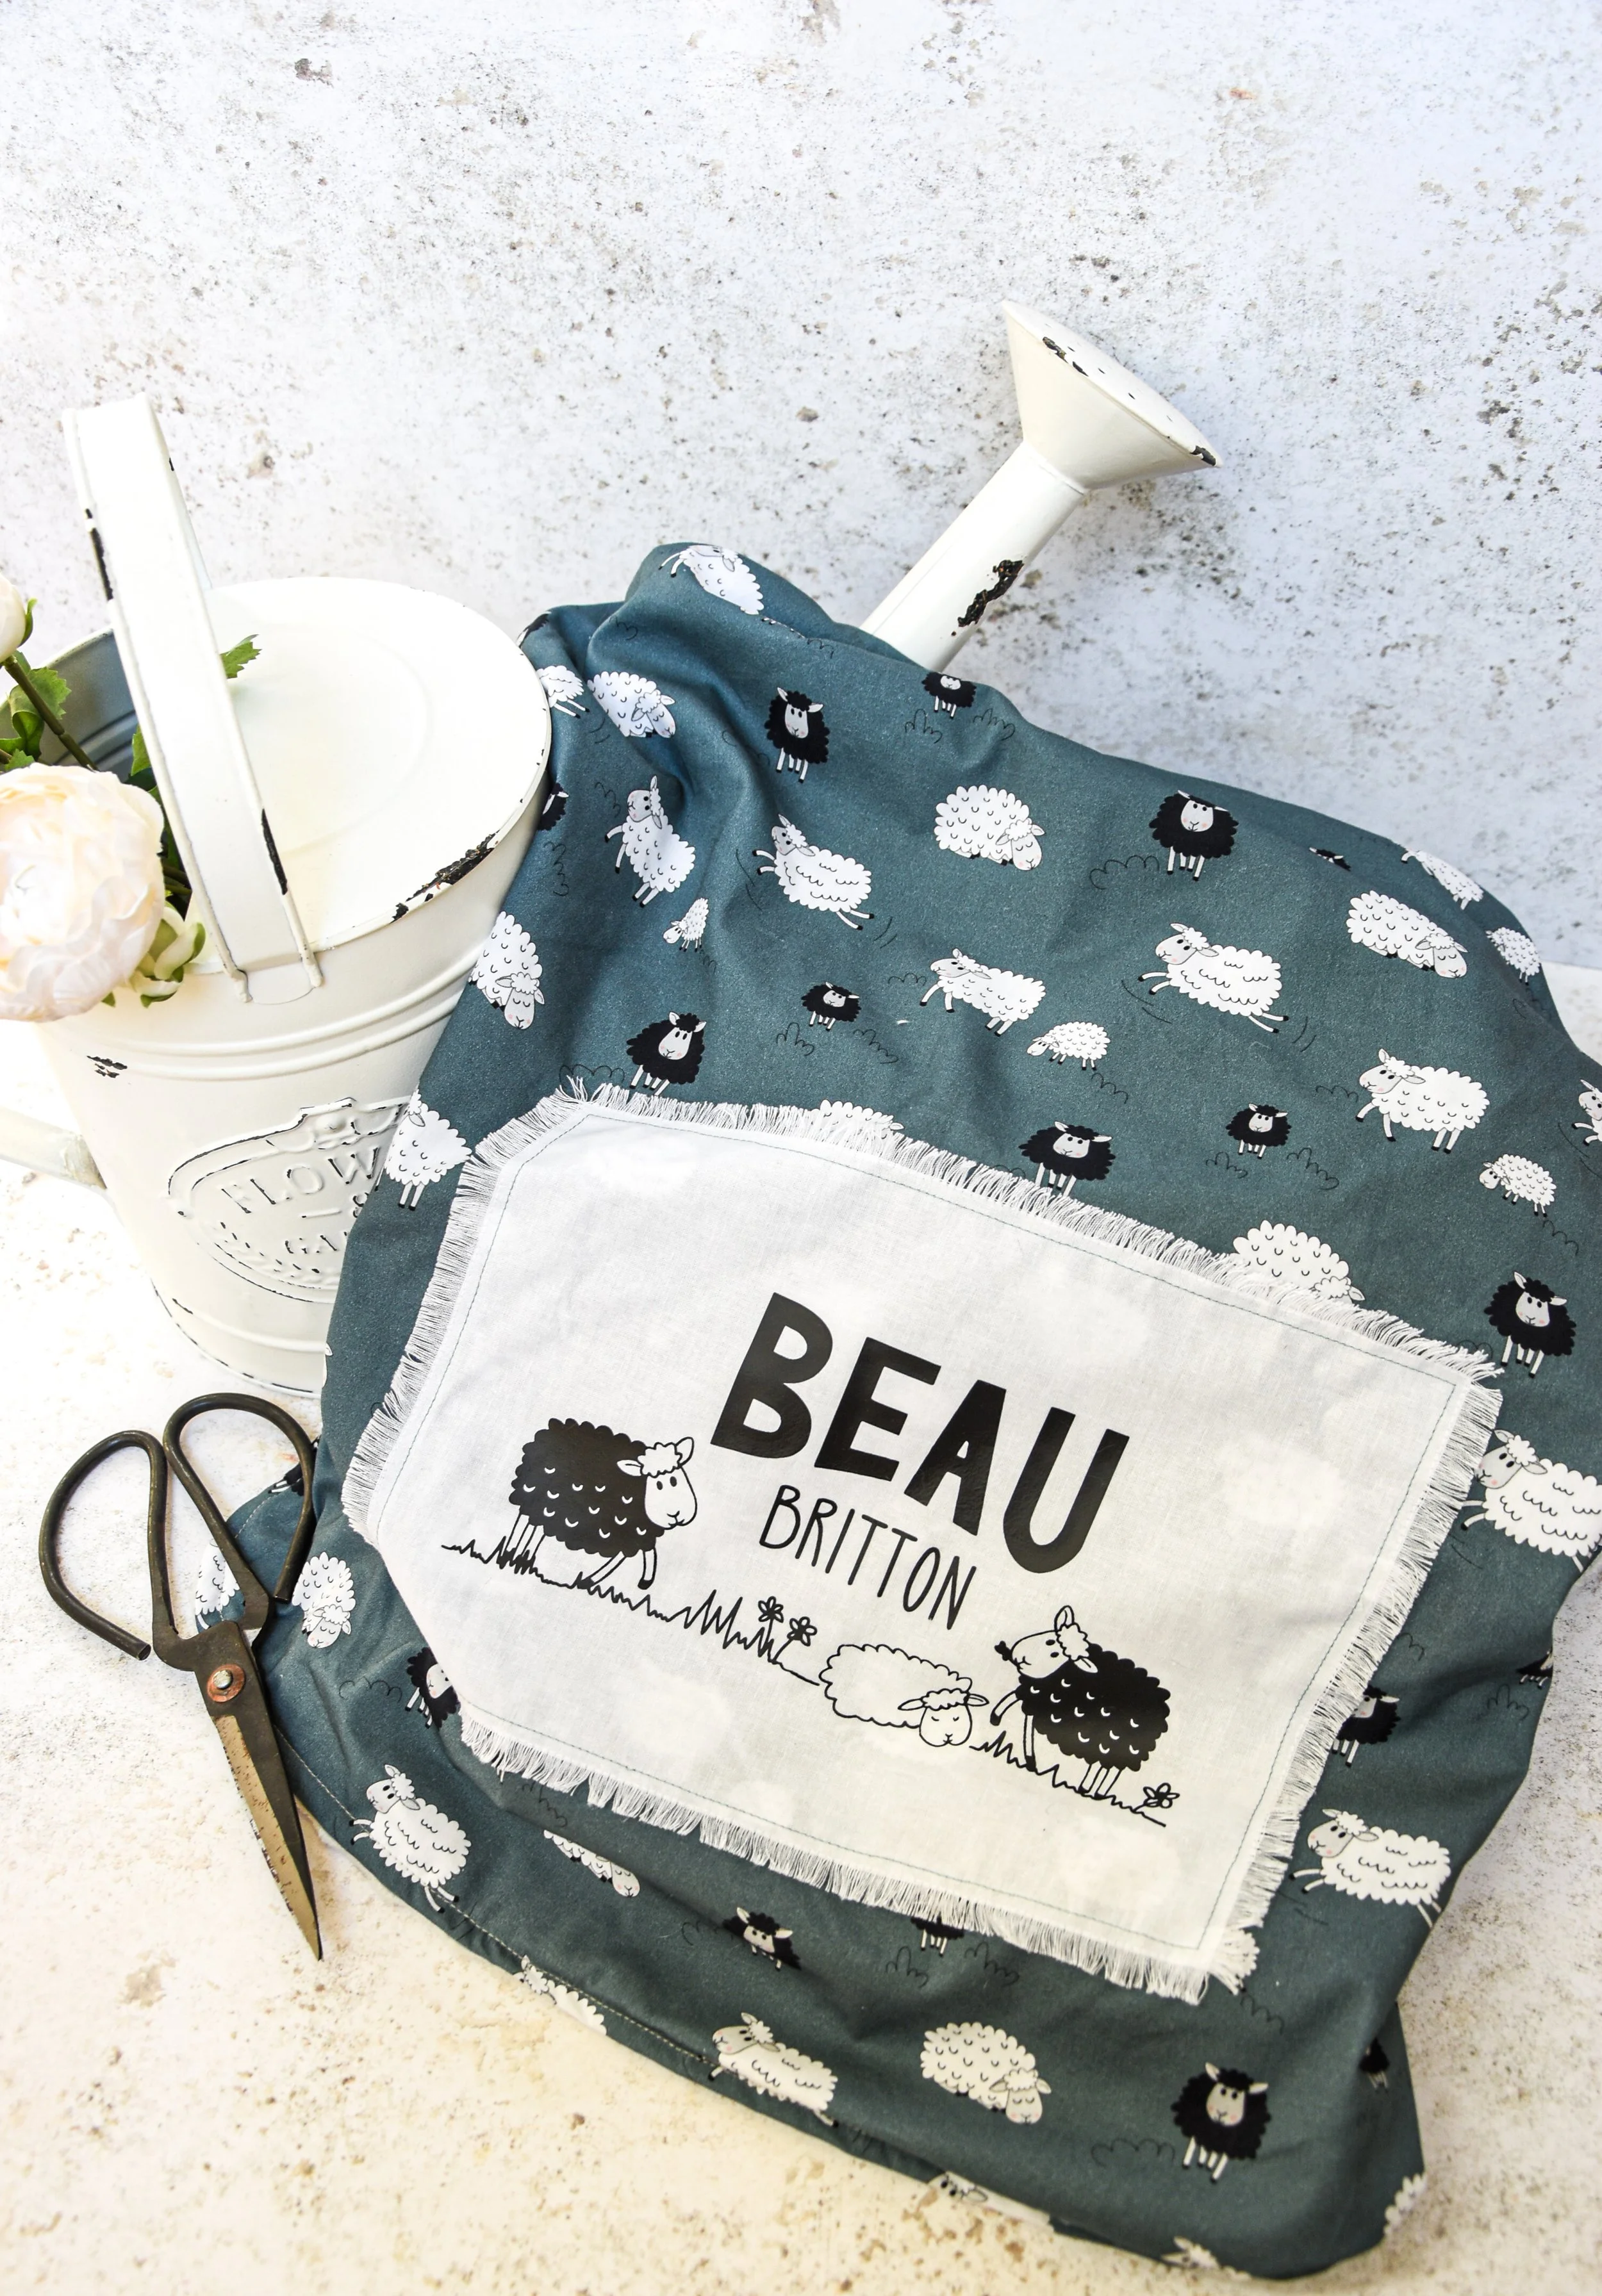
Materials:
Cotton fabric 140cm x 140cm (55”55”)
Fleece 140cm x 140cm (55”55”)
Single-colored cotton fabric, approximately A4 size
Matching sewing thread
Heat transfer vinyl
Tools & Supplies
Sewing machine
Cutting machine
Iron
Pins
Scissors
Instructions:

File for Cutting Machine
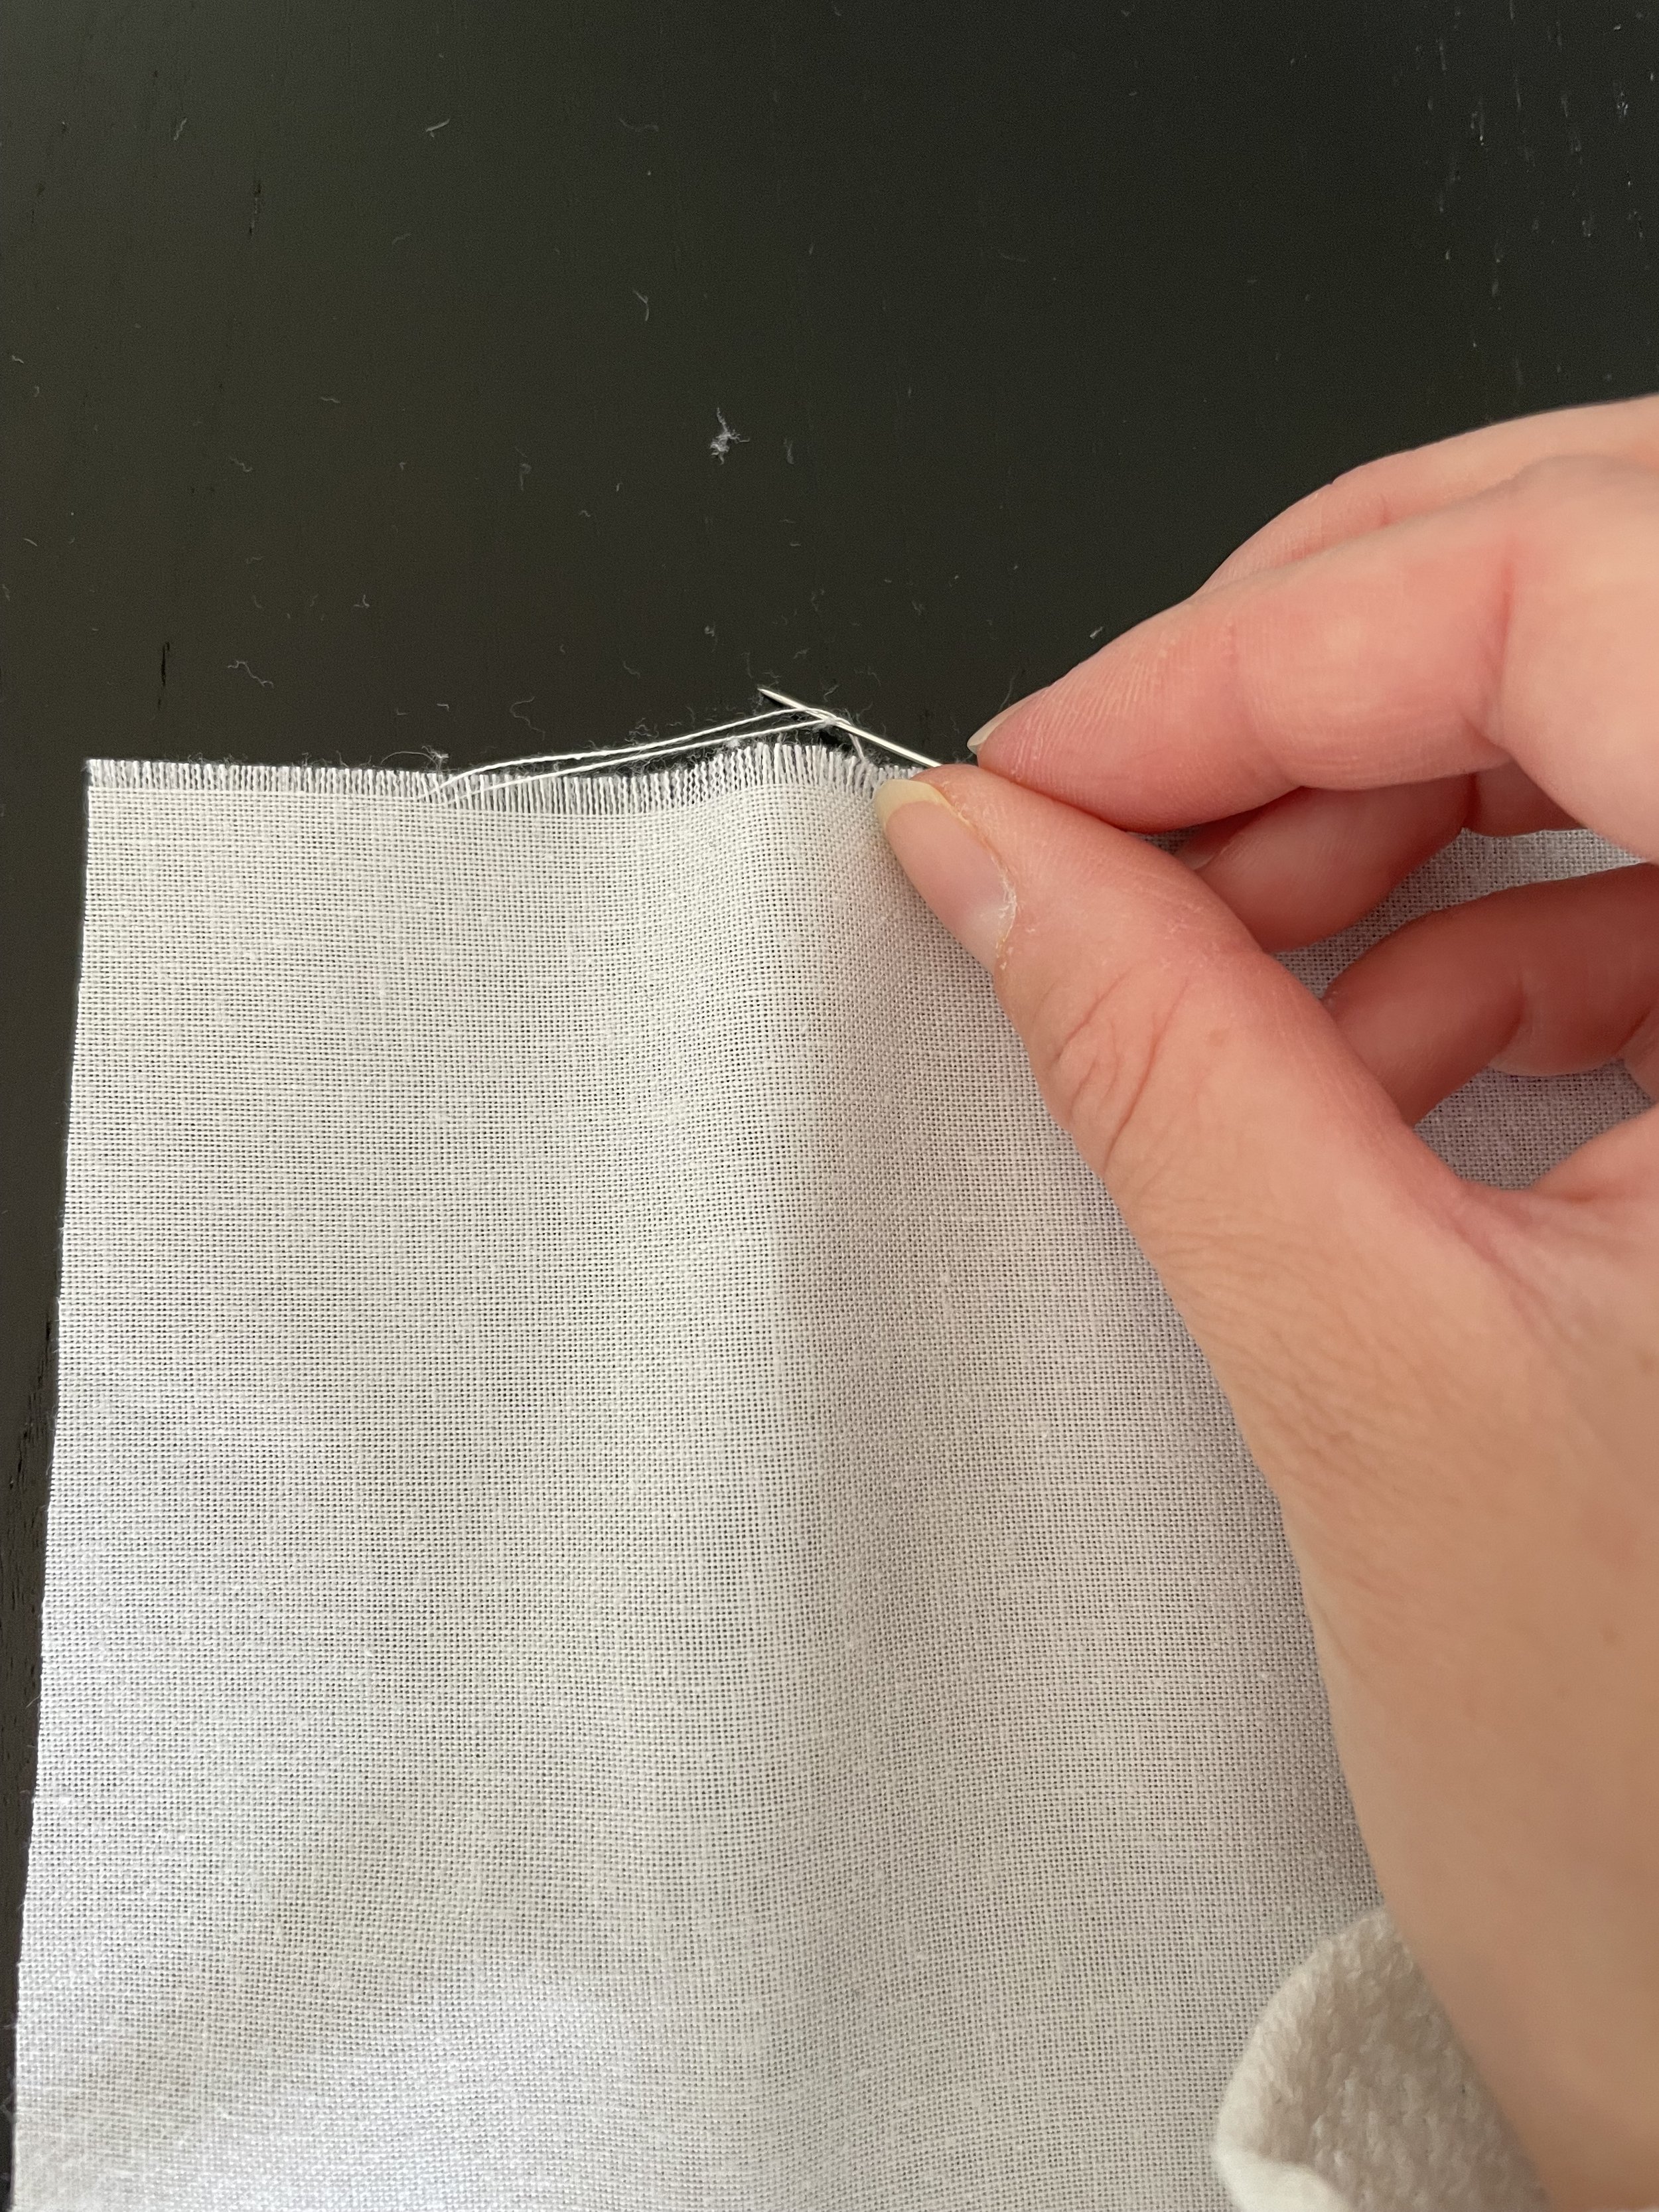
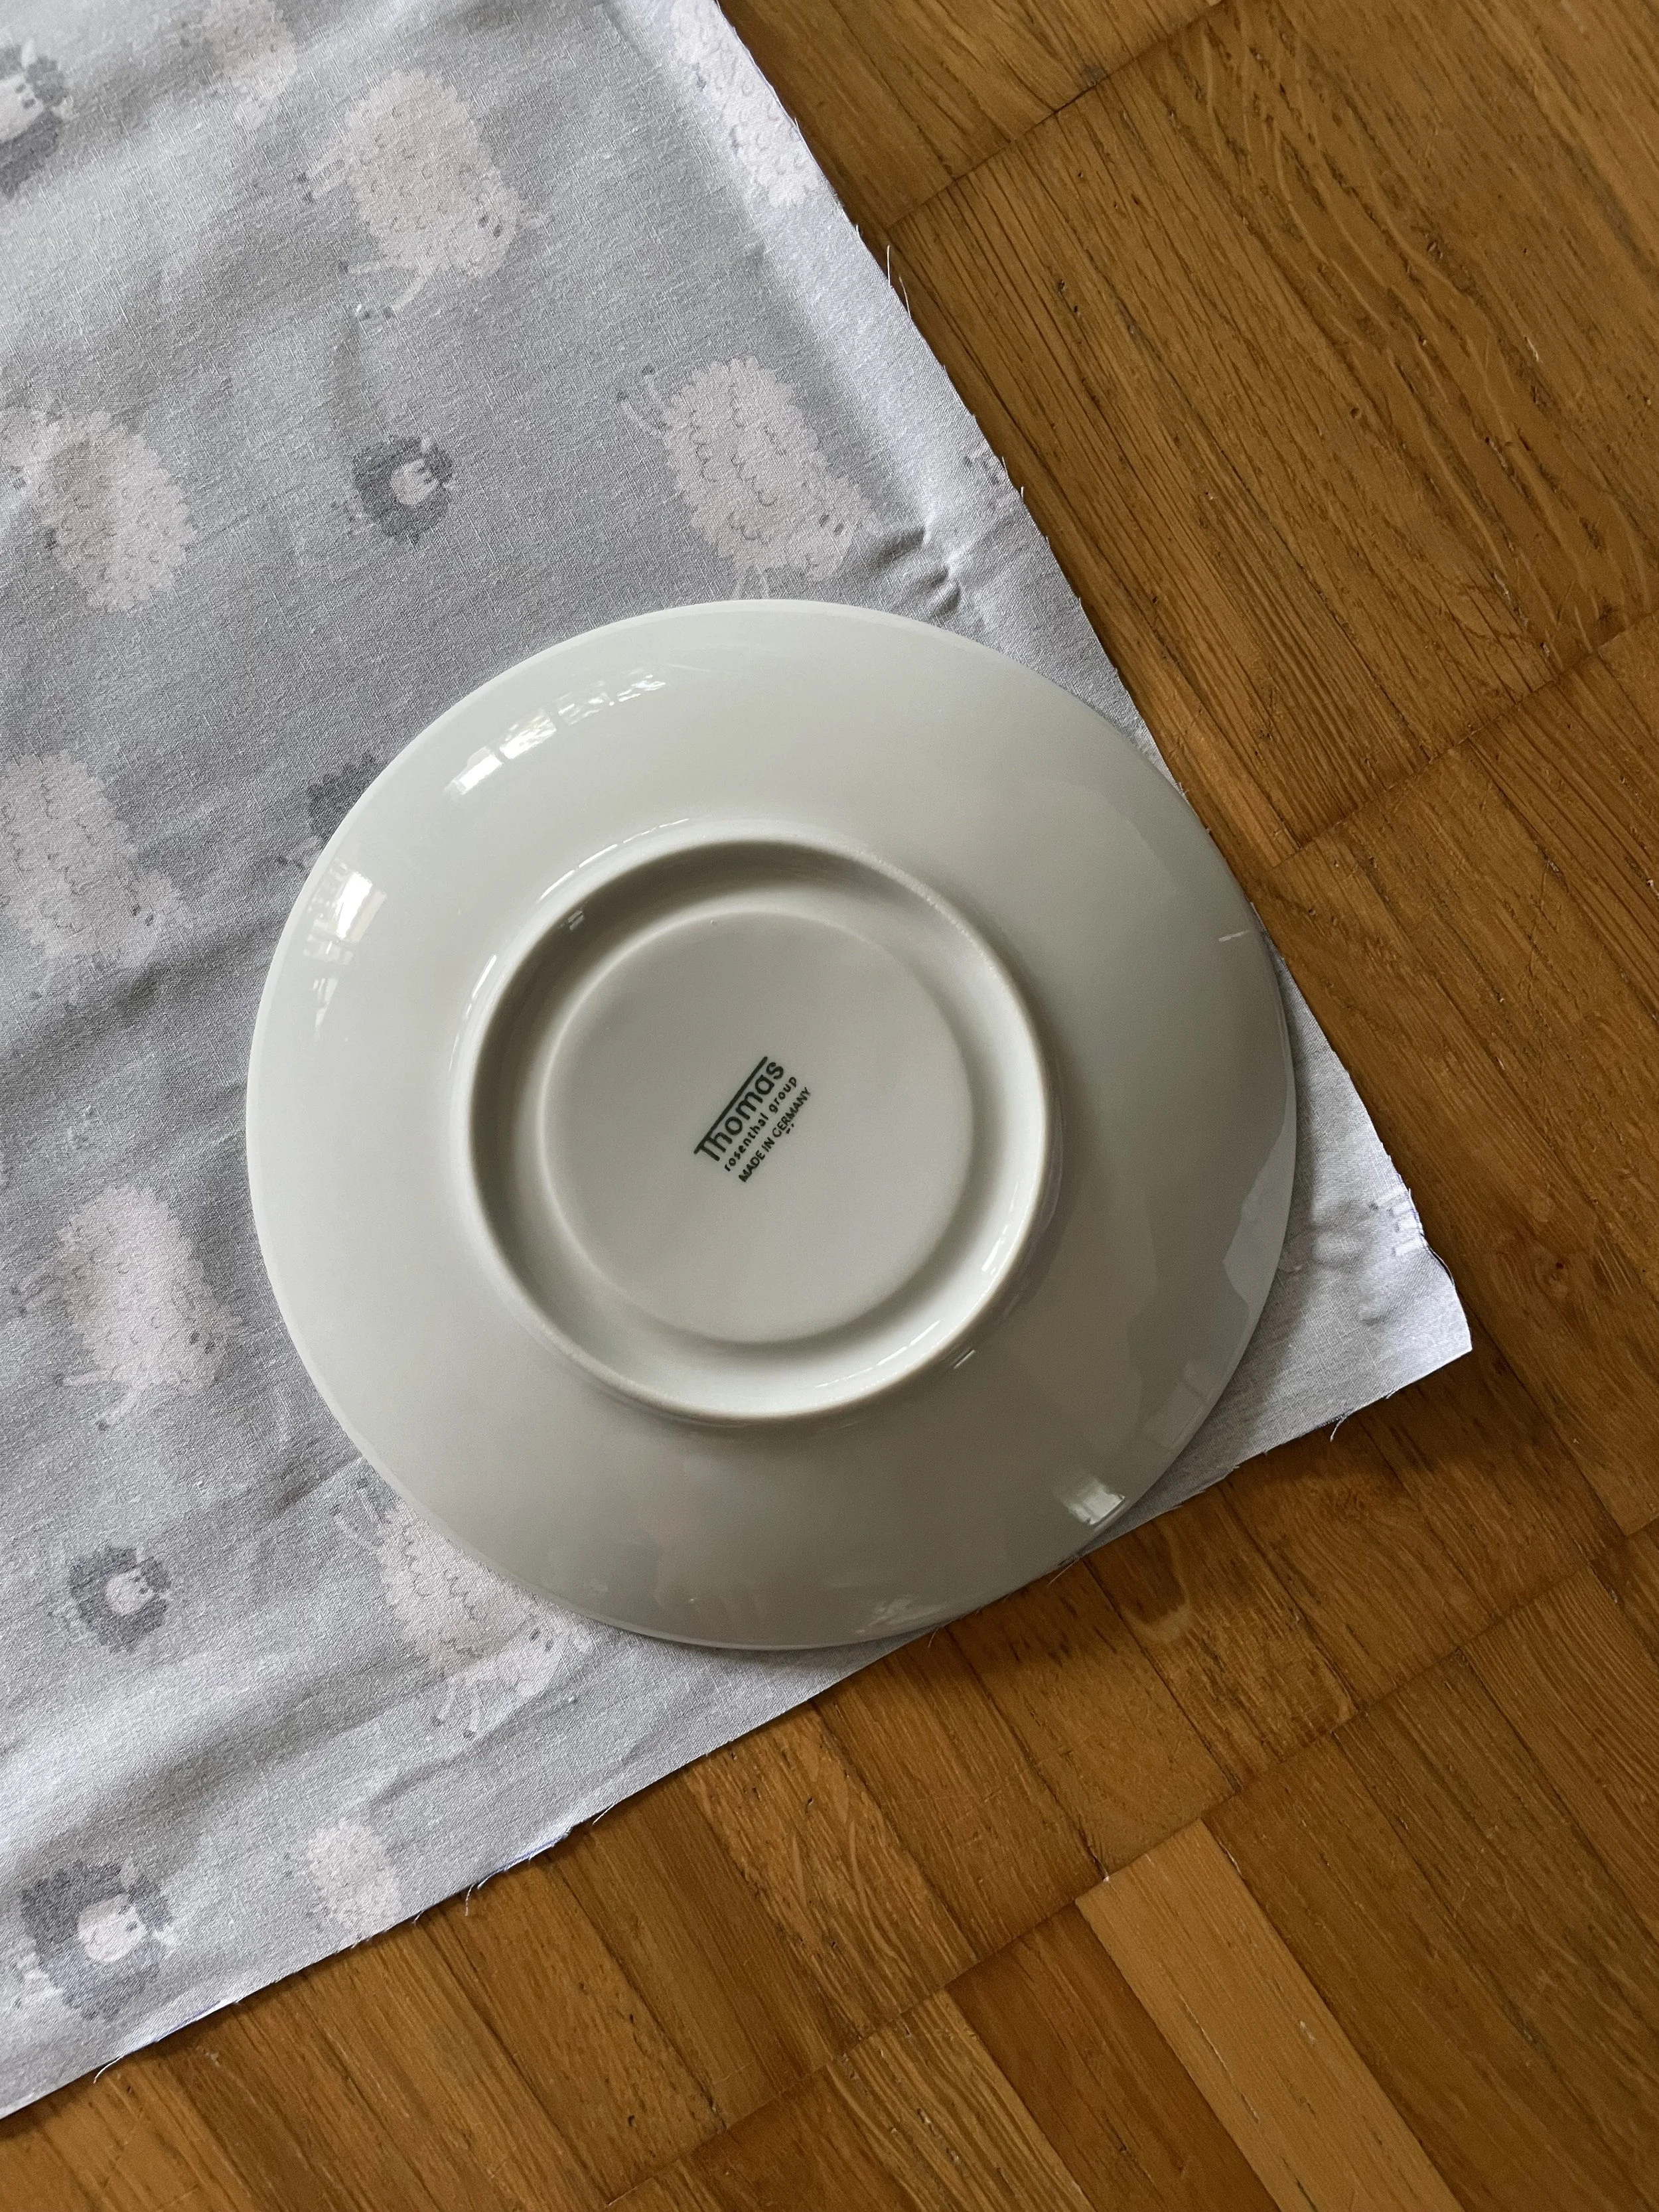
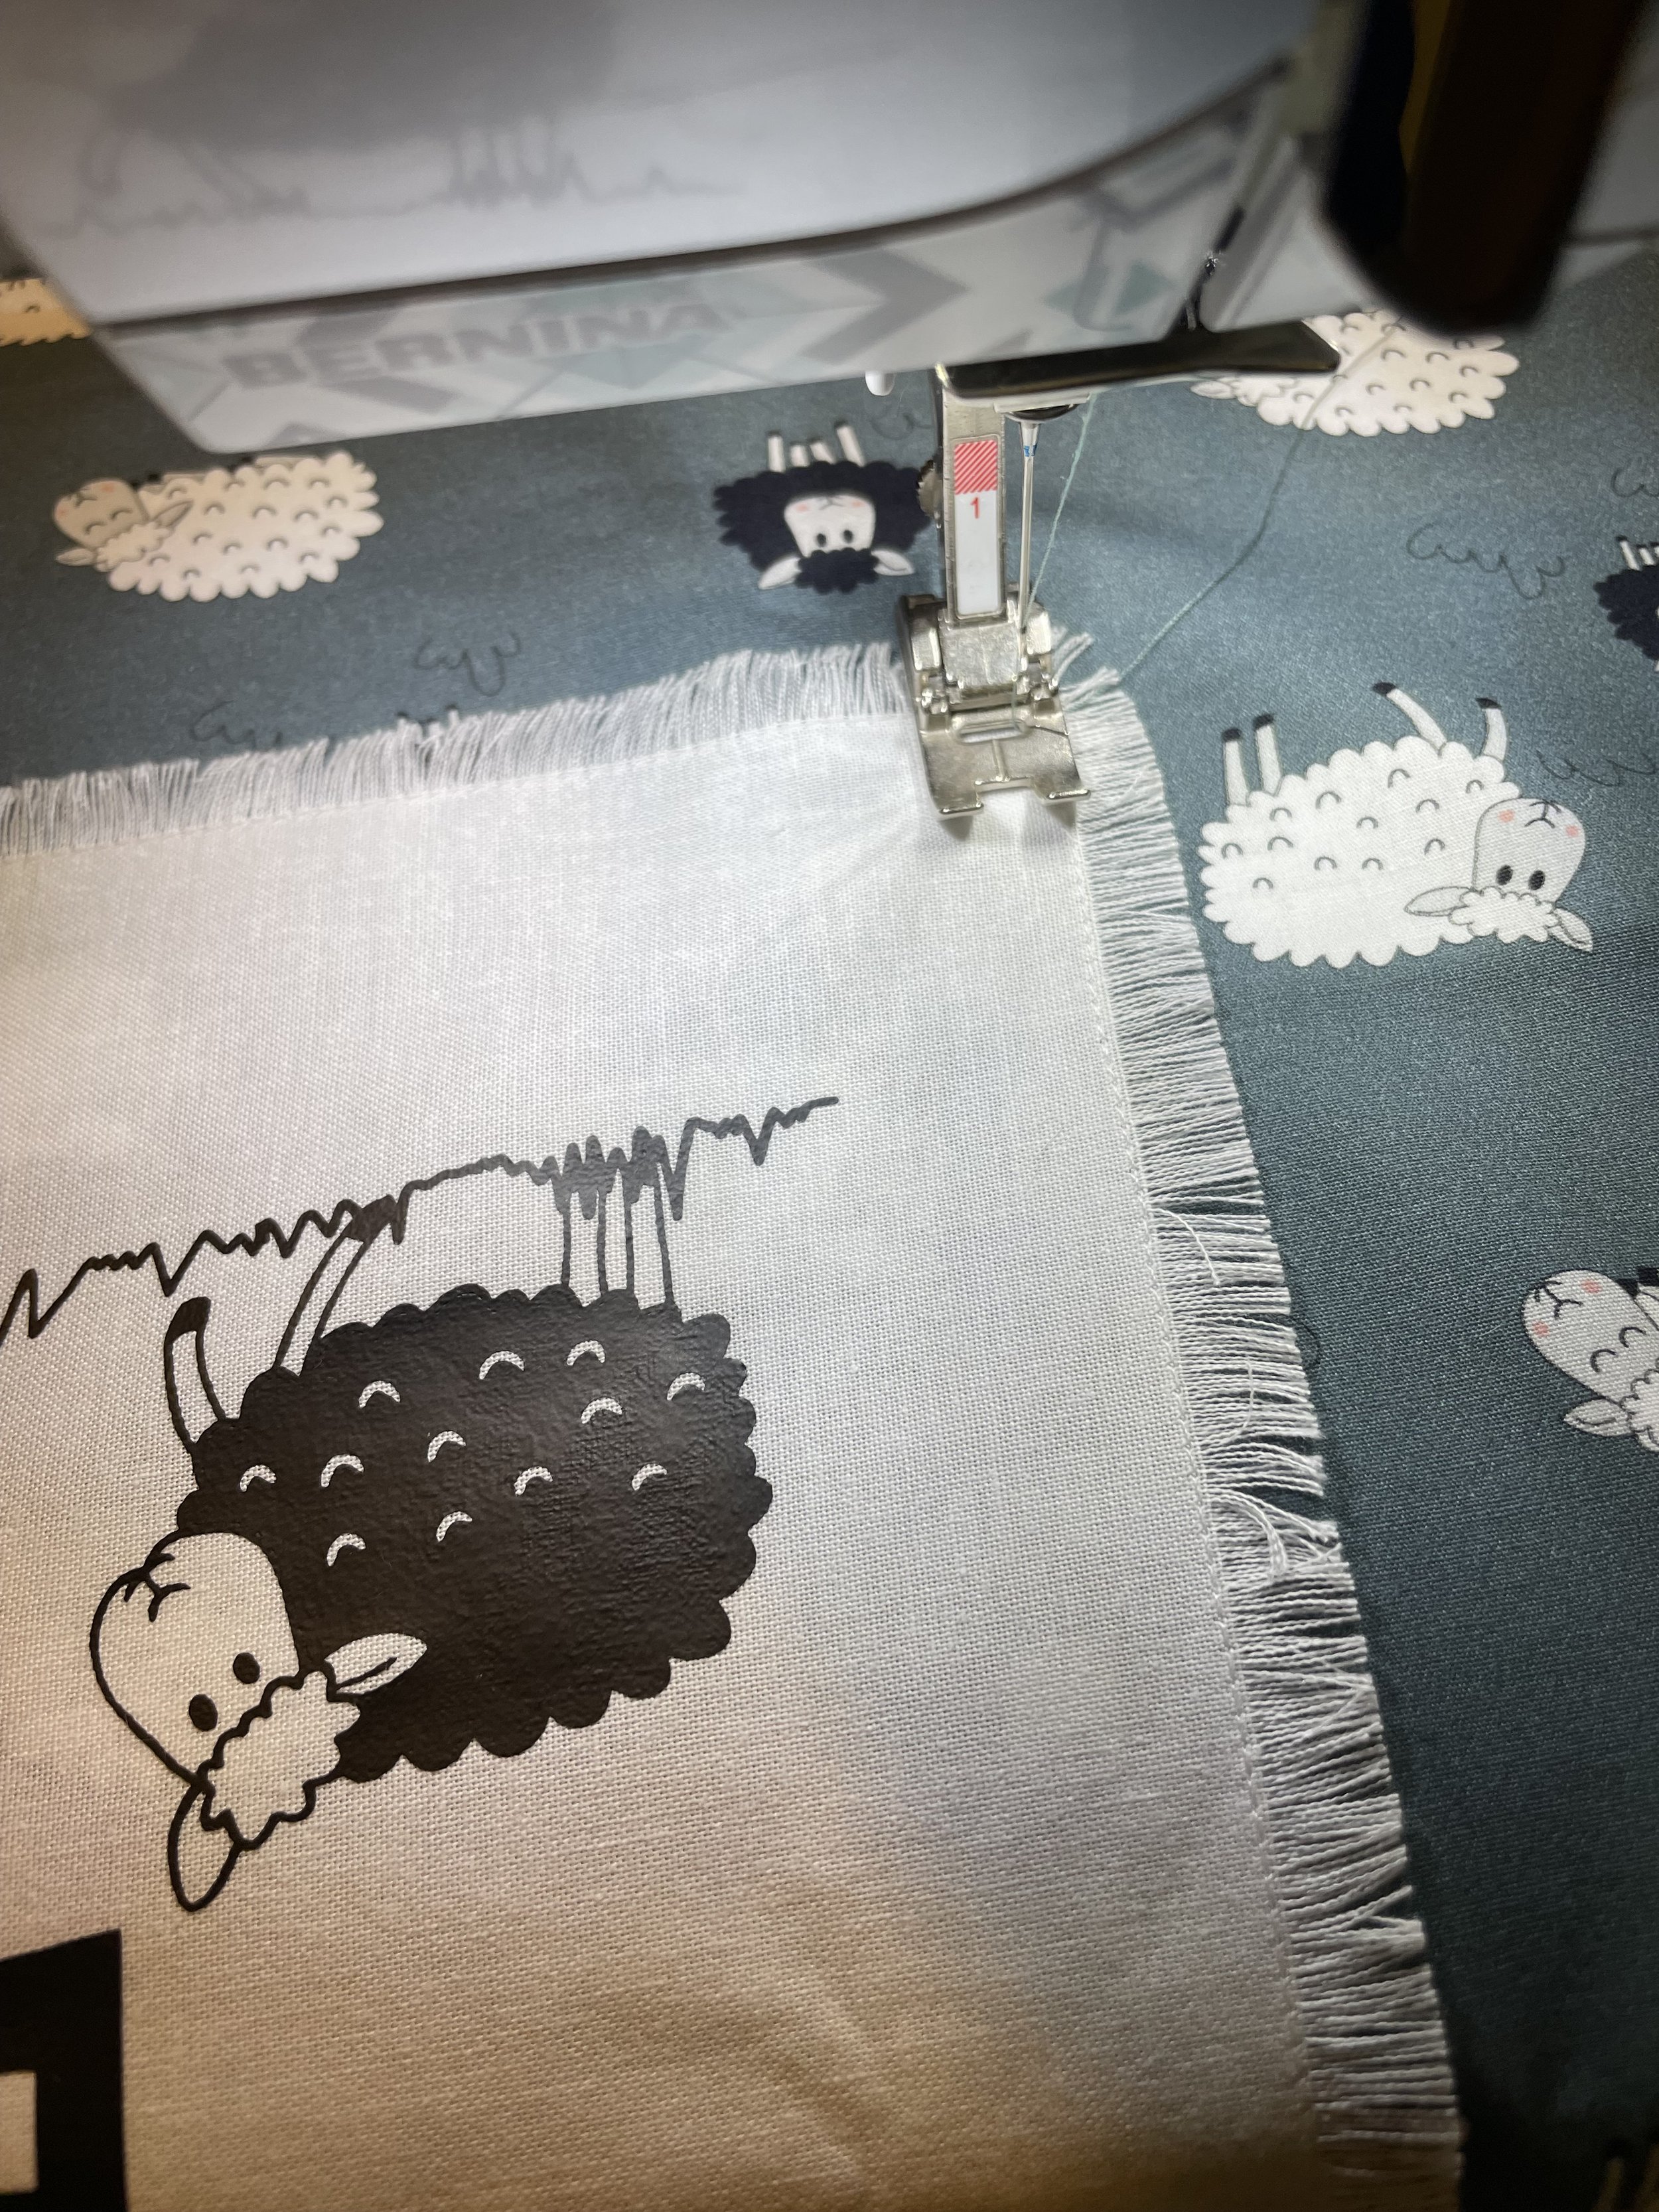
Cut all fabric pieces to the correct size. Fray all four corners of the A4-sized cotton piece, (Picture 1) then sew around the edges once with a straight stitch close to the edge to prevent the fabric from fraying any further. Round the corners of the two large fabric pieces if desired. (To round the corners, place a small plate in the corner and cut around it.) (Picture 2)
Design the name artwork. I used the app Procreate and drew the entire design with a black pen, creating the illustrations to match the fabric’s theme. When drawing, it is important not to make the lines too thin, as they can become too delicate when cutting and may tear. Before exporting, turn off the background so the cutting machine can automatically recognize the lines. Export the image as a PNG and import it into your cutting machine’s software. Cut the design mirrored onto the heat transfer vinyl.
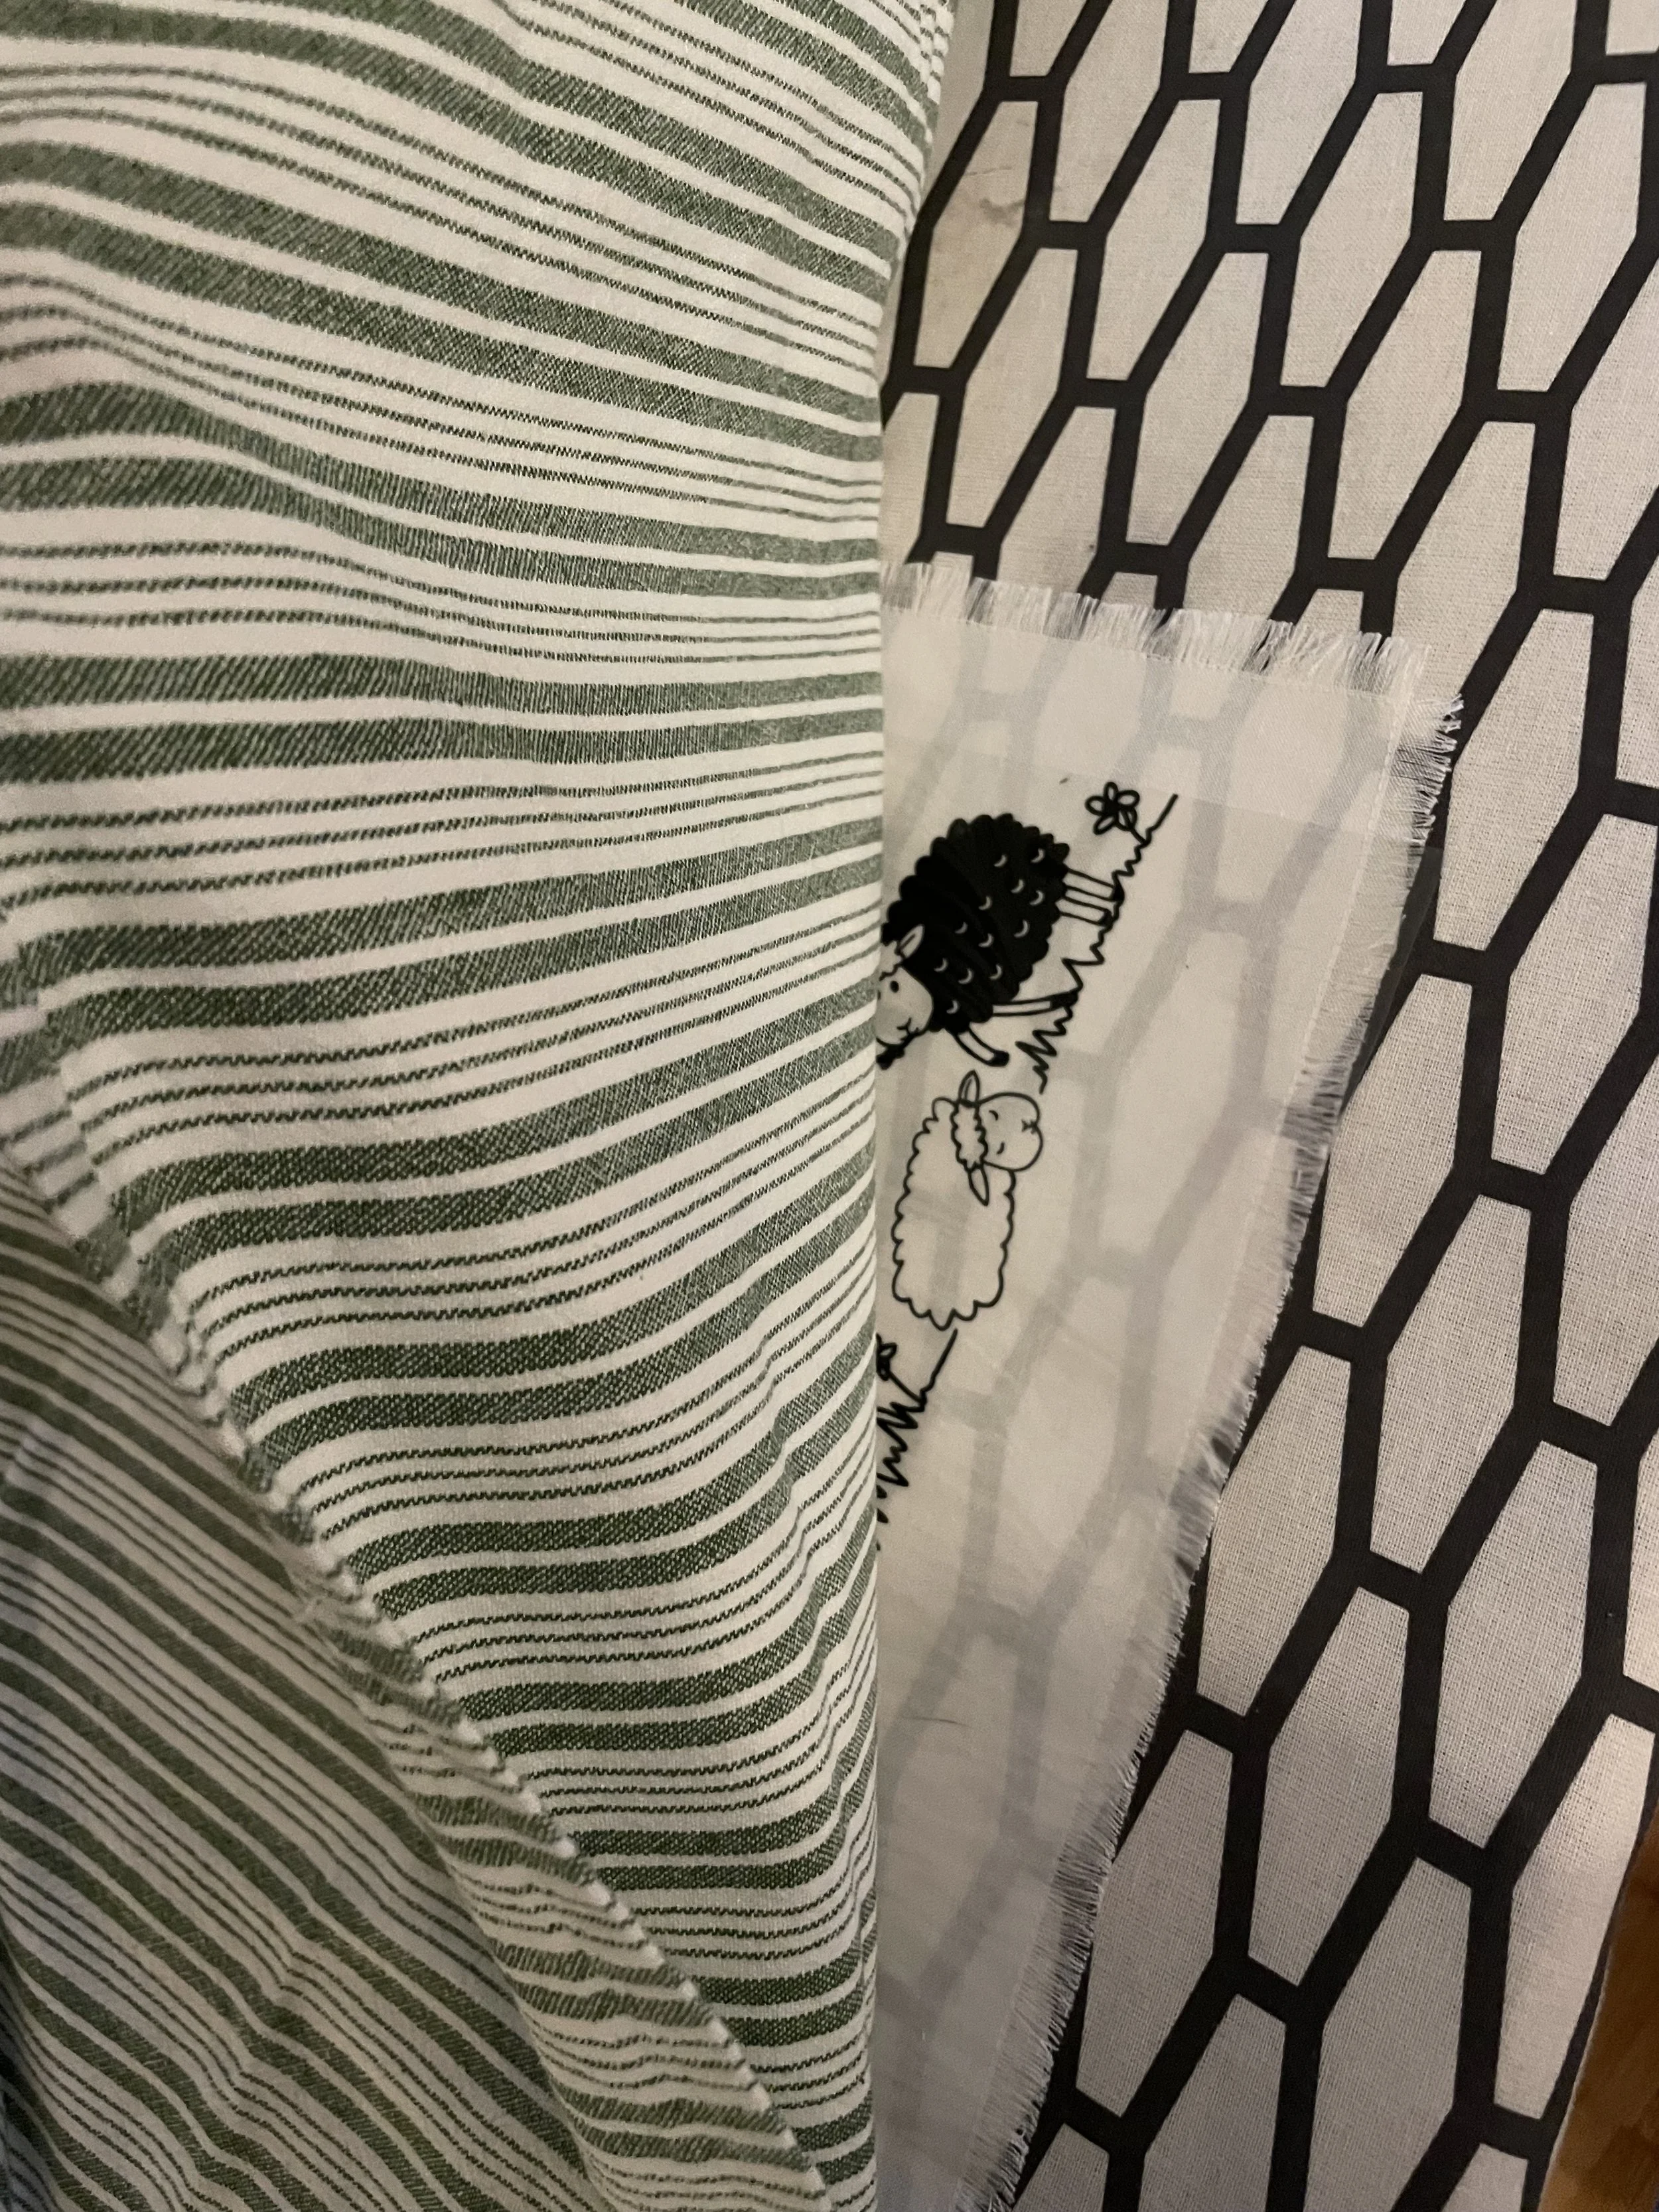
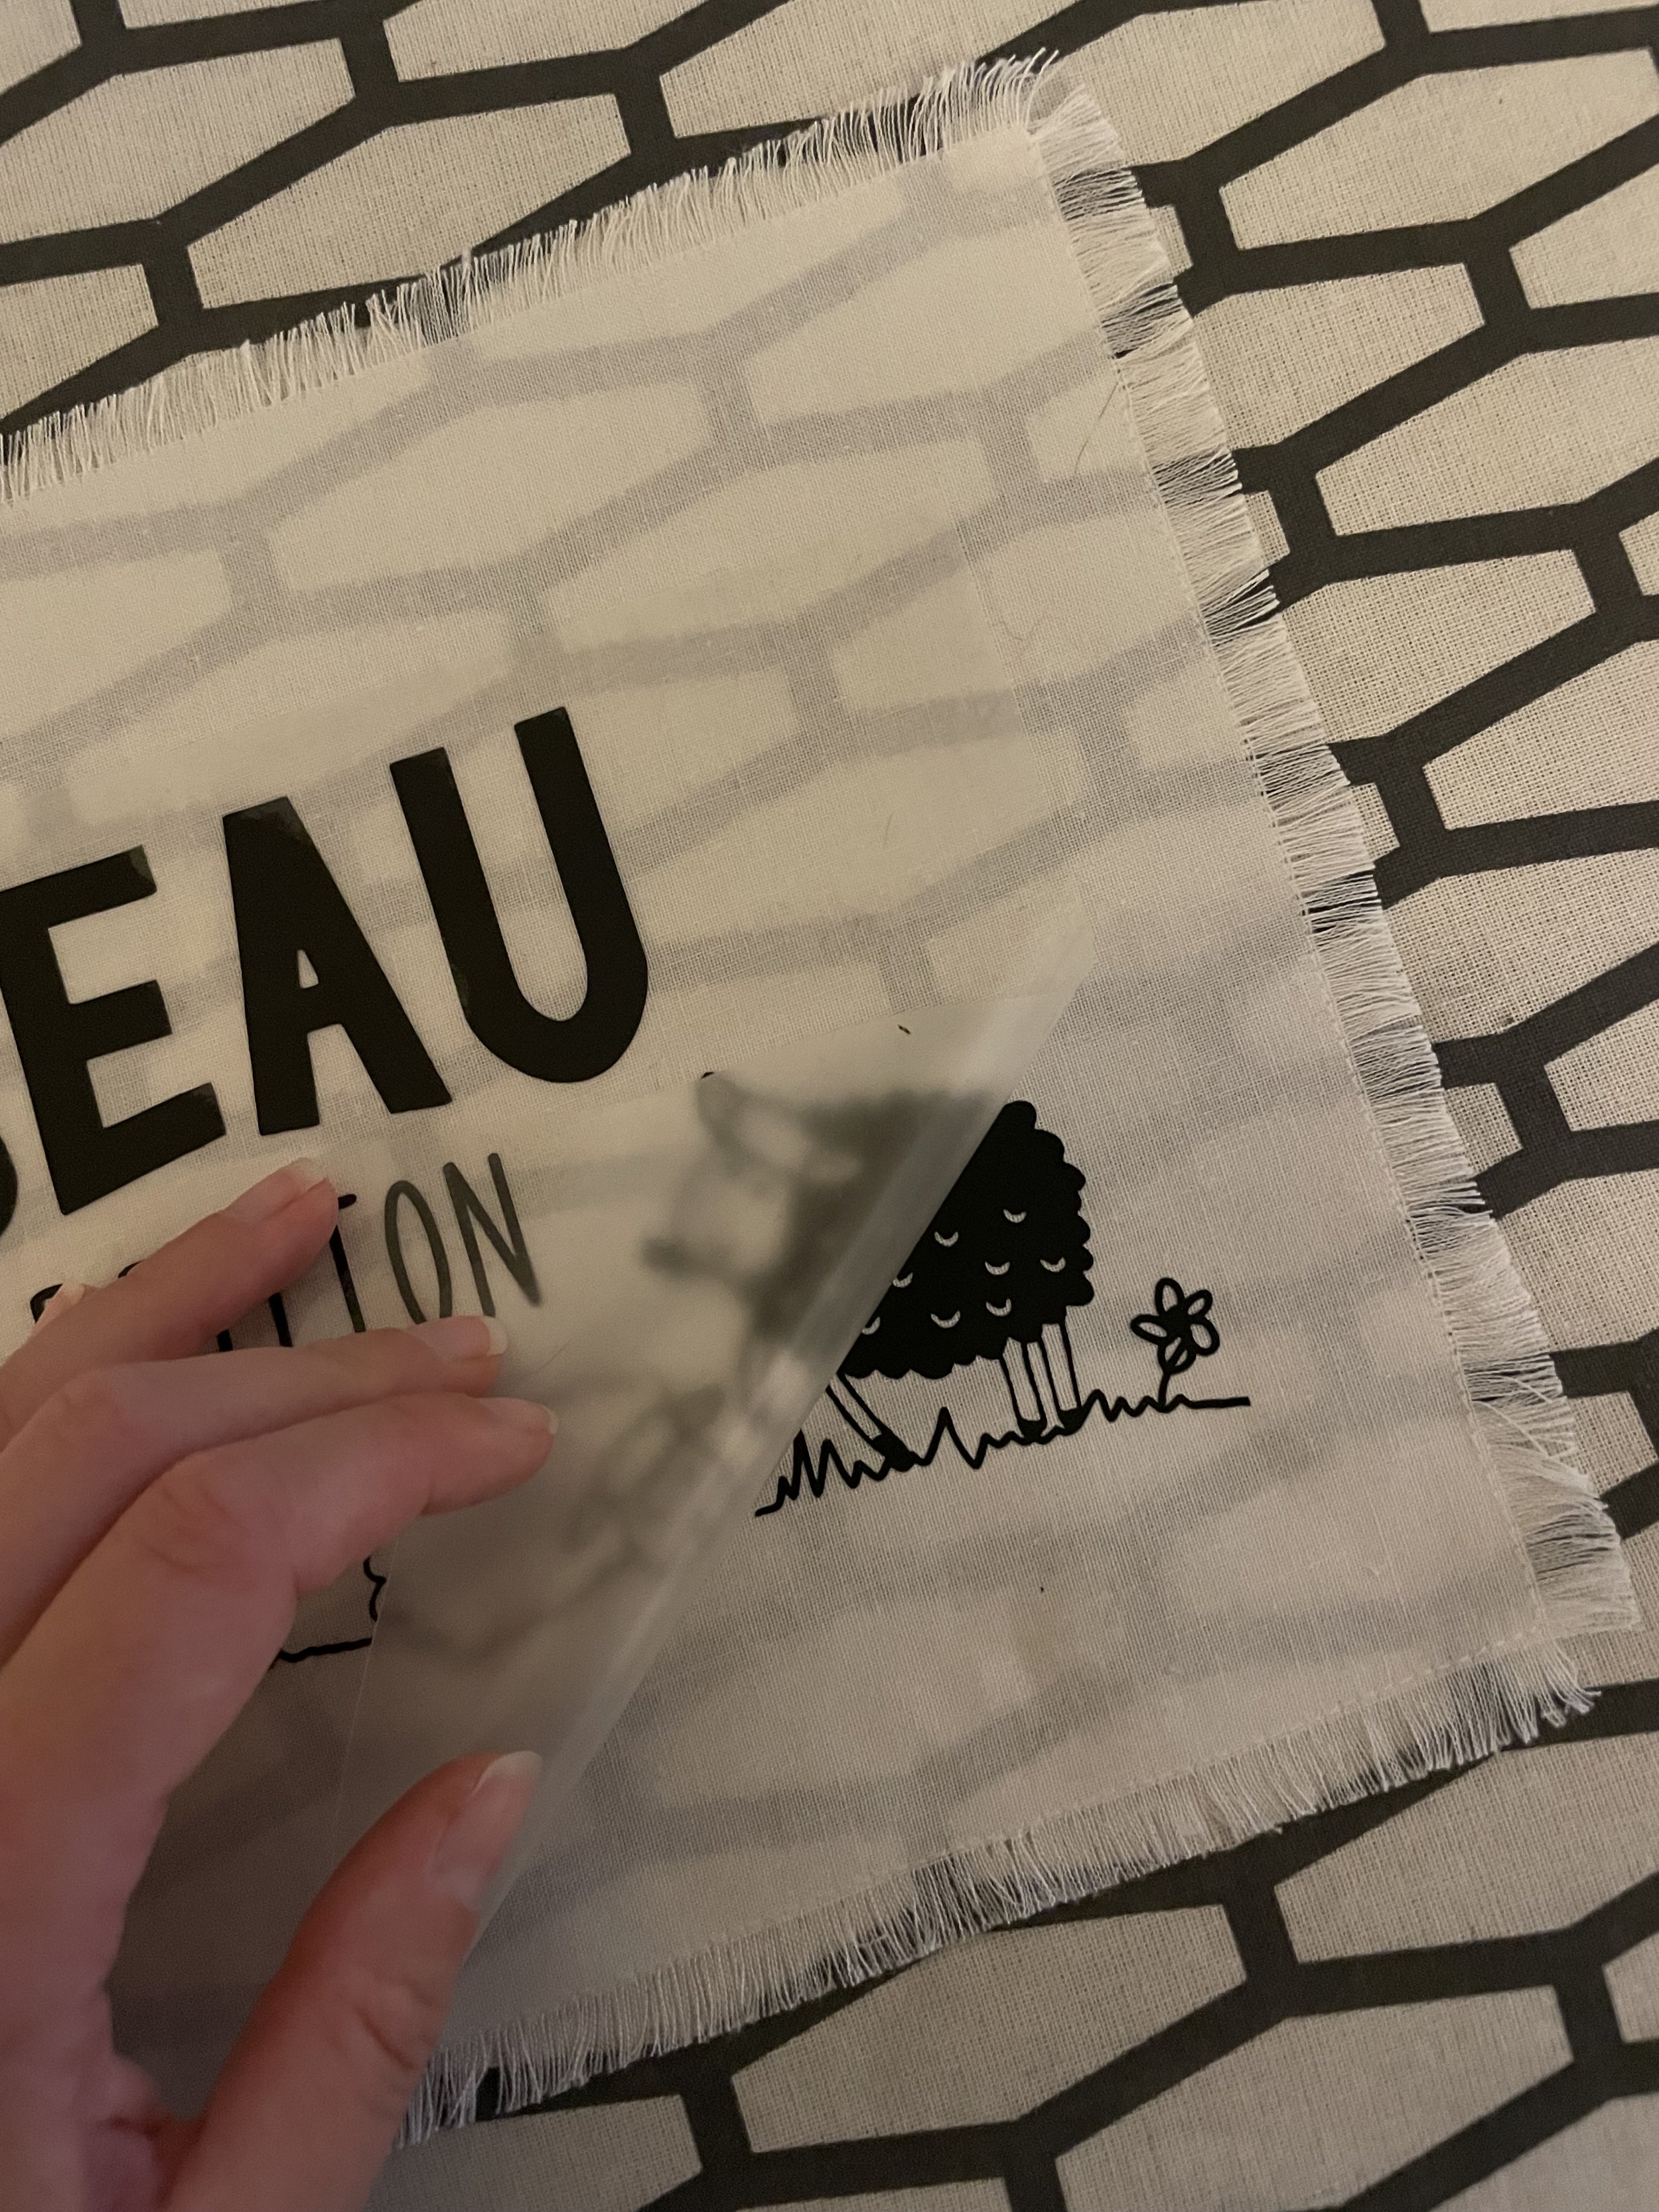
Use a pin to remove all the pieces of vinyl that are not part of the design. Then place the vinyl onto the solid-colored cotton piece. Cover it with a kitchen towel and use an iron to heat-press it onto the fabric. Follow the instructions provided with the vinyl. (Picture 3 + 4)
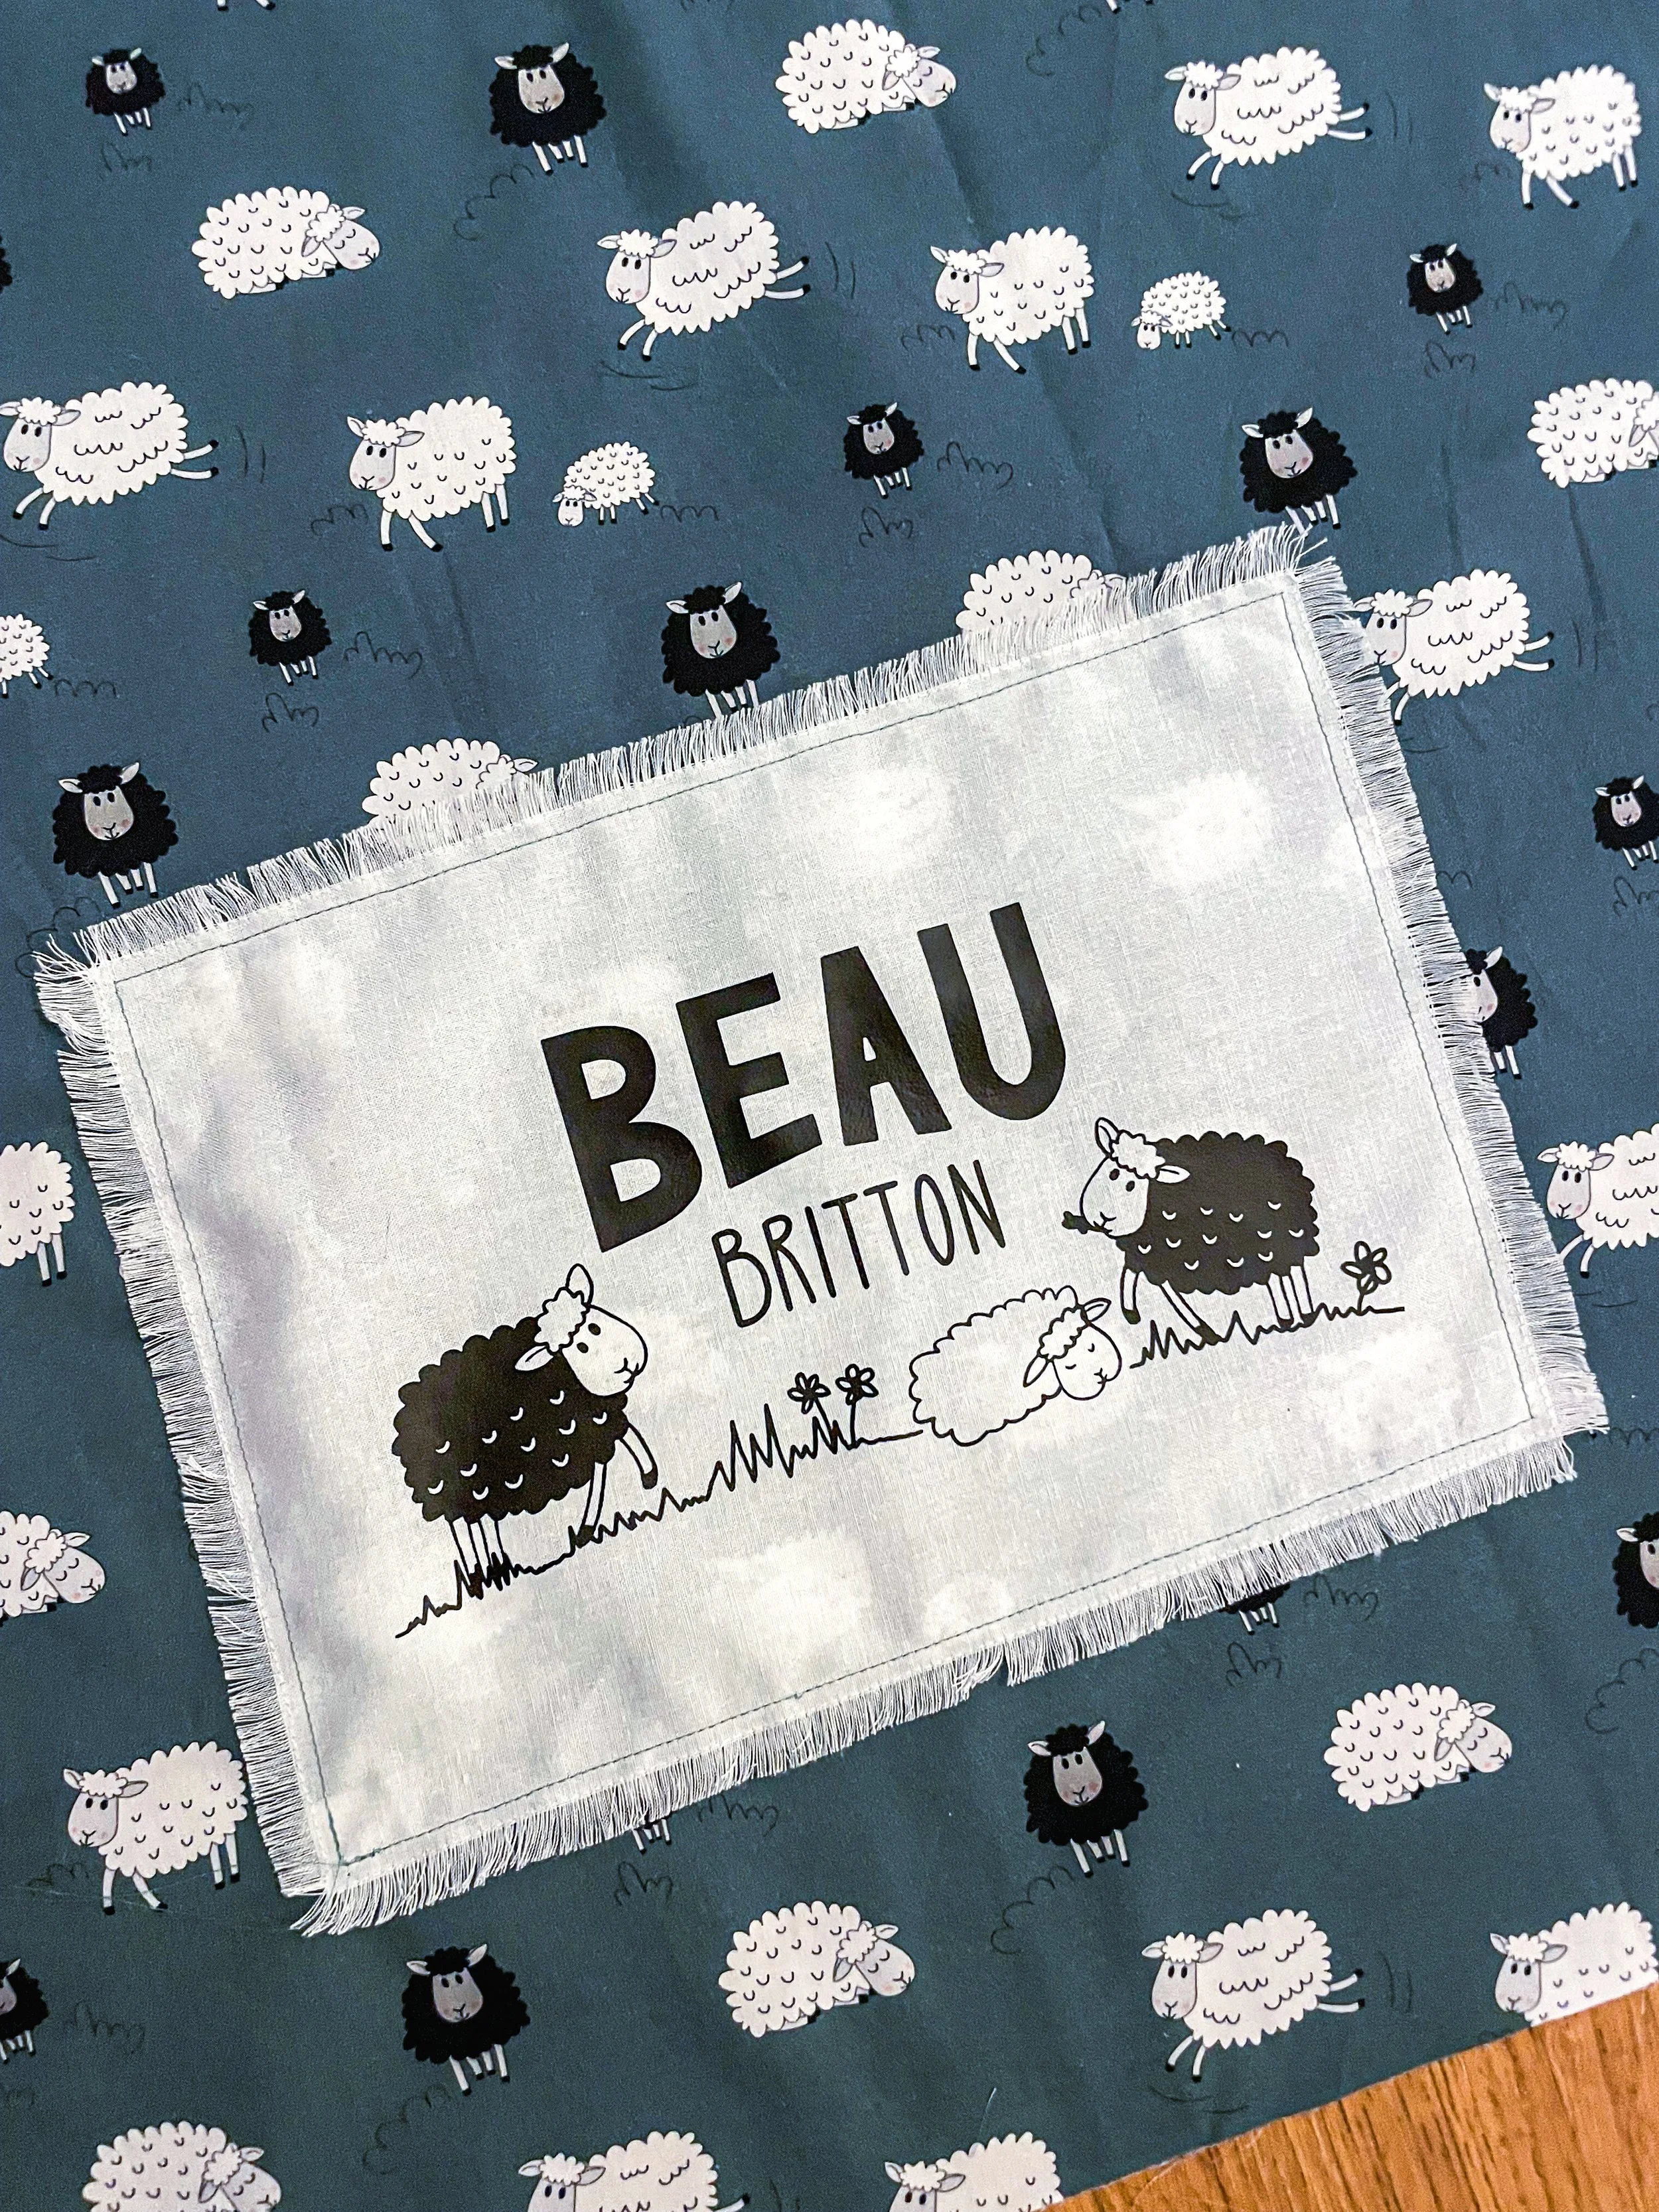
Sew the fabric piece onto the patterned cotton fabric. I chose the bottom left corner, but of course, the placement is completely up to you. I used a thread color that matched the patterned fabric to add a playful element. (Picture 5 + 6)
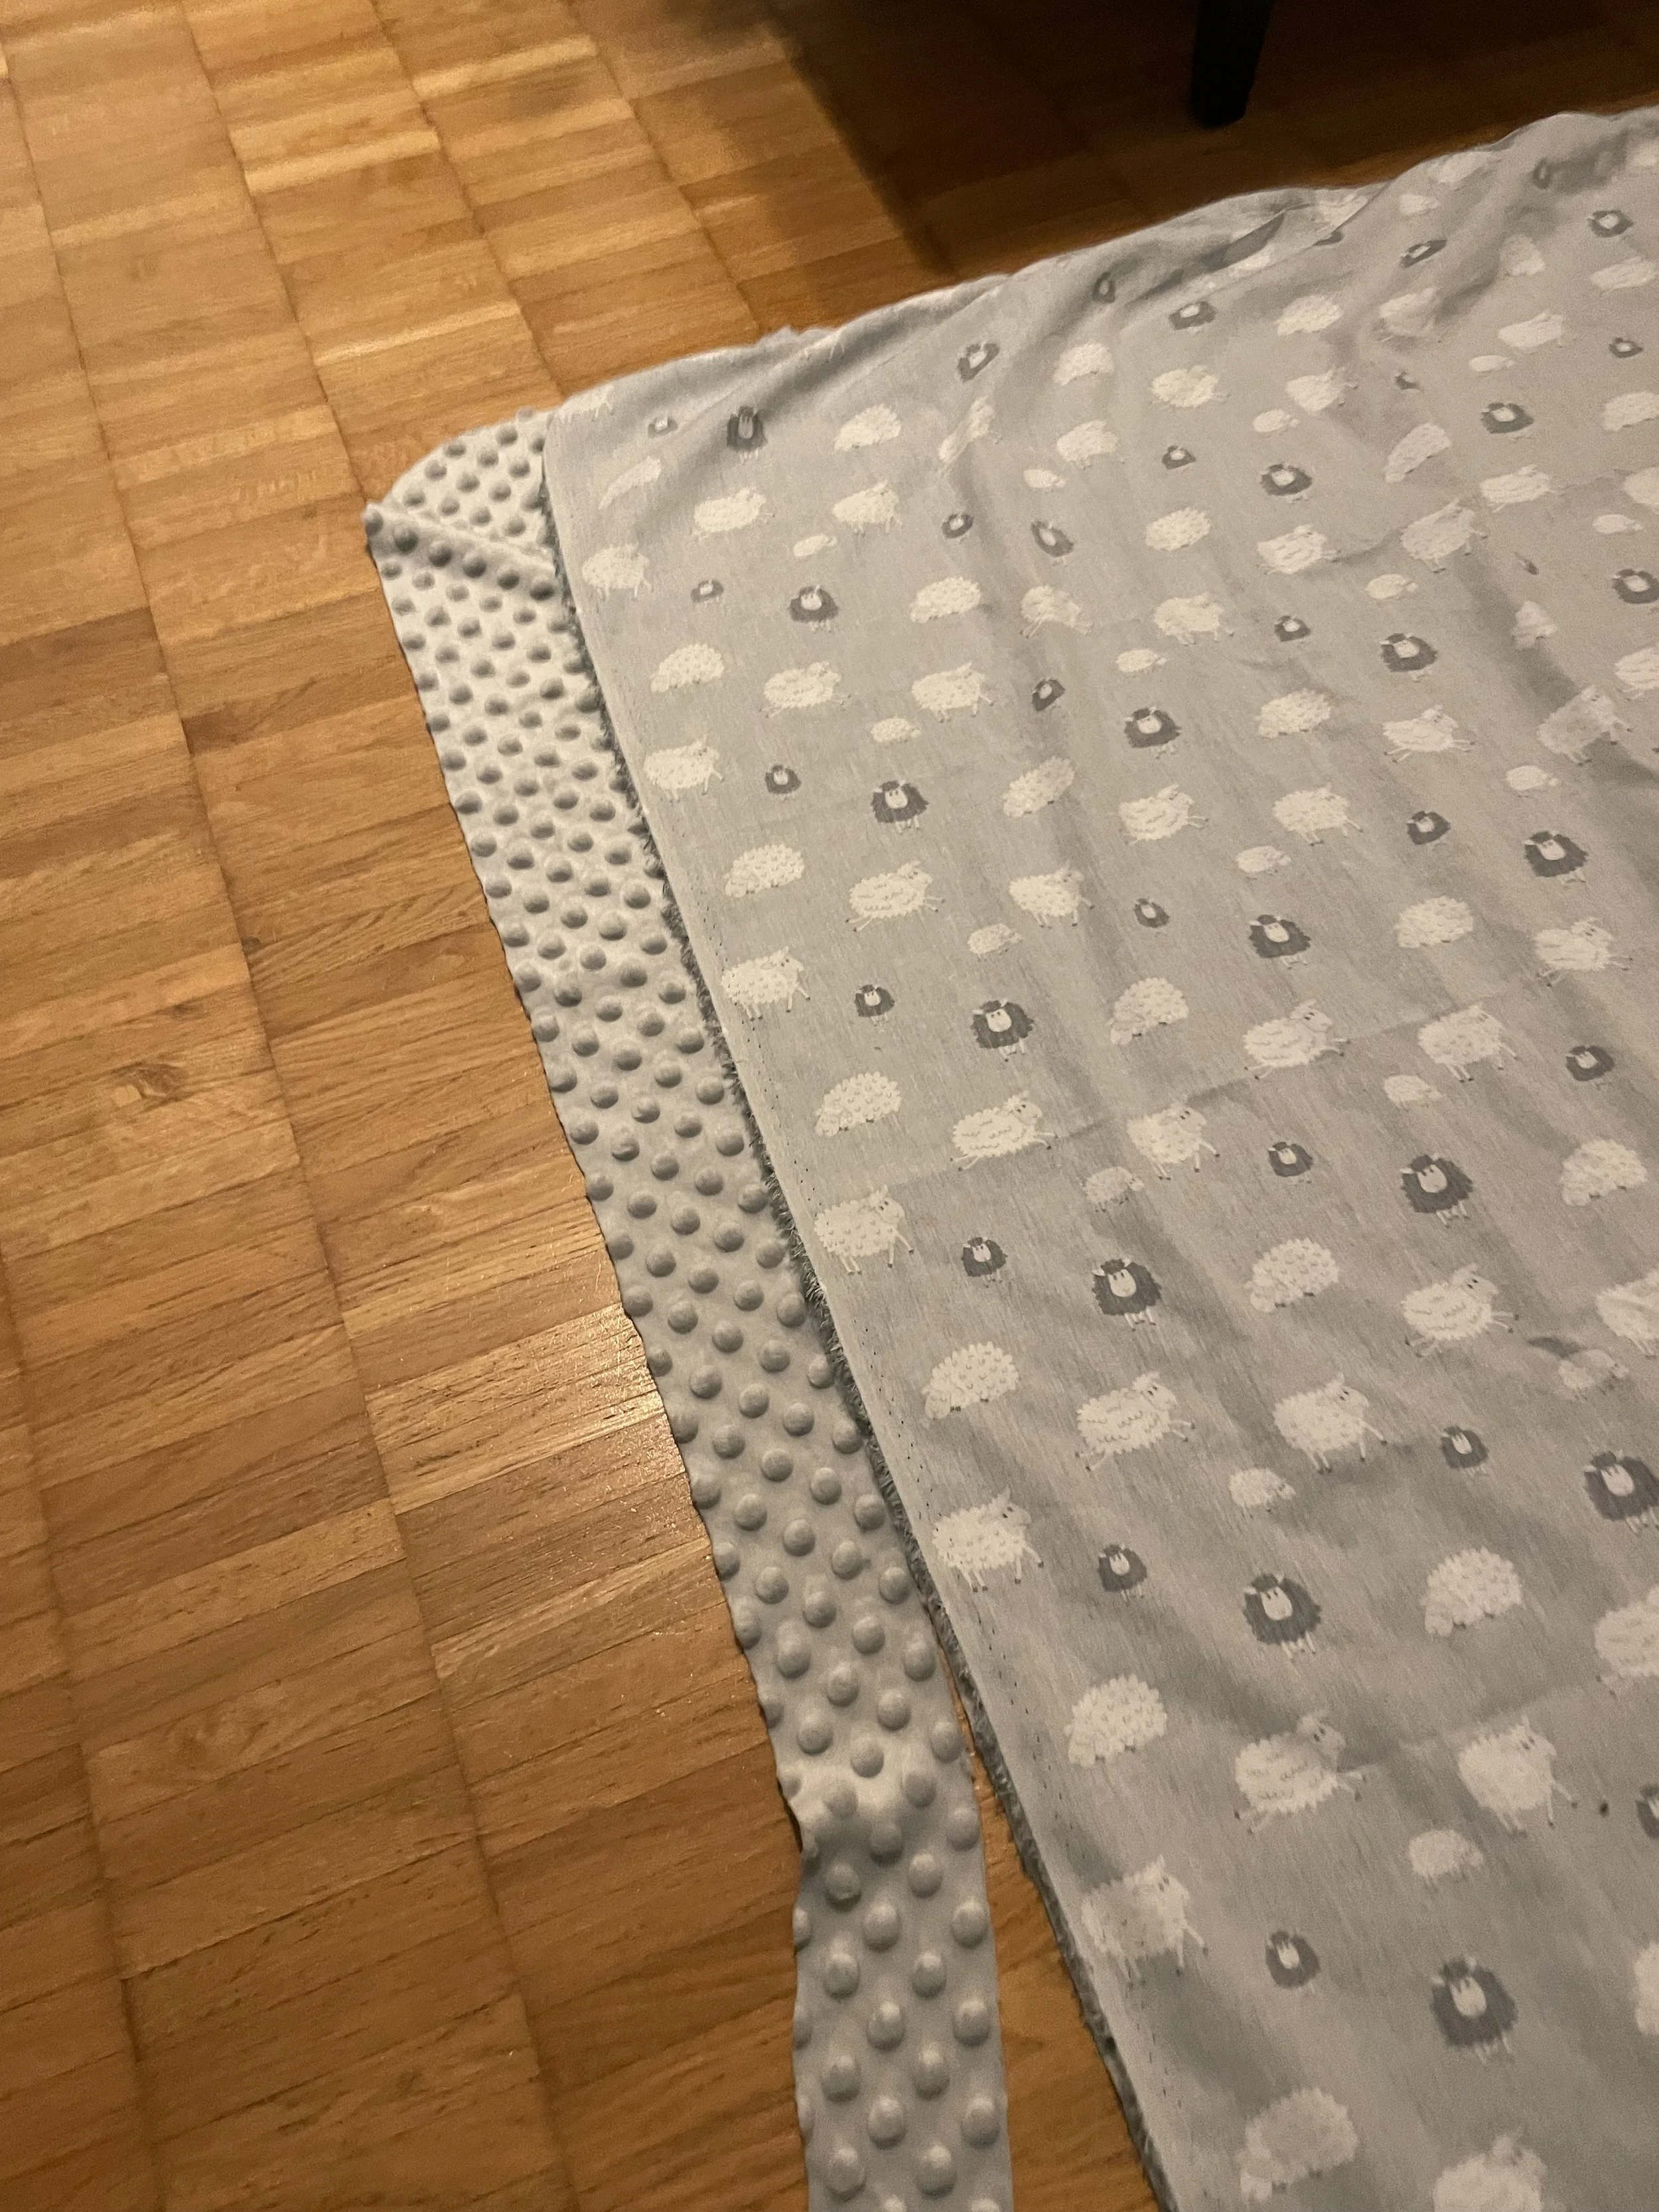
Place the cotton fabric and fleece right sides together. Start sewing in the middle of one side, using a presser-foot width seam allowance. The tricky part of sewing will be that the fleece stretches much more than the cotton fabric. If you have a walking foot for your sewing machine, definitely use it. Since I don’t have one, I tried using parchment paper to reduce the friction between the presser foot and the fabric, but it only helped a little. Eventually, I accepted that the two fabrics wouldn’t line up perfectly. But how often do you actually lay a blanket completely flat on the floor? Sew all the way around the blanket with the sewing machine, leaving an opening of about 20 cm for turning. (Picture 7)
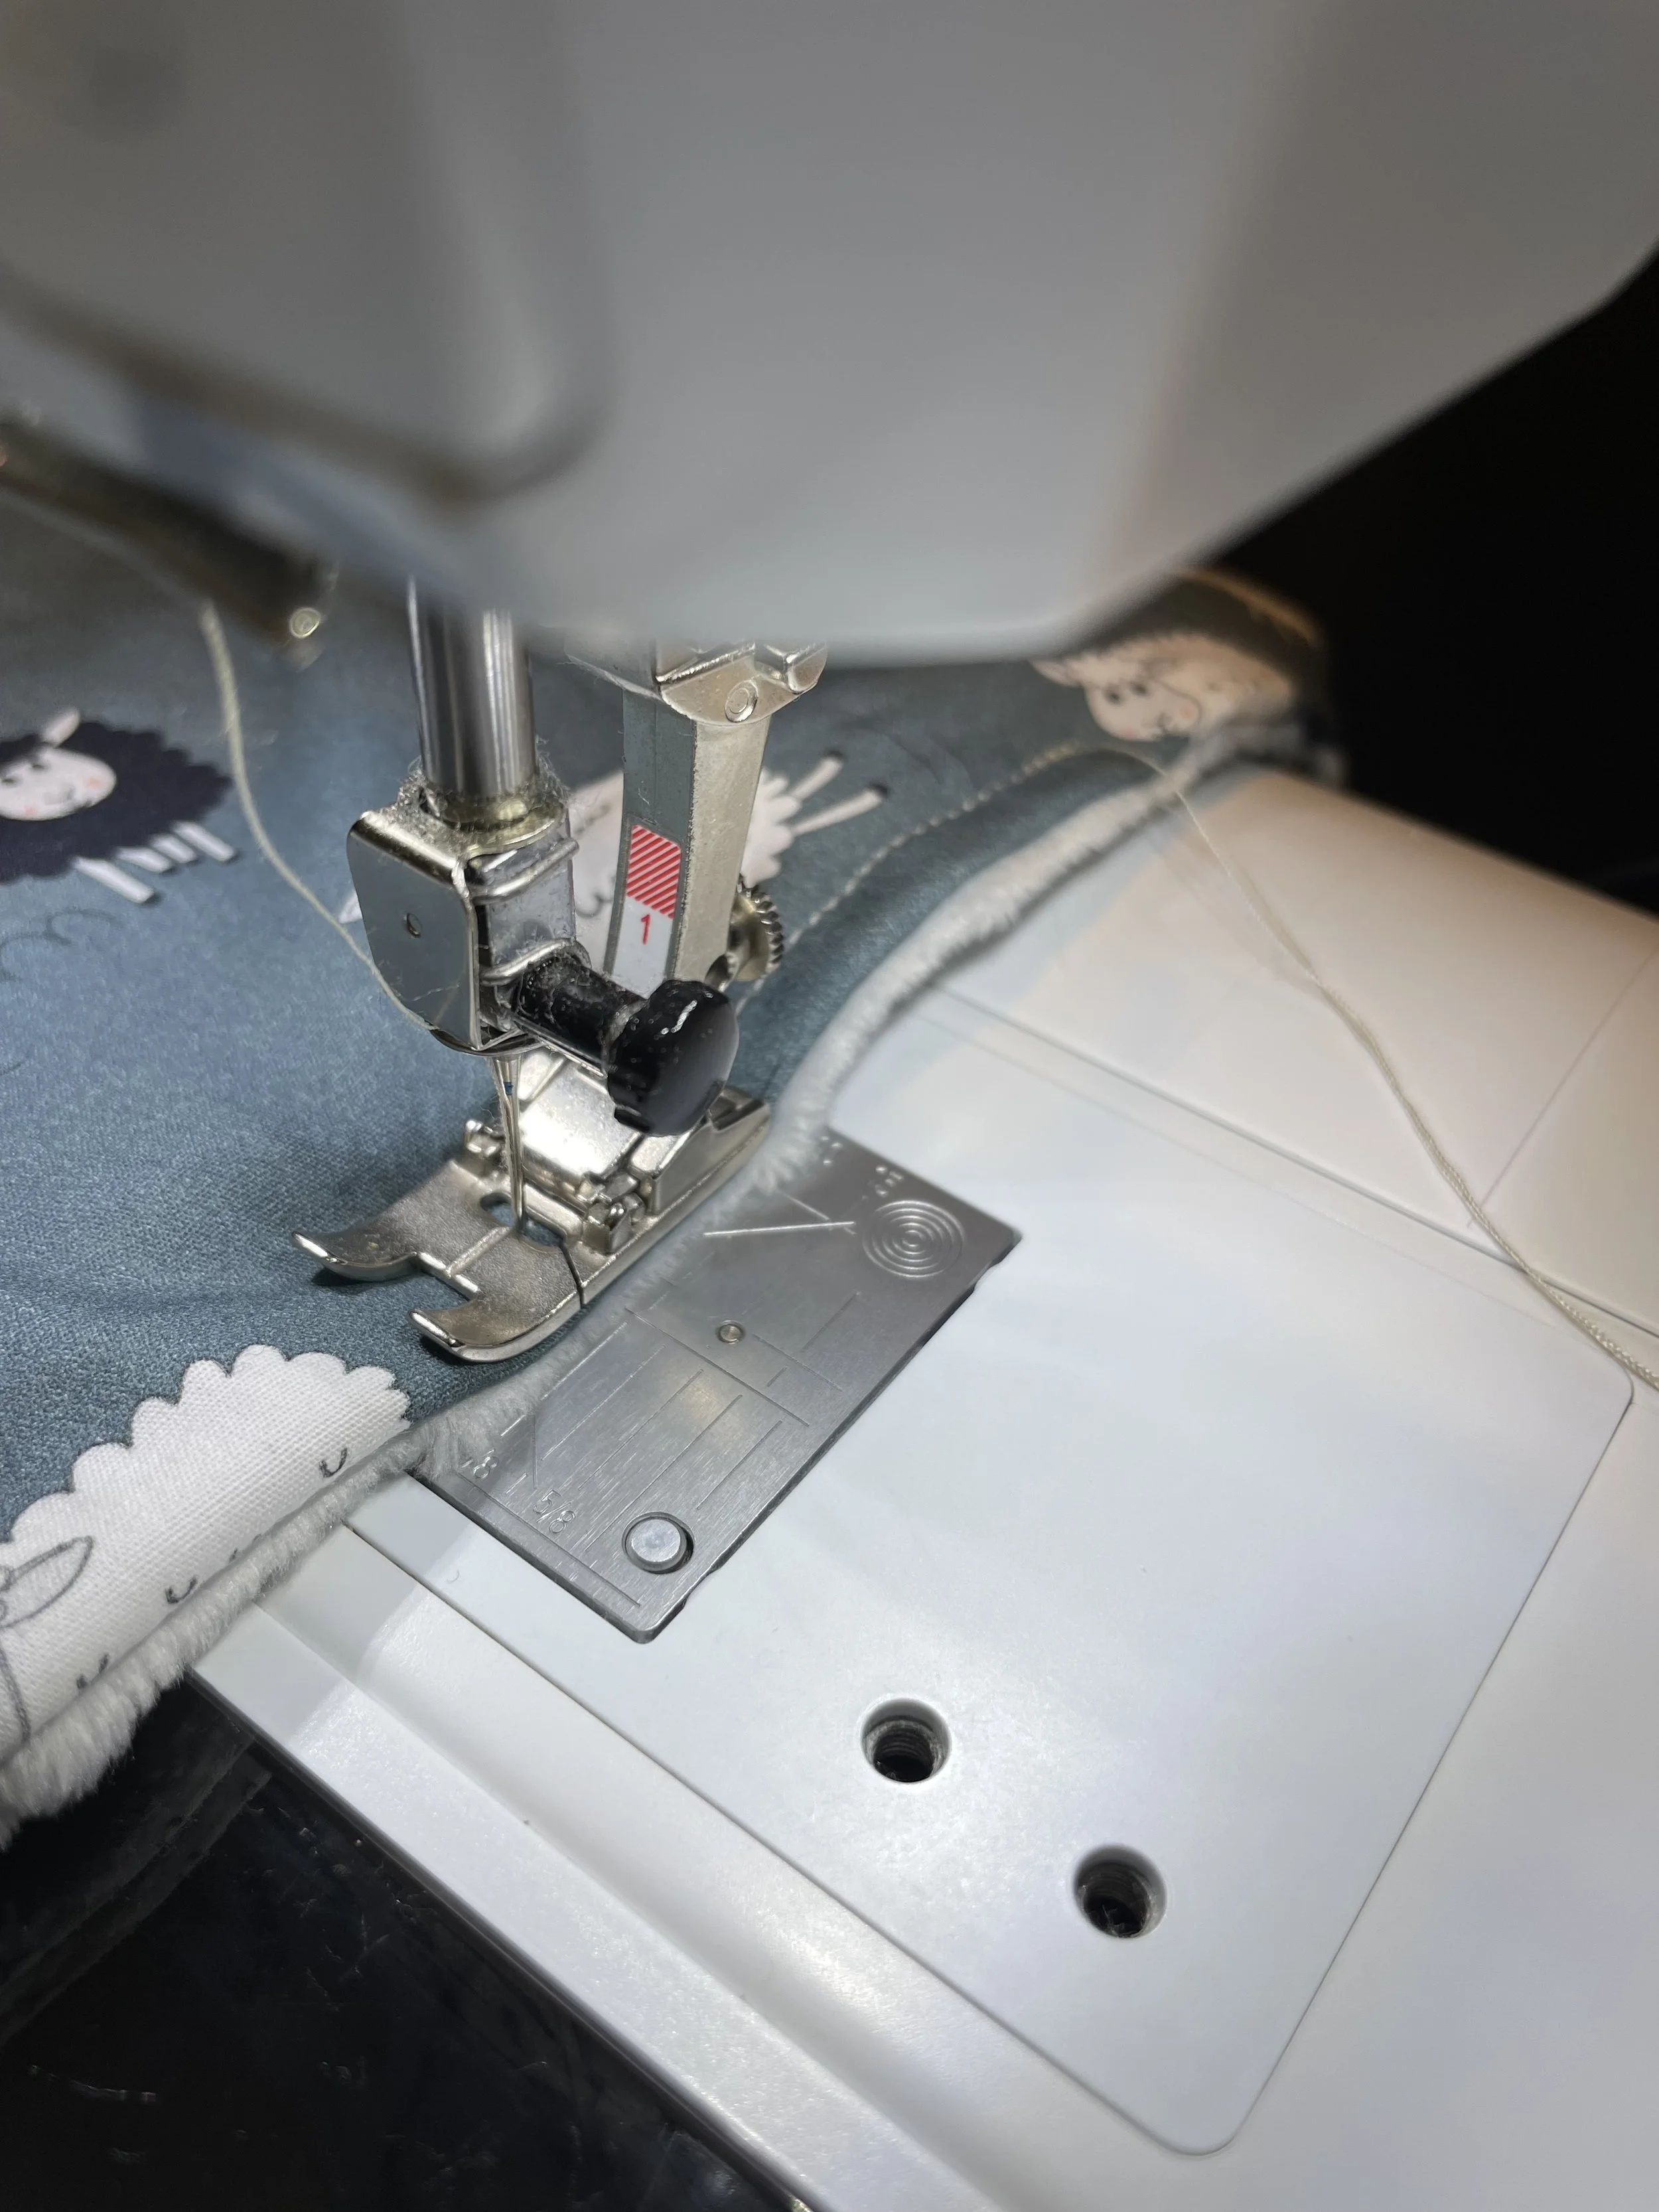
Turn the fabric right side out through the opening. Then sew all the way around the edges once, using a presser-foot width seam allowance, and close the opening at the same time. (Picture 8)
1
2
3
4
5
6
7
8