Hair Decoration - Haardekoration

WhatsApp Image 2019-12-30 at 22.35.47-4.jpg

Okay I guess I kind of had to find a way to put the scrunchies on my blog. But I was just very excited about them and how easy it was to make it! I love how they look in the hair but also, if your hair is too short like mine, you can wear it as a wristband. I watched a Youtube video (https://www.youtube.com/watch?v=oNg1y0z4trI&t=58s ) about it. Here are my step by step instructions with photos:

  1. Cut a square 40cm x 8cm. (Photo 1)

  2. Fold it in half so the square is only half as wide. (Photo 2) Sew the right sides together, but leave out the first and last 3cm. (Photo 3 + 4) Turn the fabric inside out so the right side is out now. (Photo 5)

  3. Put both ends together, right side on right side and sew. (Photo 6 + 7)

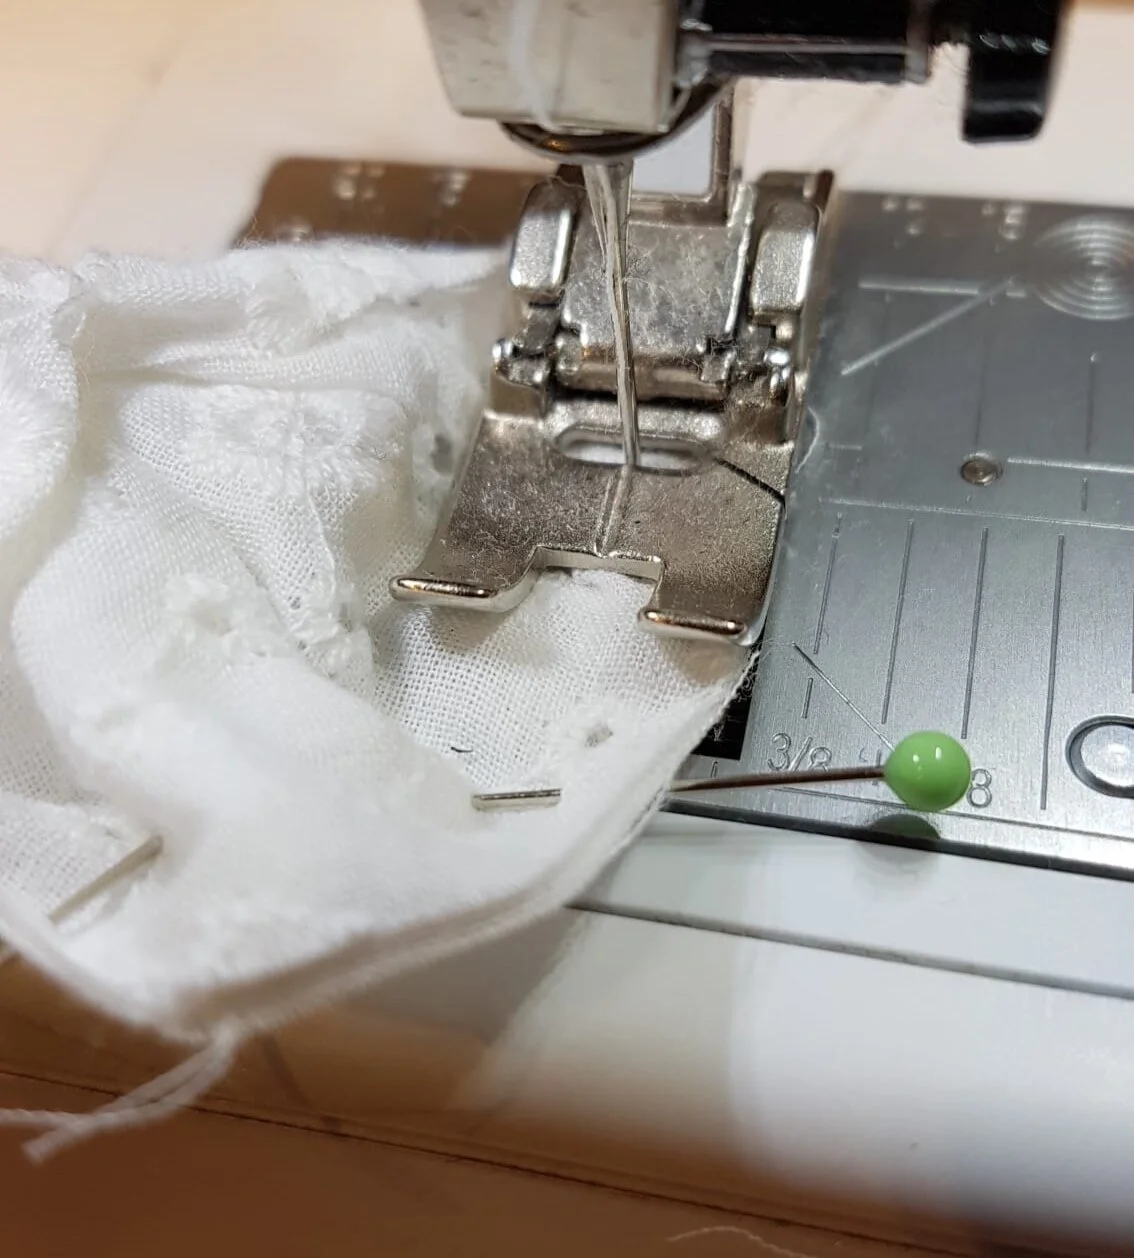
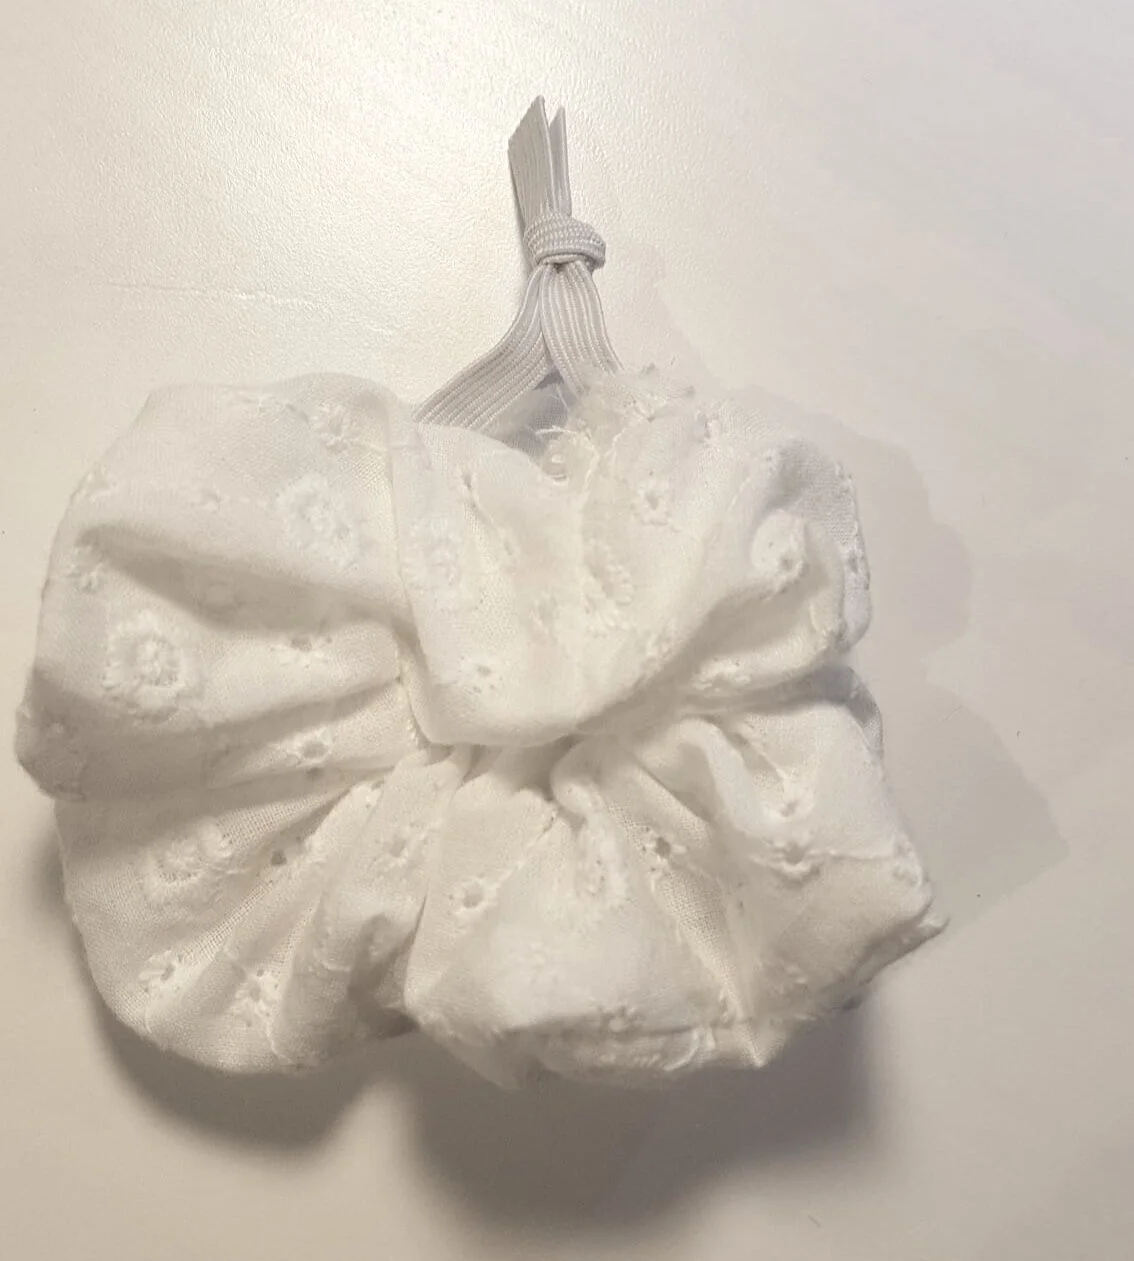
  4. Now you should be left with a opening. Through that you pull a 20cm long elastic band. It works best if you attach a safety pin. Tie both ends of the elastic band together to a tight knot. (Photo 8 - 10)

  5. Close the hole by sewing by hand (Photo 11) and you’re finished. (Photo 12)


Okay ich geb es zu, ich musste irgendwie einen Weg finden, wie ich die Scrunchies auf meinem Blog posten konnte. Jetzt ist es halt zur Haardeko geworden. Ich hatte einfach so viel Freude an meinem kurzen Nähprojekt, dass ich es teilen wollte. Ich schaute dazu dieses Video: https://www.youtube.com/watch?v=oNg1y0z4trI&t=58s . Das Projekt ist auch etwas für kurzhaarige Leute, man kann nämlich den Scrunchie als Armband tragen. Hier ist meine Schritt für Schritt Anleitung mit den Fotos:

  1. Schneide ein Rechteck mit den Massen 40cm x 8cm. (Foto 1)

  2. Falte den Stoff der Länge nach in die Hälfte, sodass die rechte Seite des Stoffes innen ist. (Foto 2) Nähe den Stoff zusammen, aber lasse am Anfang und Ende ca 3cm offen. (Foto 3 + 4) Drehe den Stoff um, damit die rechte Seite aussen ist. (Foto 5)

  3. Die beiden offenen Enden legst du jetzt rechts auf rechts zusammen und nähst es. (Foto 6 + 7)

  4. Jetzt sollte nur noch eine kleine Öffnung übrig sein. Dadurch ziehst du ein 20cm langes Gummiband. Am besten geht das mit einer Sicherheitsnadel. Die beiden Enden können danach verknüpft werden. (Foto 8 - 10)

  5. Nähe das Loch von Hand zu (Foto 11) und du bist fertig. (Foto 12)

1

1

2

2

3

3

4

4

6

6

8

8

9

9

5

5

7

7

10

10

11

11

12

12