Past Christmas Decor - Deko nach Weihnachten

Here it is again, that weird time after Christmas where it is tricky to decorate. At least, I personally struggle to come up with ideas at that time. All the Christmas decor is back in the boxes, but it is way too early to bring out the spring flowers. So I went to one of my favorite resources, Pinterest, to find more ideas for my home decor.
I am excited to share two new DIYs with you that looks super cute! It is pretty easy to make and only needs a few extra materials. Now is the perfect time to give it a try, since we’re stuck at home anyways.
Material:
Winter pine trees:
Wood stick or branch (about 30 cm long, diameter about 0.5mm)
Felt ((1-2mm thick) any color)
Hot glue (might also work with normal white glue)
Plastic or paper cup
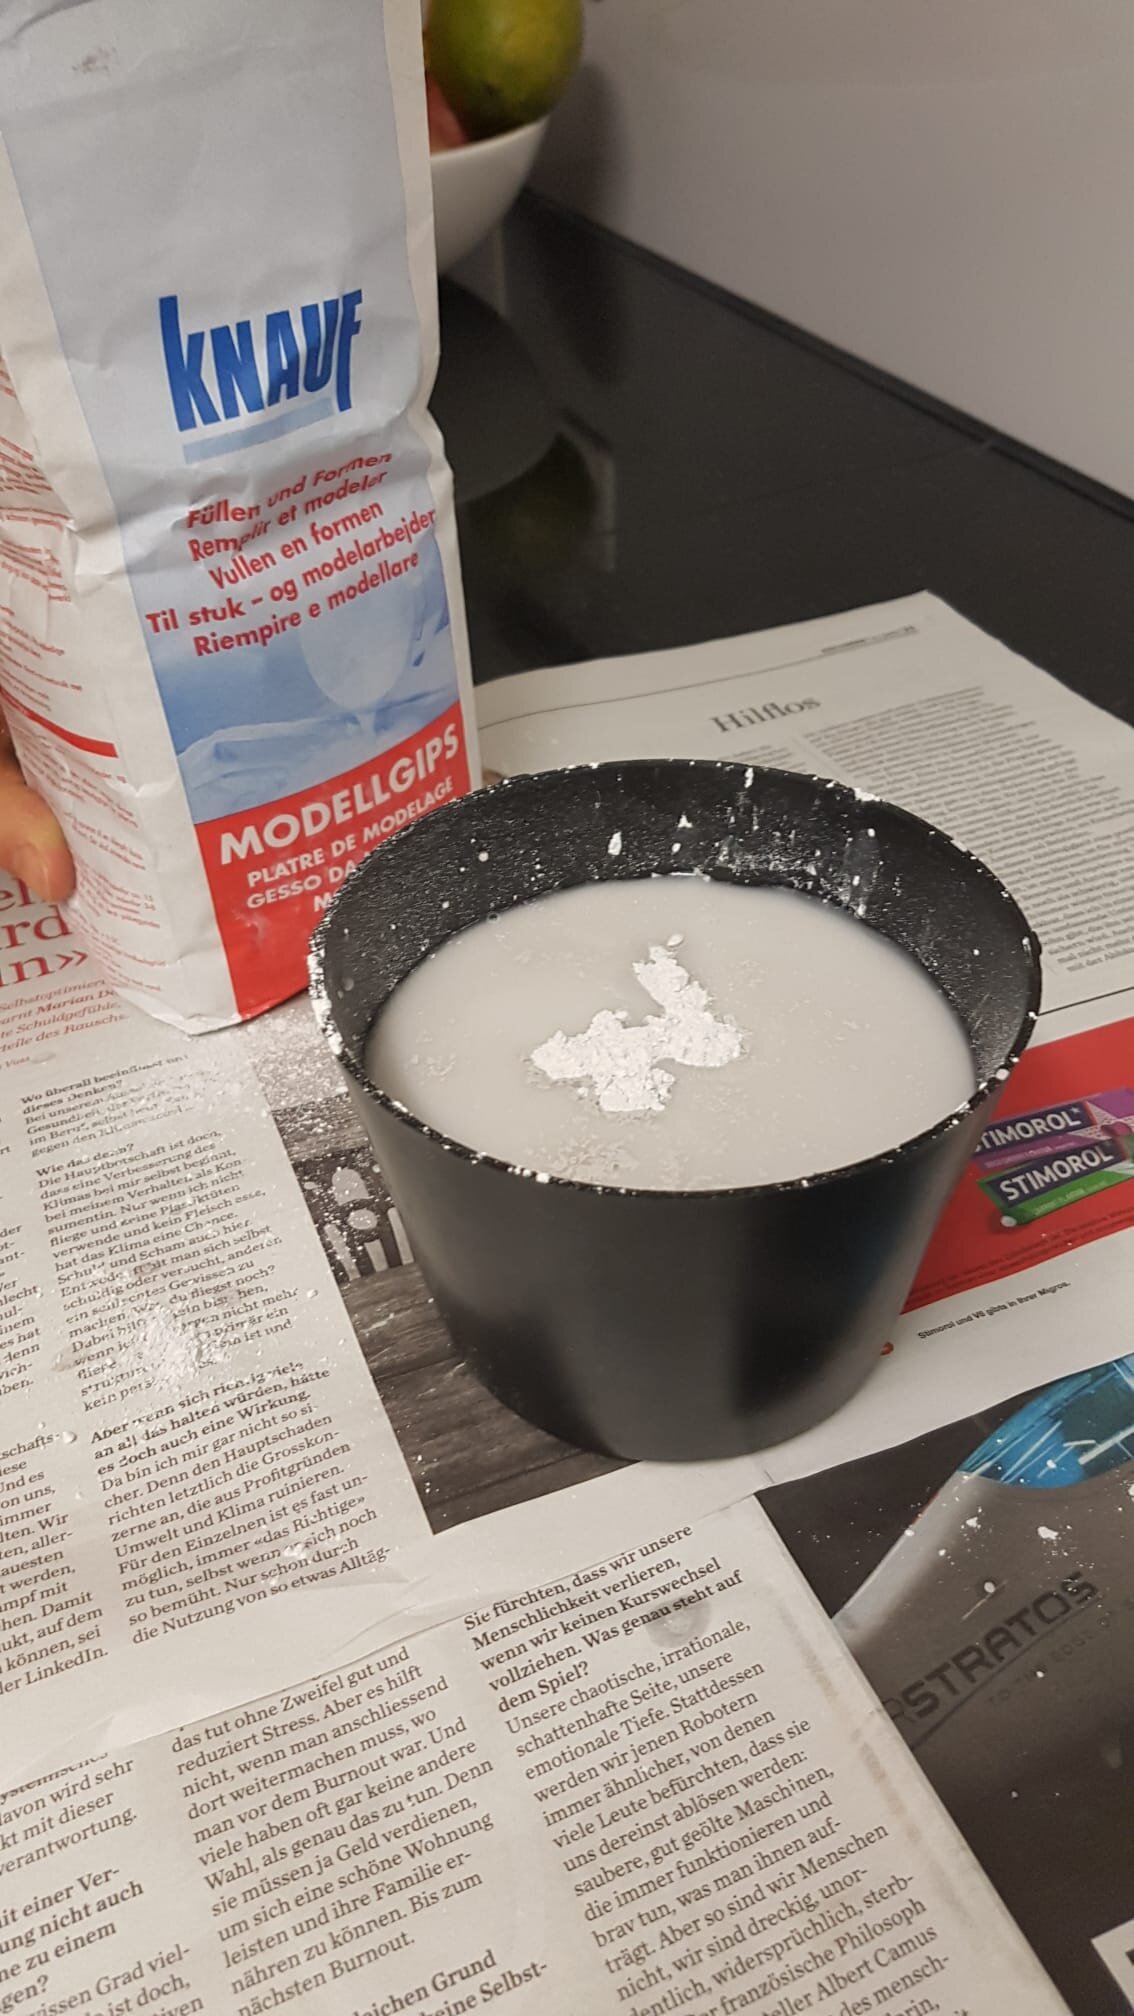
plaster powder
container that can be ruined by plaster
Scissors
Stencil (Tree template)
Snowballs:
Styrofoam balls (diameter 3 and 4 cm)
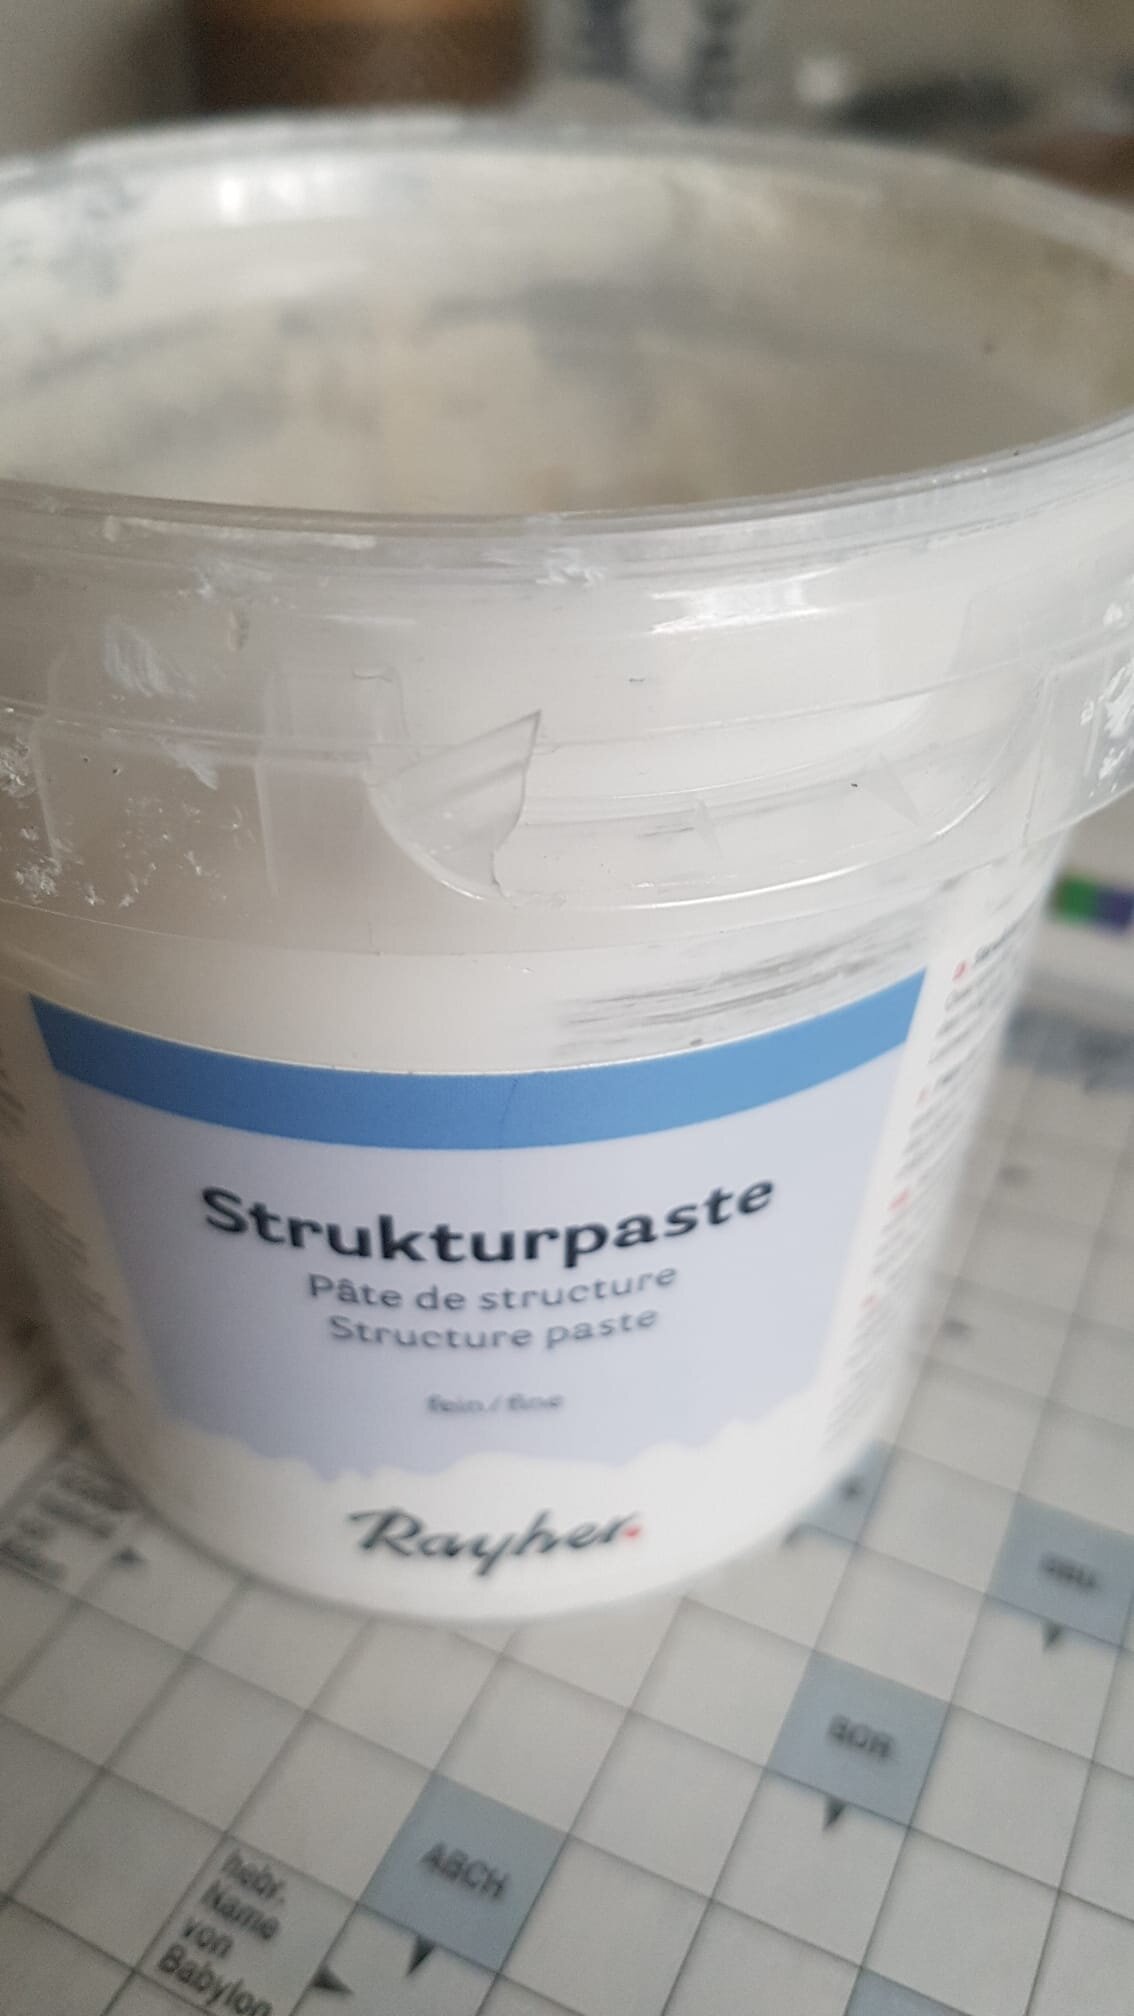
Texture paste (Picture 10)
Skewers
Instructions Winter Pine Trees:
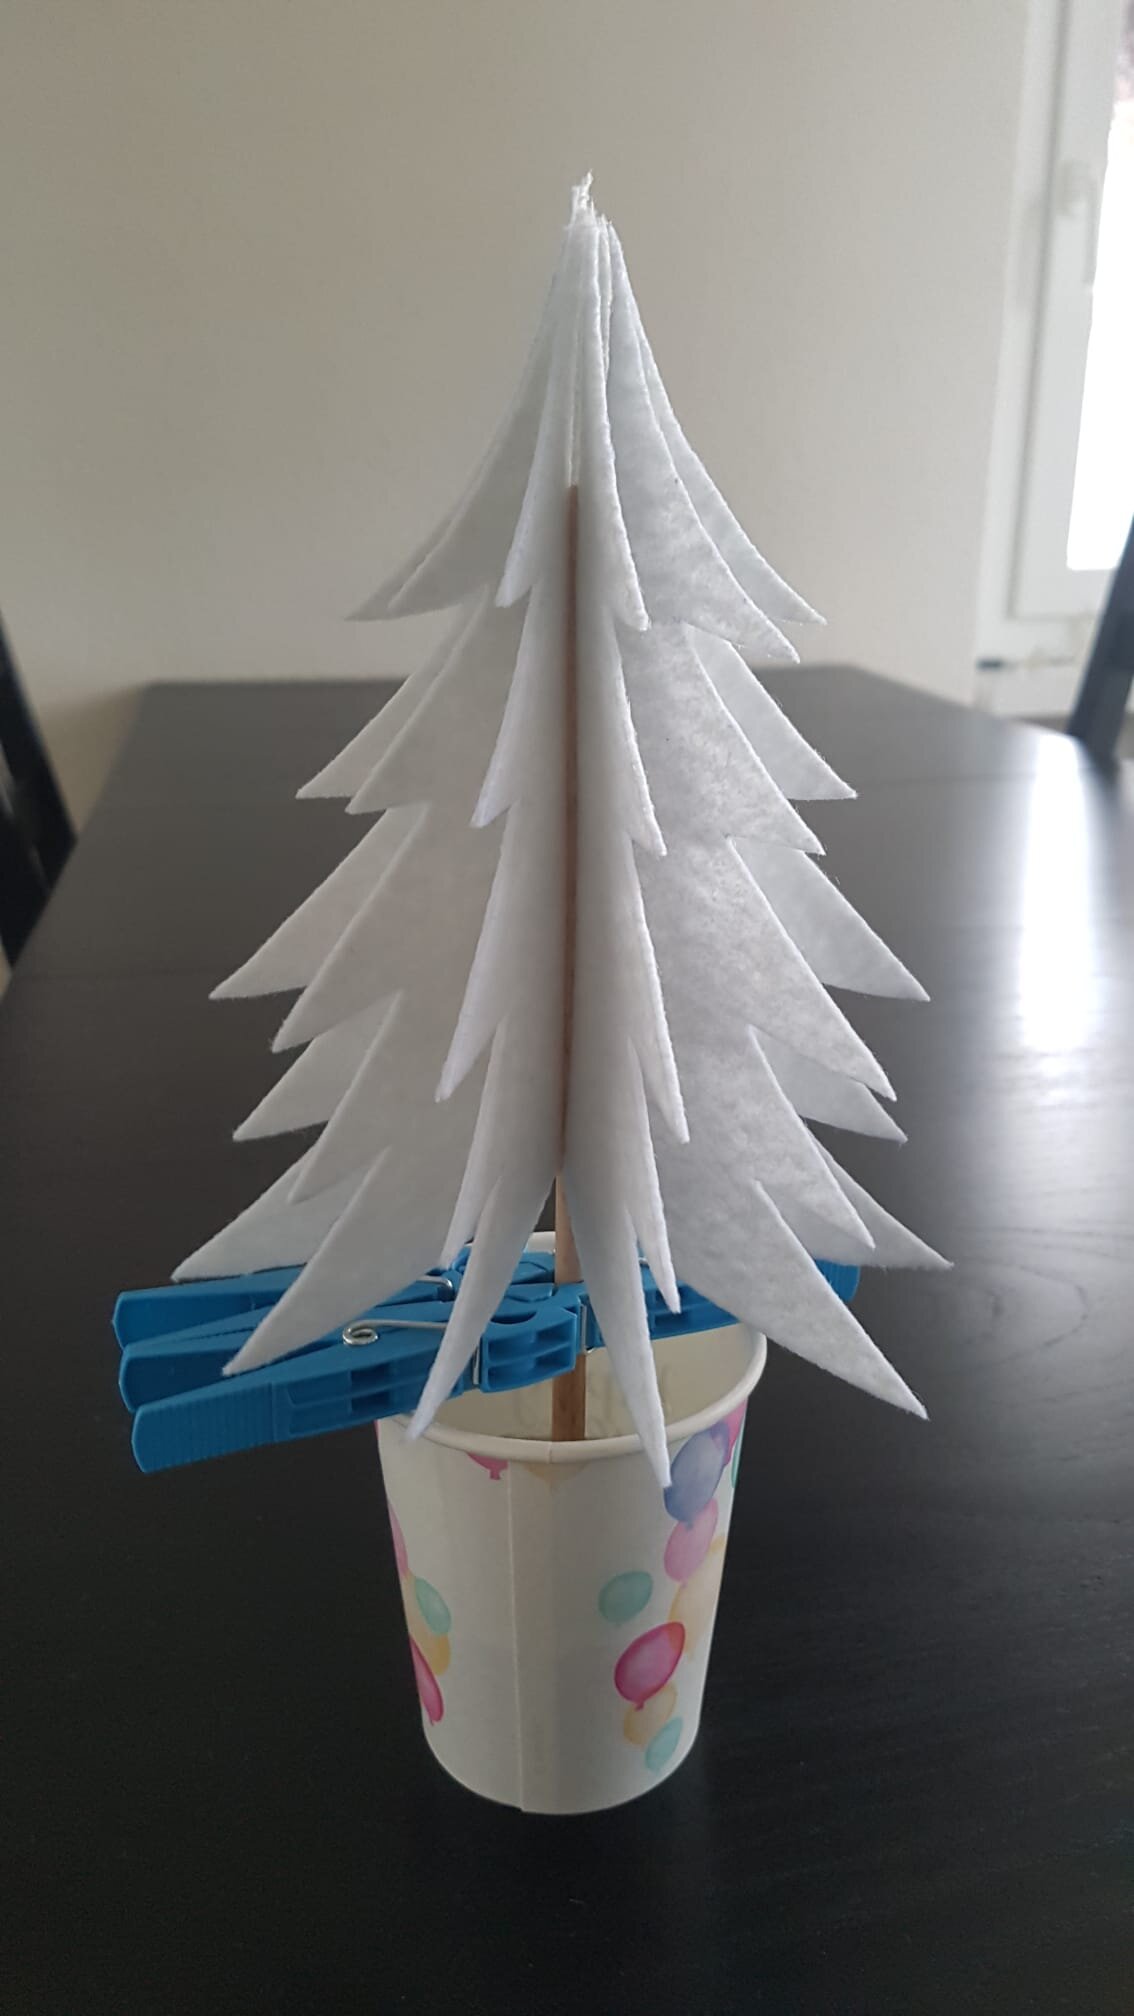
Print out a tree template on paper and cut it out. You can also draw your own tree. Then lay the stencil on the felt and trace it. (Picture 1 -2) Cut out the felt tree. Depending on the thickness of your felt you can either fold it in the middle and glue it on the wood like that or you cut the tree in half (which is what we did) and then you glue both to the wood stick. (Picture 3 - 4) As you are gluing the felt to the wood you want to make sure the tip of the tree is about 1cm above the wood branch.
Place the tree into the cup. I made sure it would stand upright with clothespins. (Picture 5) Remove the trees from the cup again. Then start mixing the plaster. Pour lukewarm water into the container. Then drizzle in the plaster powder until you get a little hill in the middle. (Picture 6 - 7) Then mix the plaster and water and fill it into the cups. Then place the tree back into the cup. Make sure you do this fast, before the plaster hardens. Let them dry for 48 hours until you remove the cup. (Picture 8)
I had to glue in the tree, so it wouldn’t come out of the hole. That’s it. Your winter forest is now complete!
Instructions Snowballs:
Stick the styrofoam balls on a skewer. Then cover the ball in texture paste. Let them dry. Then remove the skewer and cover the hole with paste as well. (Picture 9 - 11)

1

2

3

4
5

6
7

8

9
10

11

Jetzt ist wieder diese Zeit hier, die Zeit nach Weihnachten, bei der man nicht weiss, wie man dekorieren soll. Zumindest geht es mir so. Die Weihnachtsdeko ist schon wieder in den Kisten aber es ist noch viel zu früh für Frühlingsblumen. Also ging ich auf eine kleine Pinterestjagd um mehr Ideen zu finden.
Es freut mich nun euch zwei kleine DIY’s zu zeigen, die ihr einfach nachmachen könnt. Dazu braucht ihr nur ein wenig extra Material. Versucht es doch, es ist die perfekte Zeit dazu, vor allem da wir ja wieder alle zu Hause festsitzen.
Material:
Winterbäume:
Holzstab oder Ast (ca 30cm lang und 0.5cm Durchmesser)
Filz (1-2mm Dicke)
Heissleim (es könnte auch mit normalem Weissleim funktionieren)
Plastik- oder Papierbecher
Gipspulver
Behälter, der vom Gips ruiniert werden darf
Schere
Schablone (Baum Vorlage)
Schneebälle:
Styroporkugeln (3-4cm Durchmesser)
Sturkturpaste (Bild 10)
Holzspiesse
Anleitung Winterbäume:
Drucke eine Baumvorlage und schneide sie aus. Du kannst auch deinen eigenen Baum zeichnen. Lege die Schablone auf den Filz, fahre sie nach und schneide den Baum aus. (Bild 1 - 2) Je nach dem wie dick der Filz ist, kannst du ihn in der Mitte falten und so an den Holzstab kleben. Ansonsten schneidest du den Baum in der Mitte auseinander und klebst ihn so an. (Bild 3 - 4) (Habe ich gemacht) Beim Ankleben sollte die Spitze des Baumes mindestens 1cm über dem Holzstab sein.
Stelle den Baum in den Becher. Fixiere ihn, damit er gerade steht. Am besten geht das mit Wäscheklammern. (Bild 5) Entferne den Baum wieder vom Becher. Nun kannst du den Gips anmischen. Fülle lauwarmes Wasser in den Behälter und streue das Gipspulver ins Wasser. Mache das so lange, bis sich in der Mitte ein kleiner Haufen bildet, der nicht mehr verschwindet. (Bild 6 - 7) Giesse dann den Gips in die Becher und stelle den Baum hinein. Dafür solltest du nicht zu viel Zeit brauchen und fertig sein, bevor der Gips hart wird. Lasse alles für 48h trocknen bevor du den Becher entfernst. (Bild 8)
Am Schluss musste ich den Baum ins Loch einleimen, da der Gips sich beim Trocken zusammenzog und das Loch grösser wurde. Das ist alles, schon ist der Winterwald fertig!
Anleitung Schneeball:
Stecke die Styroporkugel in den Holzspiess und bedecke den ganzen Ball mit Strukturpaste. Lasse es trocknen. Entferne den Spiess und bedecke das Loch mit Sturkturpaste. (Bild 9 - 11)


