Step-by-Step Guide to Sewing Drawstring Bags

You might know that my family is really into making our own tea. Throughout the year my parents hike and collect tea flowers and leaves from lawns, forests and mountains. Then on a weekend in November we gather all the dried tea goods, mix them and fill everything into about 100 big tea bags. You can see more of the process here.
To collect the tea leaves my family would use plastic bags but they are not ideal for several reasons. One, they keep the moisture inside which makes the leaves limp, especially on a hot day. They also are not the best for the environment and they definitely don’t look pretty. So for my dad’s birthday I decided to sew a couple different sized fabric drawstring bags. For them to look a little more pretty, I lettered on the bags as well. I hope the instructions are helpful for you and that you’ll have fun sewing!
Material for one drawstring bag:
Fabric (width of your bag size + 2cm (0.8 in), length of your bag size times two + 11cm (4.3 in))
Sewing thread
Sewing machine
Scissors
Sewing pins
Ruler
Cord or string (width of your bag times 2 + 8cm (3 in))
Safety pin
Fabric marker
Instructions:
Cut your fabric to the sizes according to the measurements above. Take the long side of the fabric and measure 5.5cm (2 in) down (along the long side) and make a line. (Photo 1) Repeat that on all four corners. At all the lines, make a small cut, about 1cm deep. Fold the fabric inside and pin it with a sewing pin. (Photo 2) (Make sure you fold it on to the wrong side of the fabric) Sew that fold on. (Photo 3)
Now take the width of the fabric and fold over about 1cm (0.4 in) at the top an bottom, pin it with sewing pins and sew it on. (Photo 4 + 5) Take the fabric and fold it down to where you made the cuts. Then sew that on as well. (Photo 6)
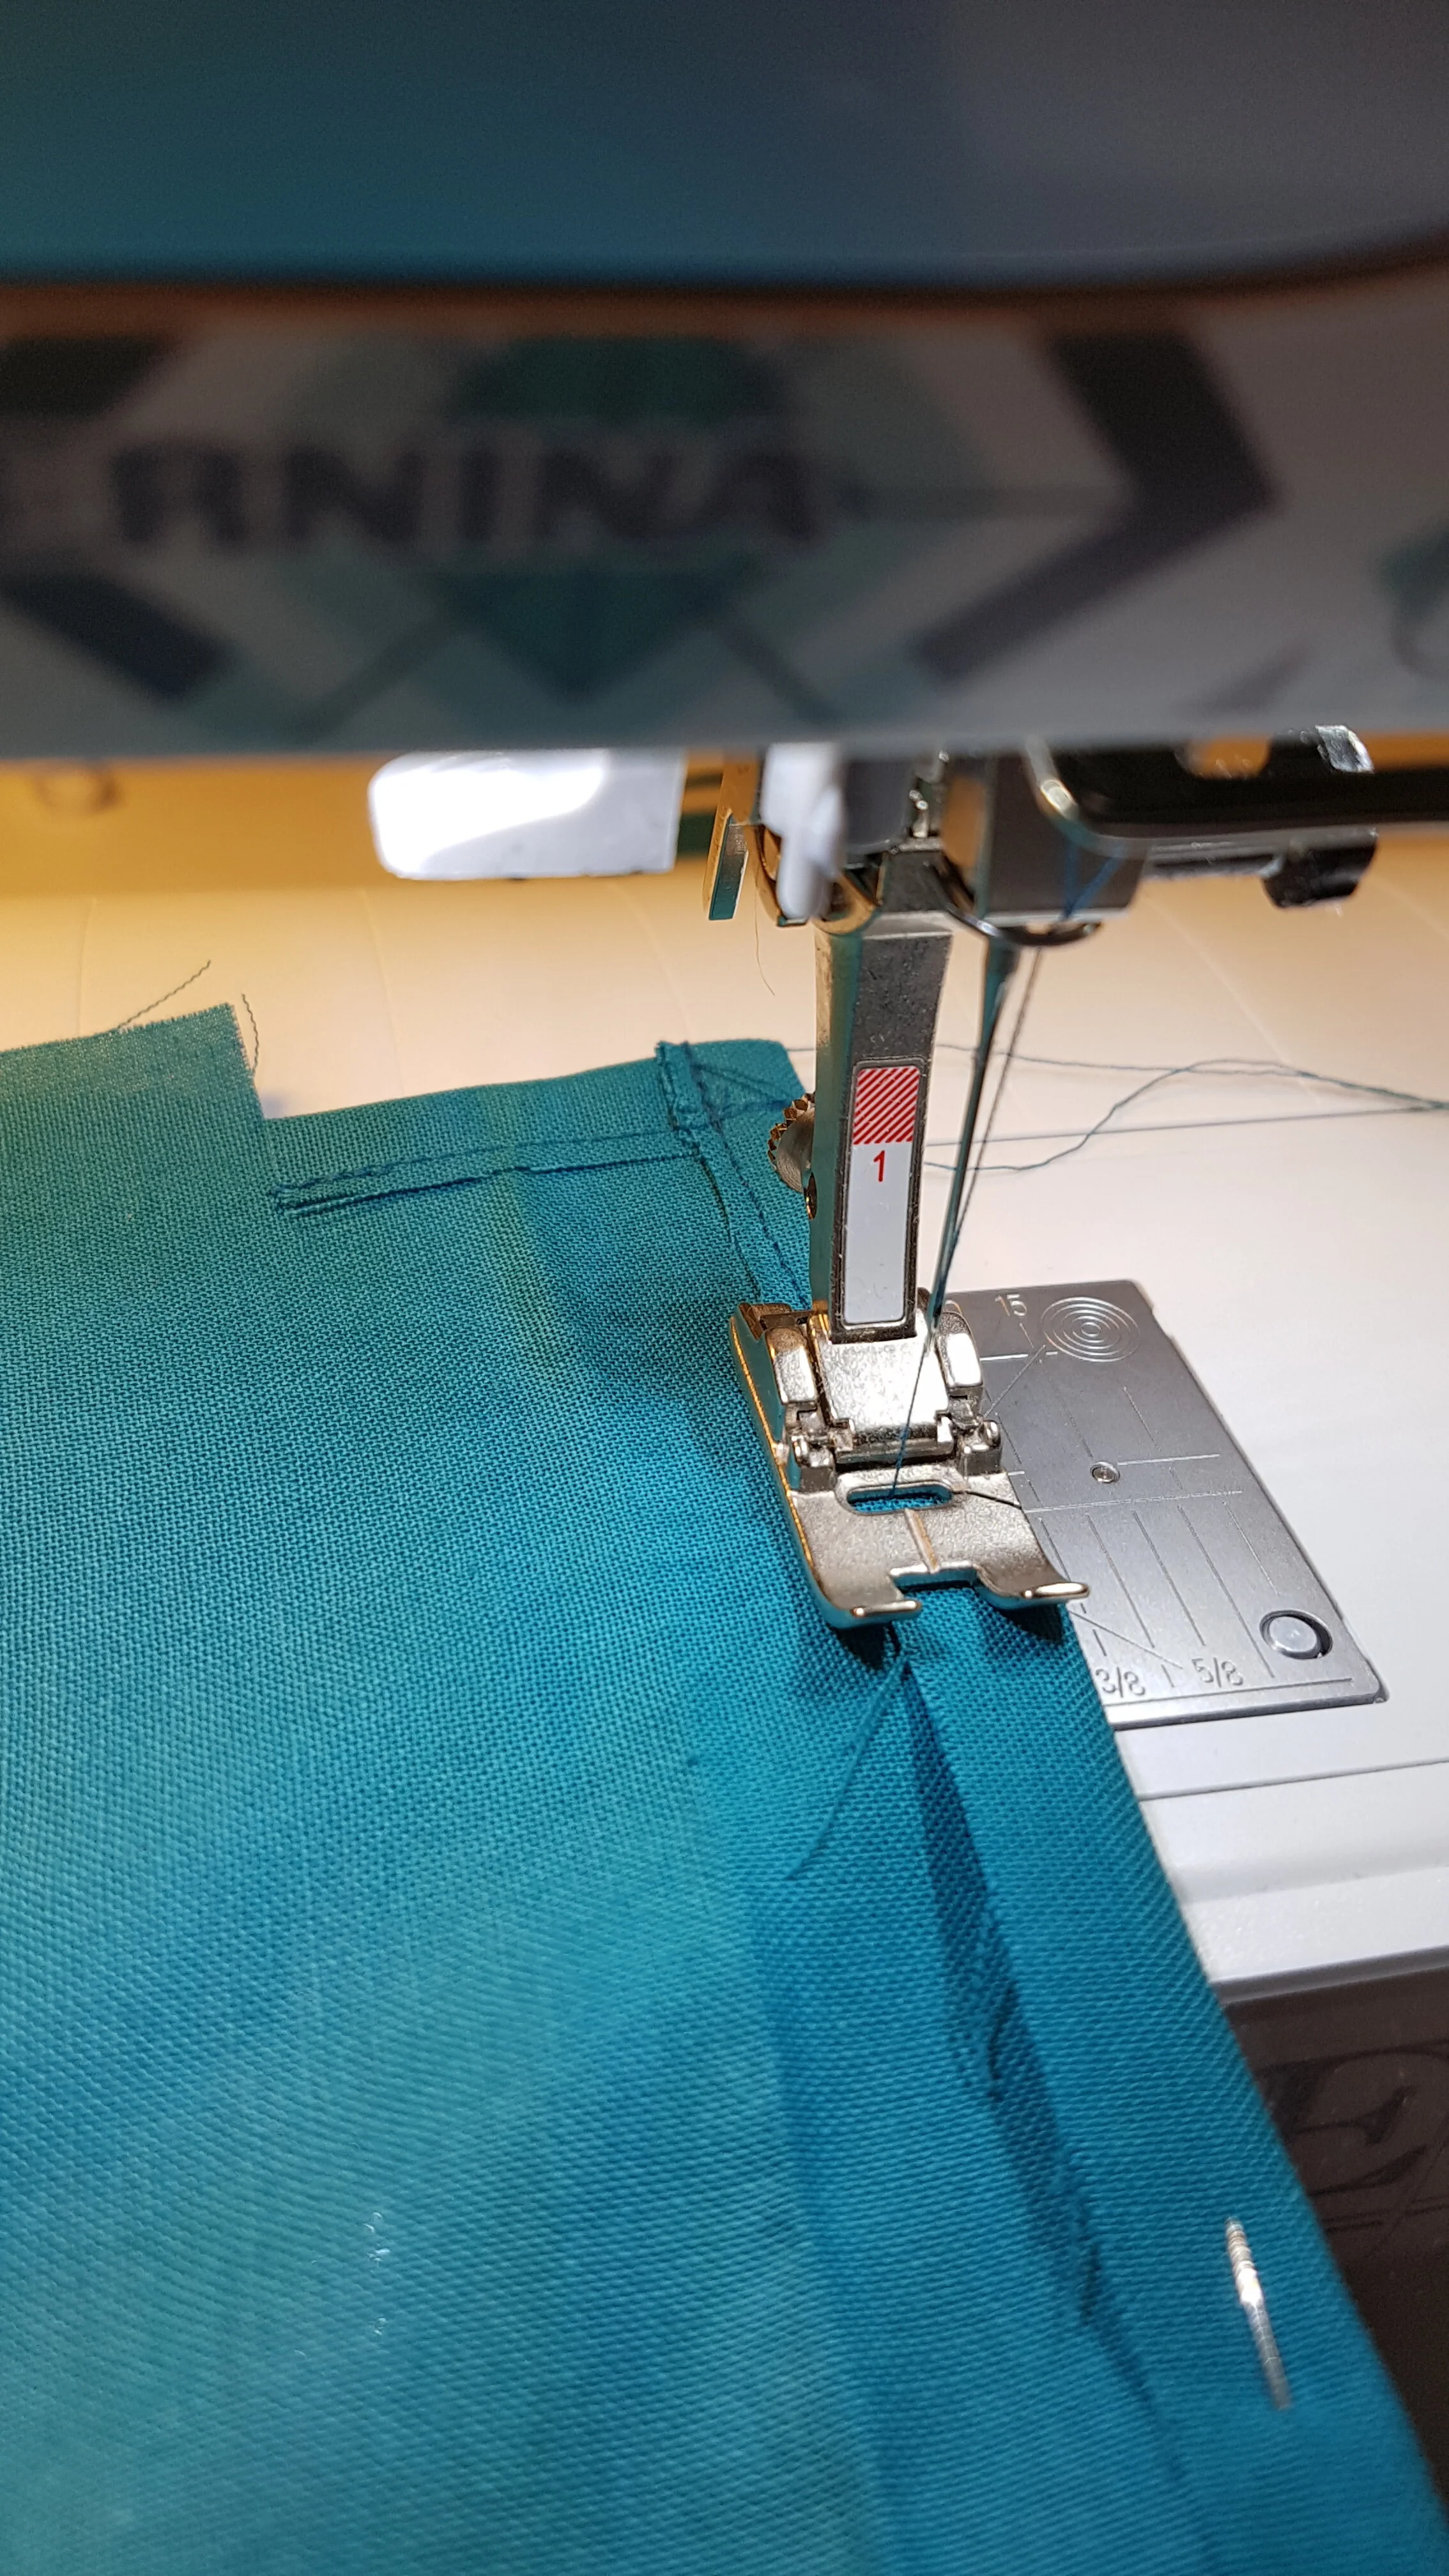
As a next step you will want to make the sides nice, so they don’t just constantly lose threads. I used a zigzag stitch to do so. You will start sewing right below the folds you have made previously and just sew straight down to the other fold. (Photo 7) Now all you have left to do is to close the sides of your bag. You are sewing the right side onto the right side of the fabric. Switch back to a straight stitch and close the bag starting right below the folds from before. Make sure to sew back and forwards at the beginning and end. (Photo 8)
Turn your bag inside out. Through the fabric tunnel you made you can pull the cord. It works best if you attach the cord to a safety pin. The end of the cord can be melted with a lighter or tied into a knot. (Photo 9)
Take a piece of paper and sketch out the drawing or writing of your bag. Then take the fabric pen and draw/write. Make sure to follow the instructions on the pen on how to make the paint stay on the fabric. (Photo 10 + 11)
The Susslife Tip:
The seam allowance is the area between the fabric edge and the stitches. The ideal amount is 1cm (0.4 inches).

1

2

3

4
5

6

7

8

9

10

11

