Spring Bird Decor - Frühlingsvögel-Deko

I like to combine nature with man-made products for my decorations. Most things in nature I find on my walks in the area or after a short drive to a specific location. I highly recommend challenging yourself to go out and explore the area around your home. You will learn where you can find moss, branches, specific flowers, driftwood and so on. Not only do you get to spend time in nature but you are also going to save some big bucks! In Switzerland they easily charge you 20 bucks for a small bag of moss that you really could find for free in your backyard!
The Susslife Tip: Look for driftwood near a place where the river meets the lake.
Now for the craft though. The birds were a crafting project for my job at the nursery home. The first part is rather easy to make as you simply apply the plaster cloth to a piece of cardboard. This part was done by the residents of the nursery home. The second part with the drilling and glueing, I did at home since this involves some more refined fine-motor skills.
Material:

plaster cloth
cardboard
wire
feathers
black felt marker
white paint
small decor eggs
moss
small birch branches
driftwood
drill
hot glue
paint brush
Instructions:
Draw the outline of the bird on a piece of cardboard and cut it out. Then cut the plaster cloth into small strips. Lightly touch the water with the cloth and then apply it to the cardboard. Cover the entire bird and make at least 3 layers with the cloth. Cut two pieces of wire (for the legs) to about 10 cm (4 in) long. That may seem really long to you but you will hide part of it in the driftwood to attach the bird. Stick the wire pieces and the feathers into the wet plaster cloth on the bird. Then let the whole thing dry.
Paint the bird with white paint. Once it is dry, draw patterns and one eye on each side of the bird with a black felt marker. (Picture 1)
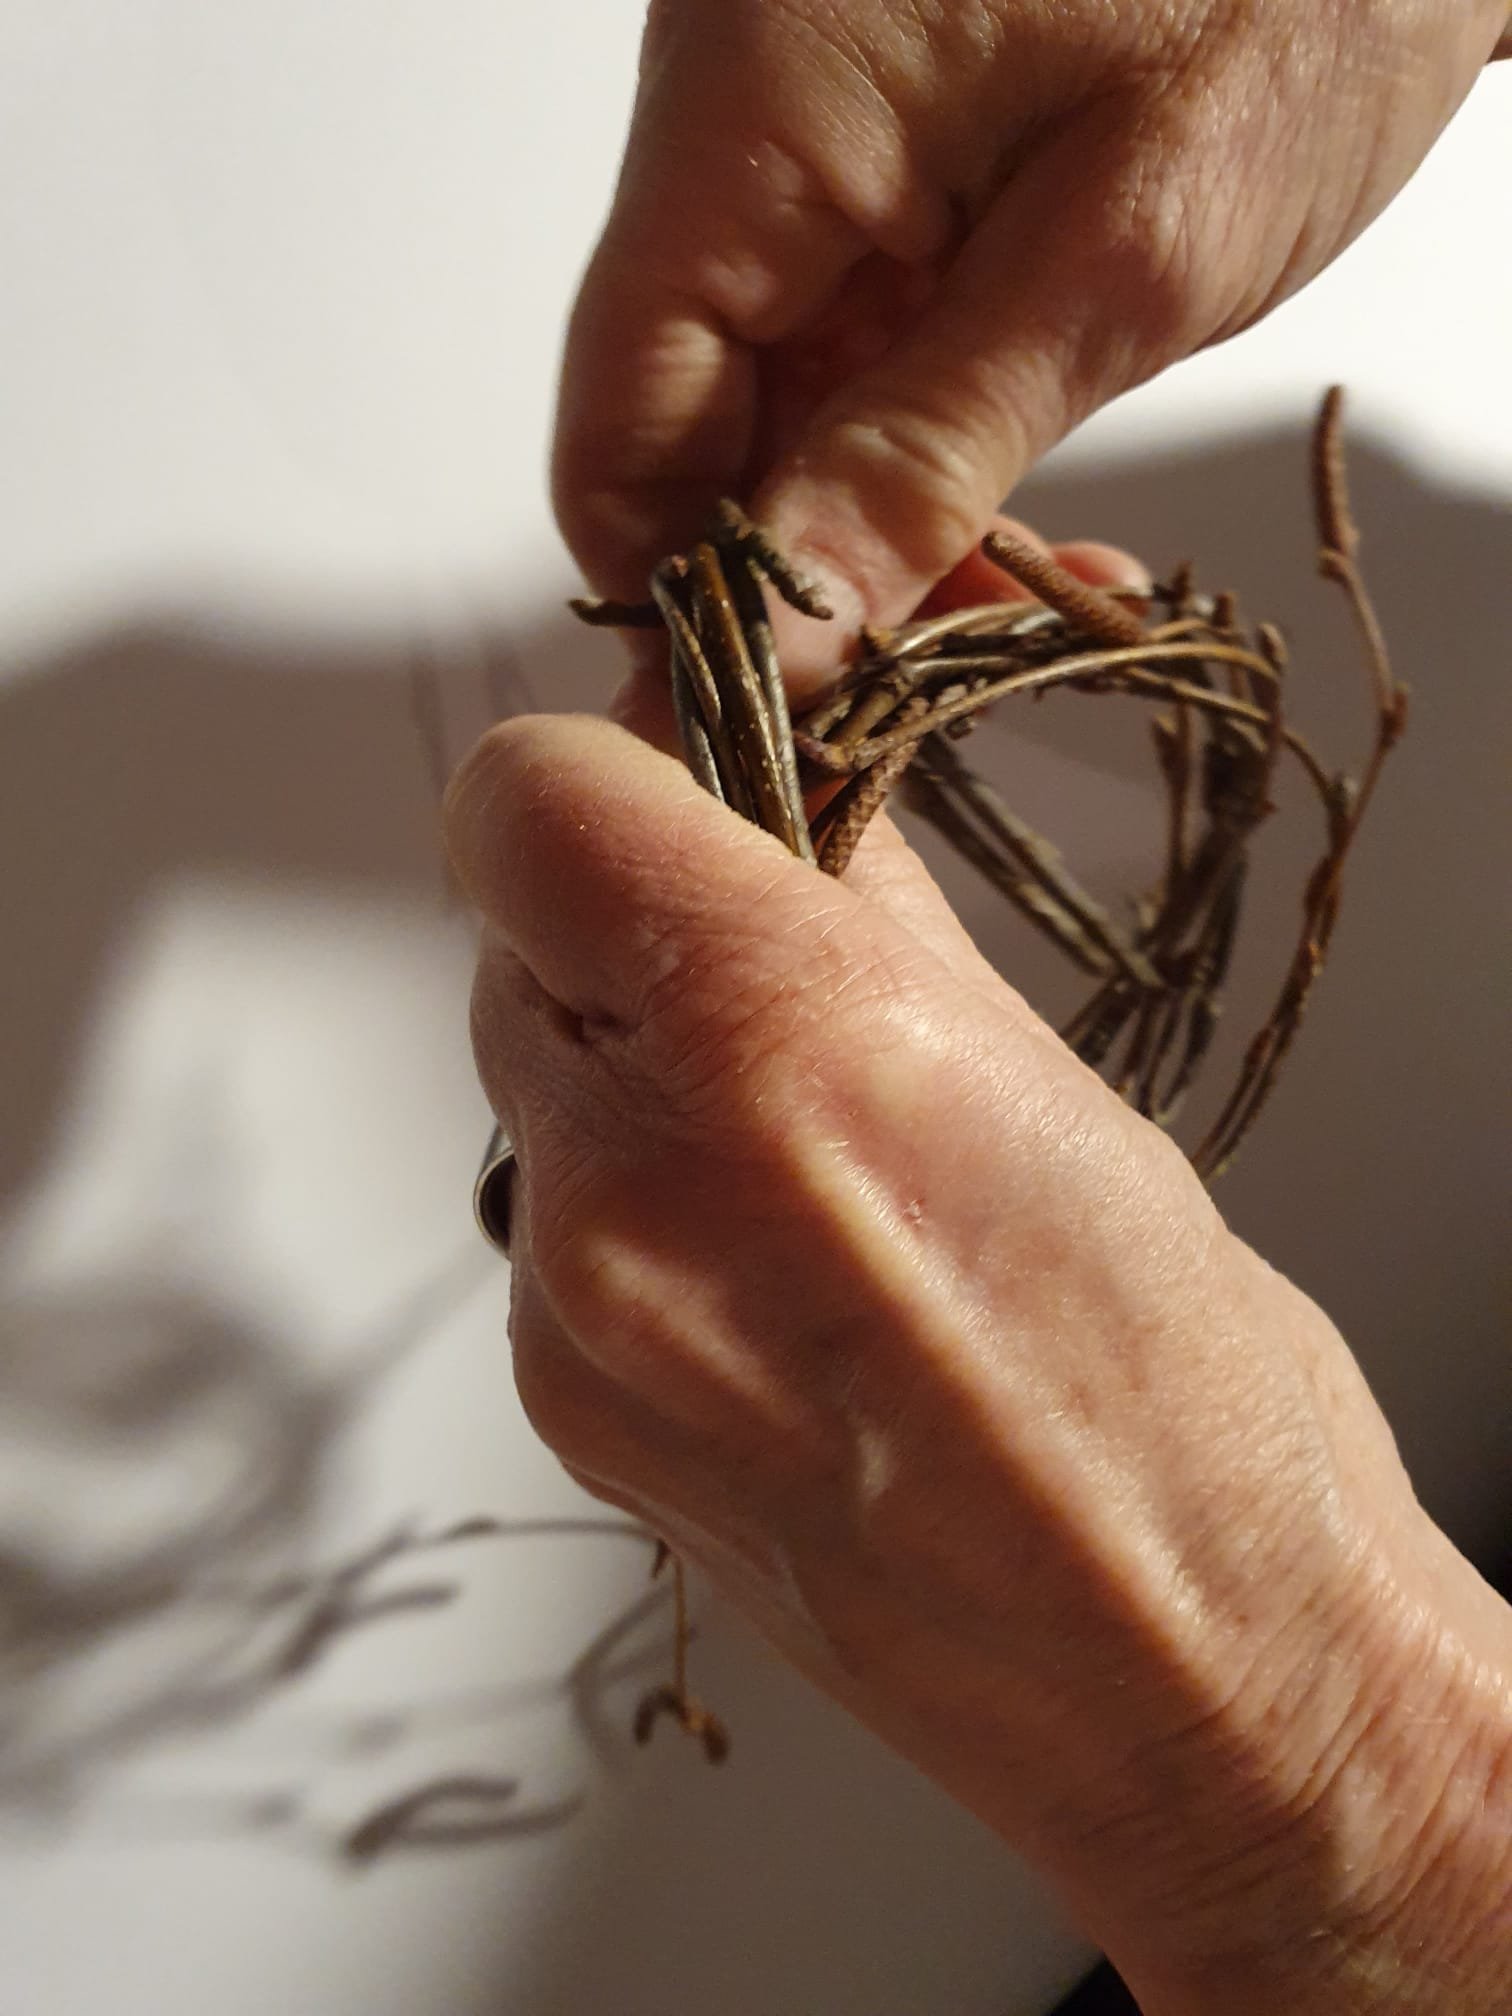
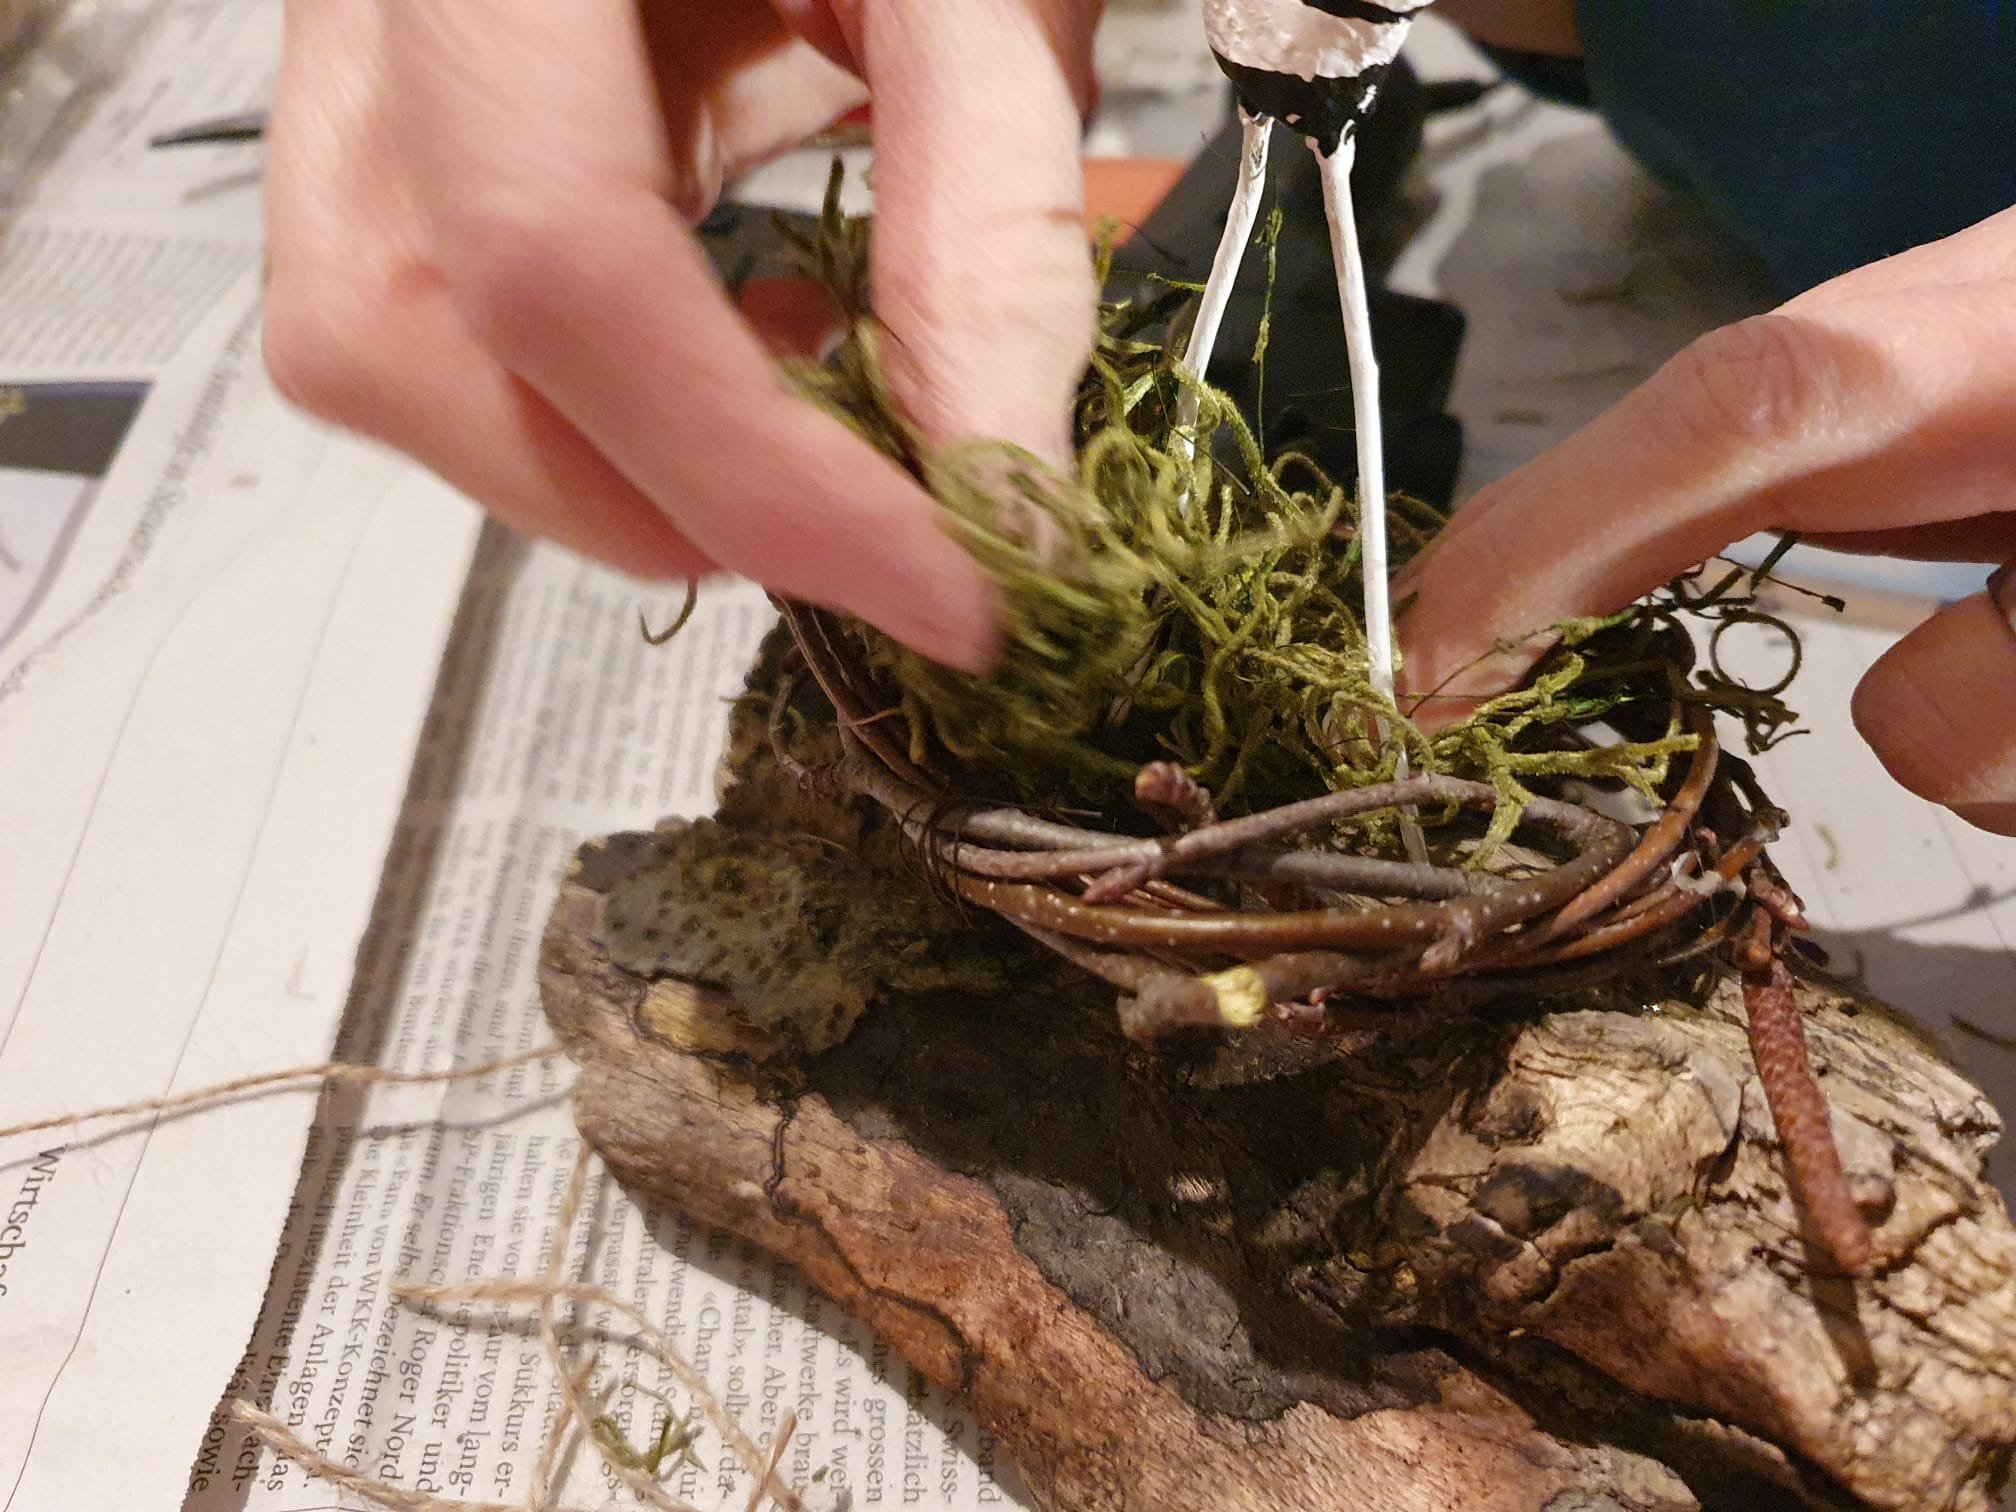
Drill two holes into the driftwood, slightly bigger than the diameter of the wire legs. Make sure you drill deep enough. Now you want to make the nest of the bird. You can turn the birch branches into a little wreath and hold it in place with a little bit of wire and lay it onto the driftwood. (Picture 2) Do so before glueing the bird to the base. (Picture 3)
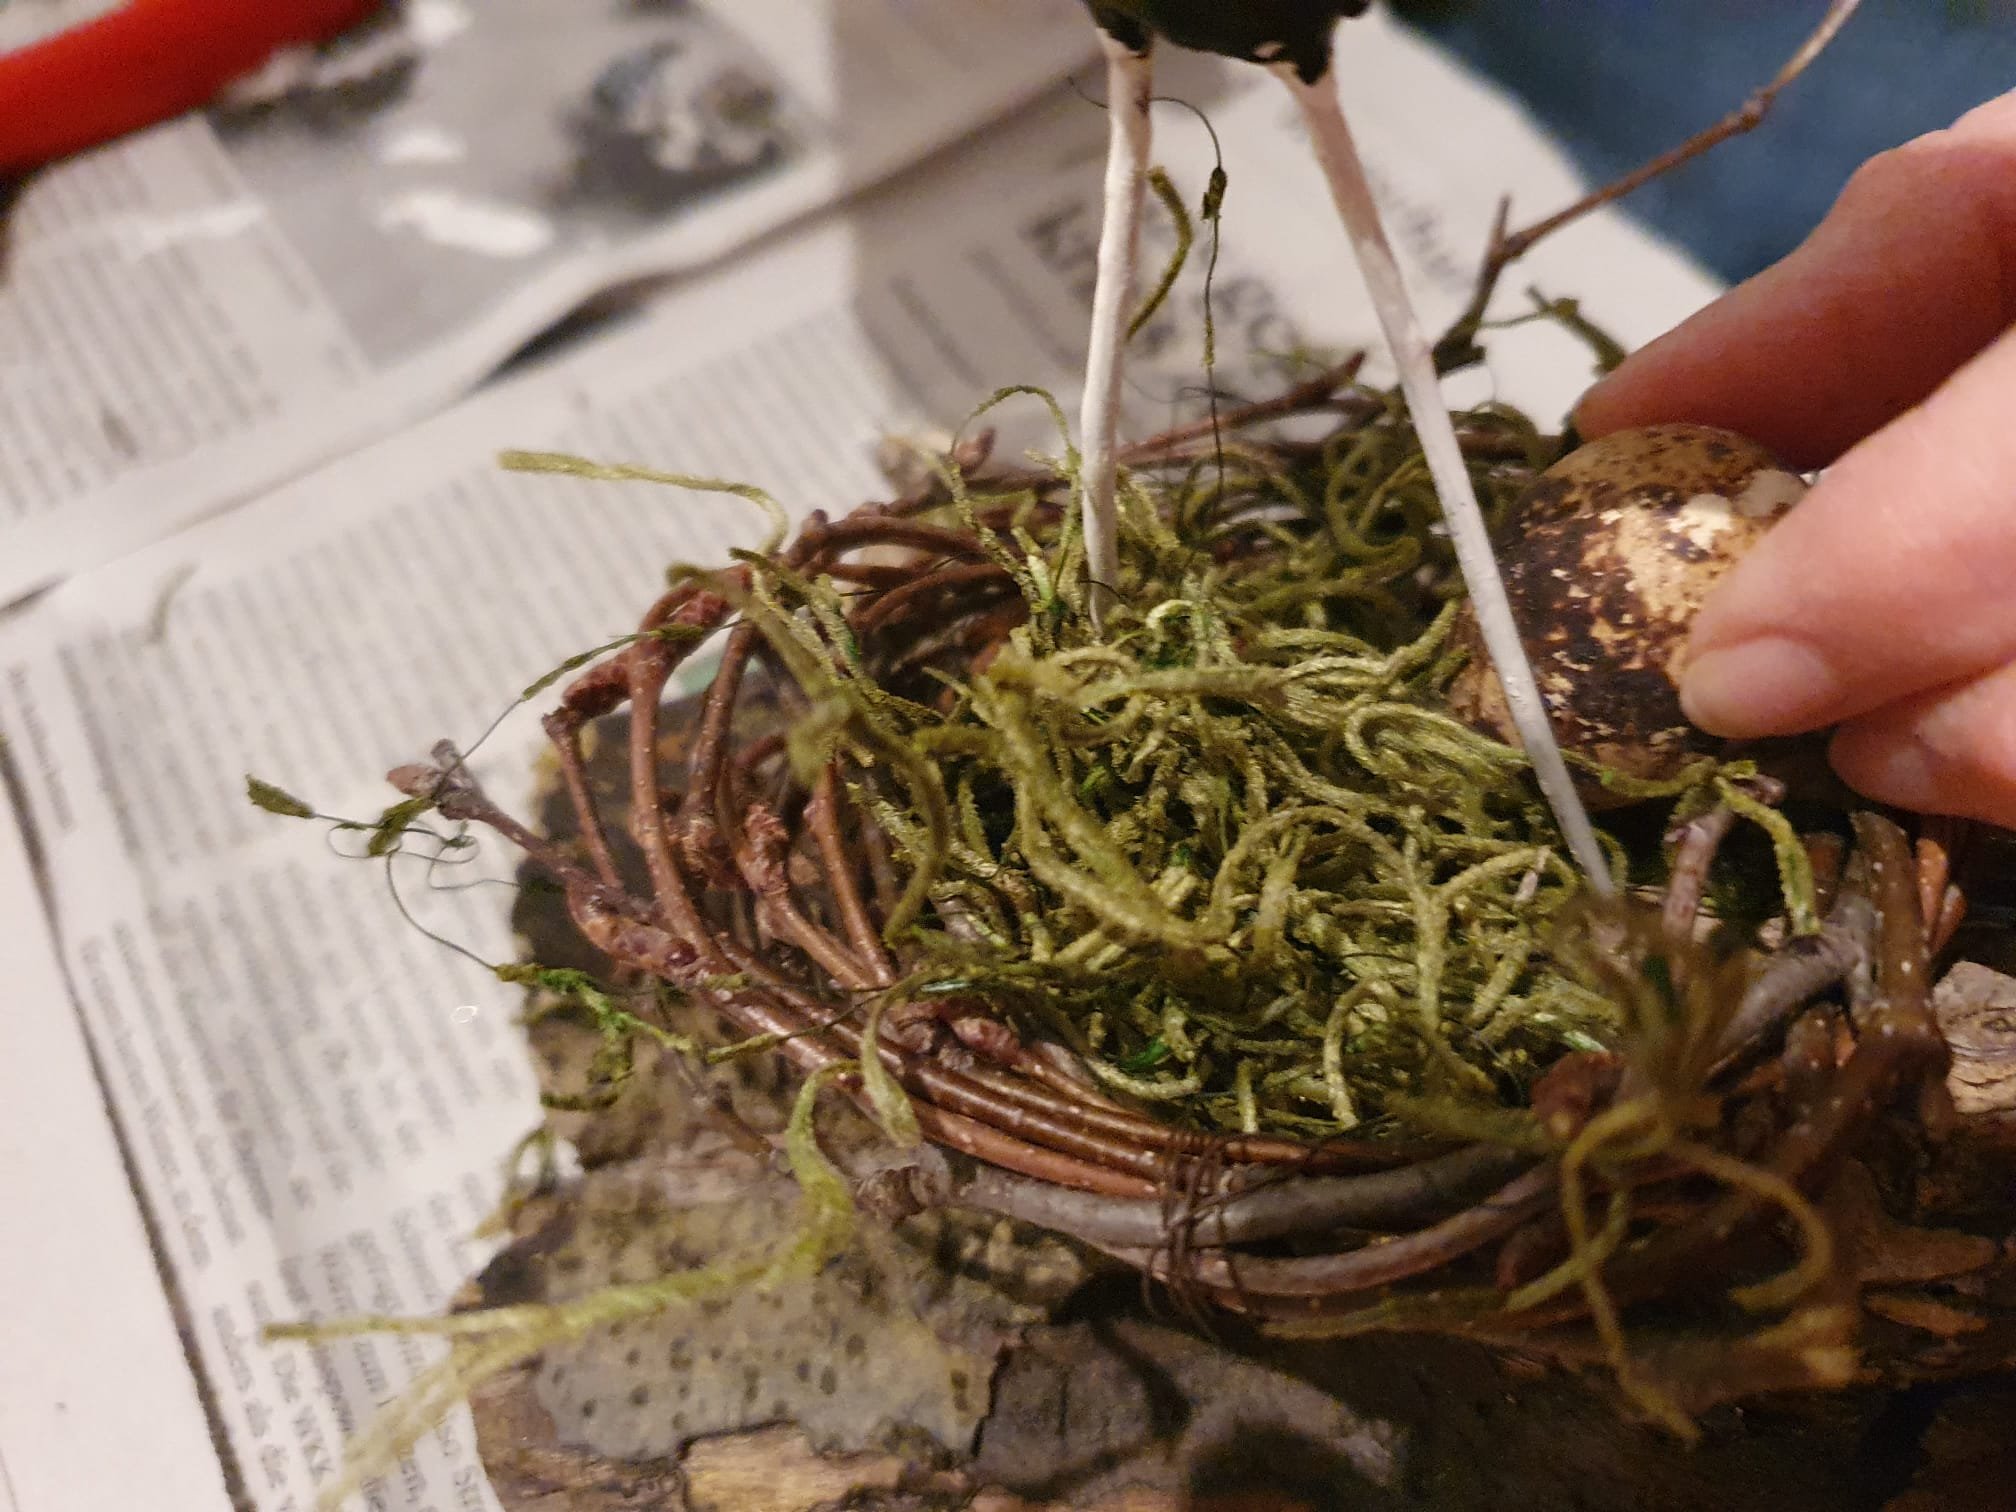
Now apply hot glue to the holes and stick the bird legs in. (Picture 4) Hold the bird in place until the glue is dry. Decorate the base/nest of the bird with the moss, and eggs. Add a little tag with a stamp or words to the base as well and finished is your spring bird! (Picture 5 + 6)

Gerne kombiniere ich die Natur mit künstlichen Materialien beim Dekorieren. Die meisten natürlichen Elemente finde ich beim Laufen in der Gegend oder ich fahre mit dem Auto kurz an einen spezifischen Ort. Ich möchte euch motivieren, euch selbst herauszufordern und bei euch in der Umgebung zu erkunden. Ihr werdet schnell merken, wo das Moos, die schönen Äste, spezielle Blumen und Schwemmholz am häufigsten vorkommen. So könnt ihr nicht nur Zeit draussen verbringen, sondern spart auch noch eine Menge an Geld! Bei uns in der Schweiz kostet ein kleiner Sack mit Moos locker 20 Franken und das, obwohl man es wahrscheinlich genauso gut im Garten finden könnte!
The Susslife Tipp: Schwemmholz kann man sehr gut bei Flussmündungen in einen See finden.
Jetzt aber zur Bastelarbeit. Diese war ursprünglich eine Arbeit für das Altersheim, in dem ich arbeite. Der erste Teil ist ziemlich einfach zu machen, da man die Gipsbandagen nur um ein Stück Karton wickeln muss. Das haben dann die Bewohner des Altersheims übernommen. Der zweite Teil mit dem Bohren und Leimen erfordert etwas mehr Fingerspitzengefühl, weshalb ich das dann zu Hause fertig machte.
Material:
Gipsbinde
Karton
Dicker Draht
Federn
Schwarzer Filzstift
Weisse Farbe
Kleine Wachteleier (ausgeblasen)
Moos
Kleine Birkenäste
Schwemmholz
Bohrer
Heissleim
Pinsel
Anleitung:
Zeichne die Form des Vogels auf ein Stück Karton und schneide ihn aus. Schneide die Gipsbandage in schmale Streifen, berühre damit kurz das Wasser und lege die nasse Binde dann auf das Kartonstück. Mache so weiter, bis der ganze Vogel mindestens 3-lagig bedeckt ist. Schneide zwei ca. 10 cm lange Stücke vom Draht für die Beine des Vogels. Das scheint jetzt ziemlich lange, aber die Beine werden ja noch in das Schwemmholz gesteckt und sind dann um einiges kürzer. Stecke die Drahtbeine und die Federn in den noch nassen Gips und lasse dann alles trocknen.
Bemale den Vogel mit weisser Farbe und lasse es trocknen. Dann kannst du mit schwarzem Filzstift Muster und je ein Auge auf beiden Seiten des Vogels zeichnen. (Bild 1)
Bohre zwei Löcher in das Schwemmholz. (Durchmesser etwas grösser wie die Drahtbeine) Bohre tief genug, damit der Vogel auch hält. Jetzt kannst du das Nest machen. Nimm dazu die Birkenäste und drehe sie zu einem kleinen Kränzchen. (Bild 2) Zum Befestigen kannst du dünnen Draht verwenden. Lege das fertige Nest auf das Schwemmholz. Mache das unbedingt bevor du den Vogel anleimst! (Bild 3)
Mache nun zwei Tropfen Heissleim auf die Löcher und stecke den Vogel hinein. (Bild 4) Halte alles bis der Leim hart ist. Dekoriere die Basis des Vogels mit Moos und Eiern. Schreibe ein kleines Zettelchen mit Worten oder einem Stempel drauf und fixiere es ebenfalls am Nest und fertig ist der Vogel! (Bild 5 + 6)

1

3
2

4
5
6
