Unique Spring DIY Moss Egg Decor
Here is a craft you can easily do from home with just a few things! Plus it fits the season perfectly since it is almost easter time!!
What you need:
Styrofoam egg or old newspapers
Wire
Moss (we had ours from the forest)
Lace ribbon or any other ribbon or yarn
Things to decorate like feathers or the flower. You can also use a shape paper punch to get some flowers
hot glue gun and hot glue sticks
How to make:
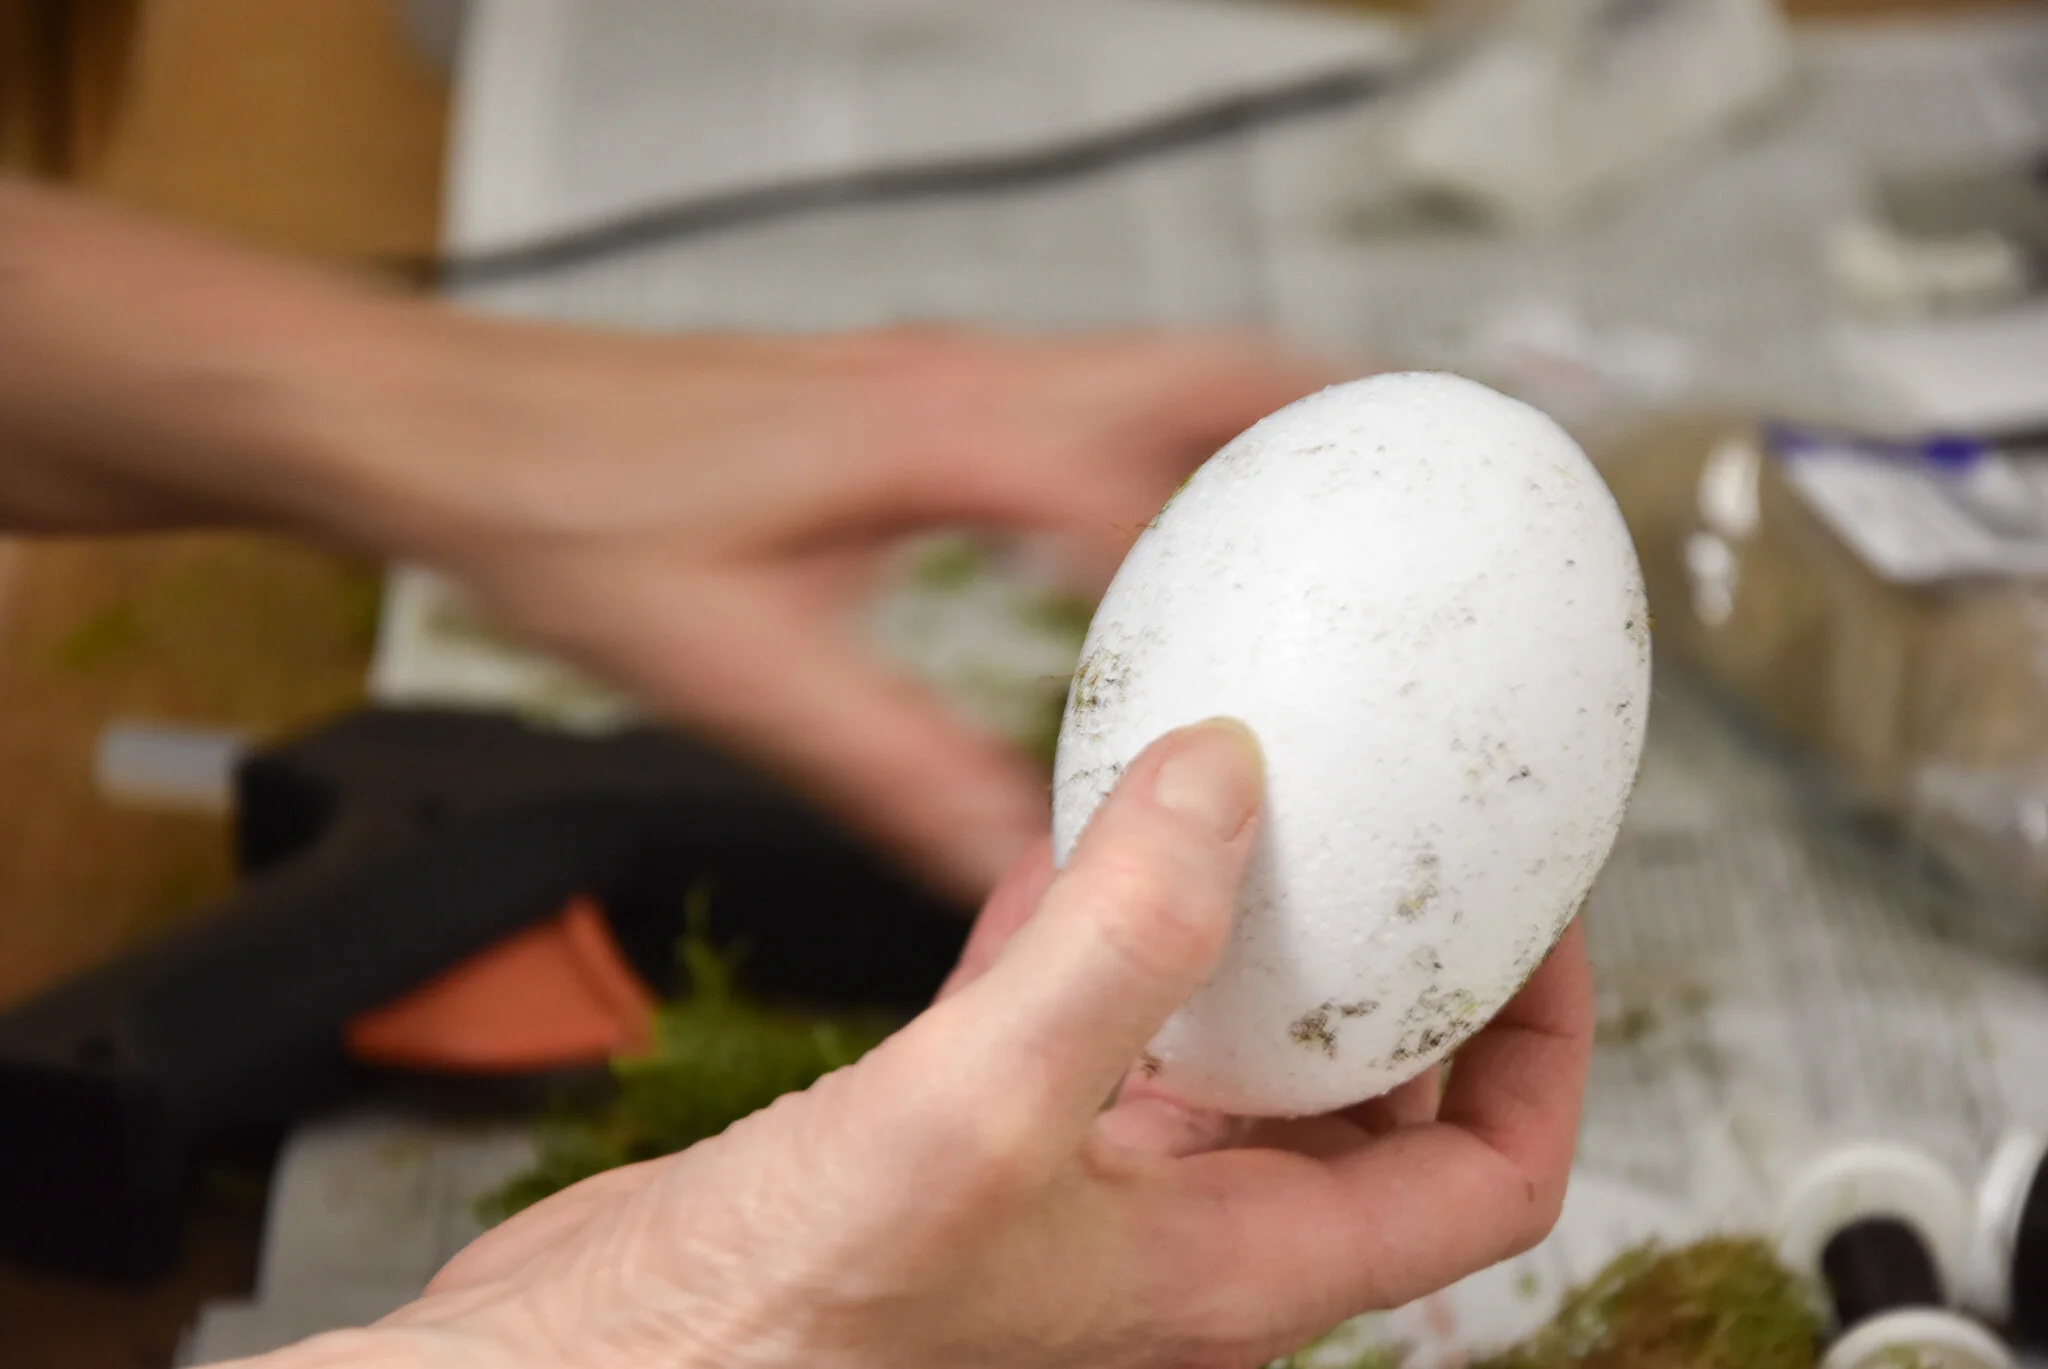
If you don’t have a styrofoam egg (Picture 1), then scrunch up some newspaper into an egg shape. Use the wire to tie it all together and to bring the newspaper in shape.
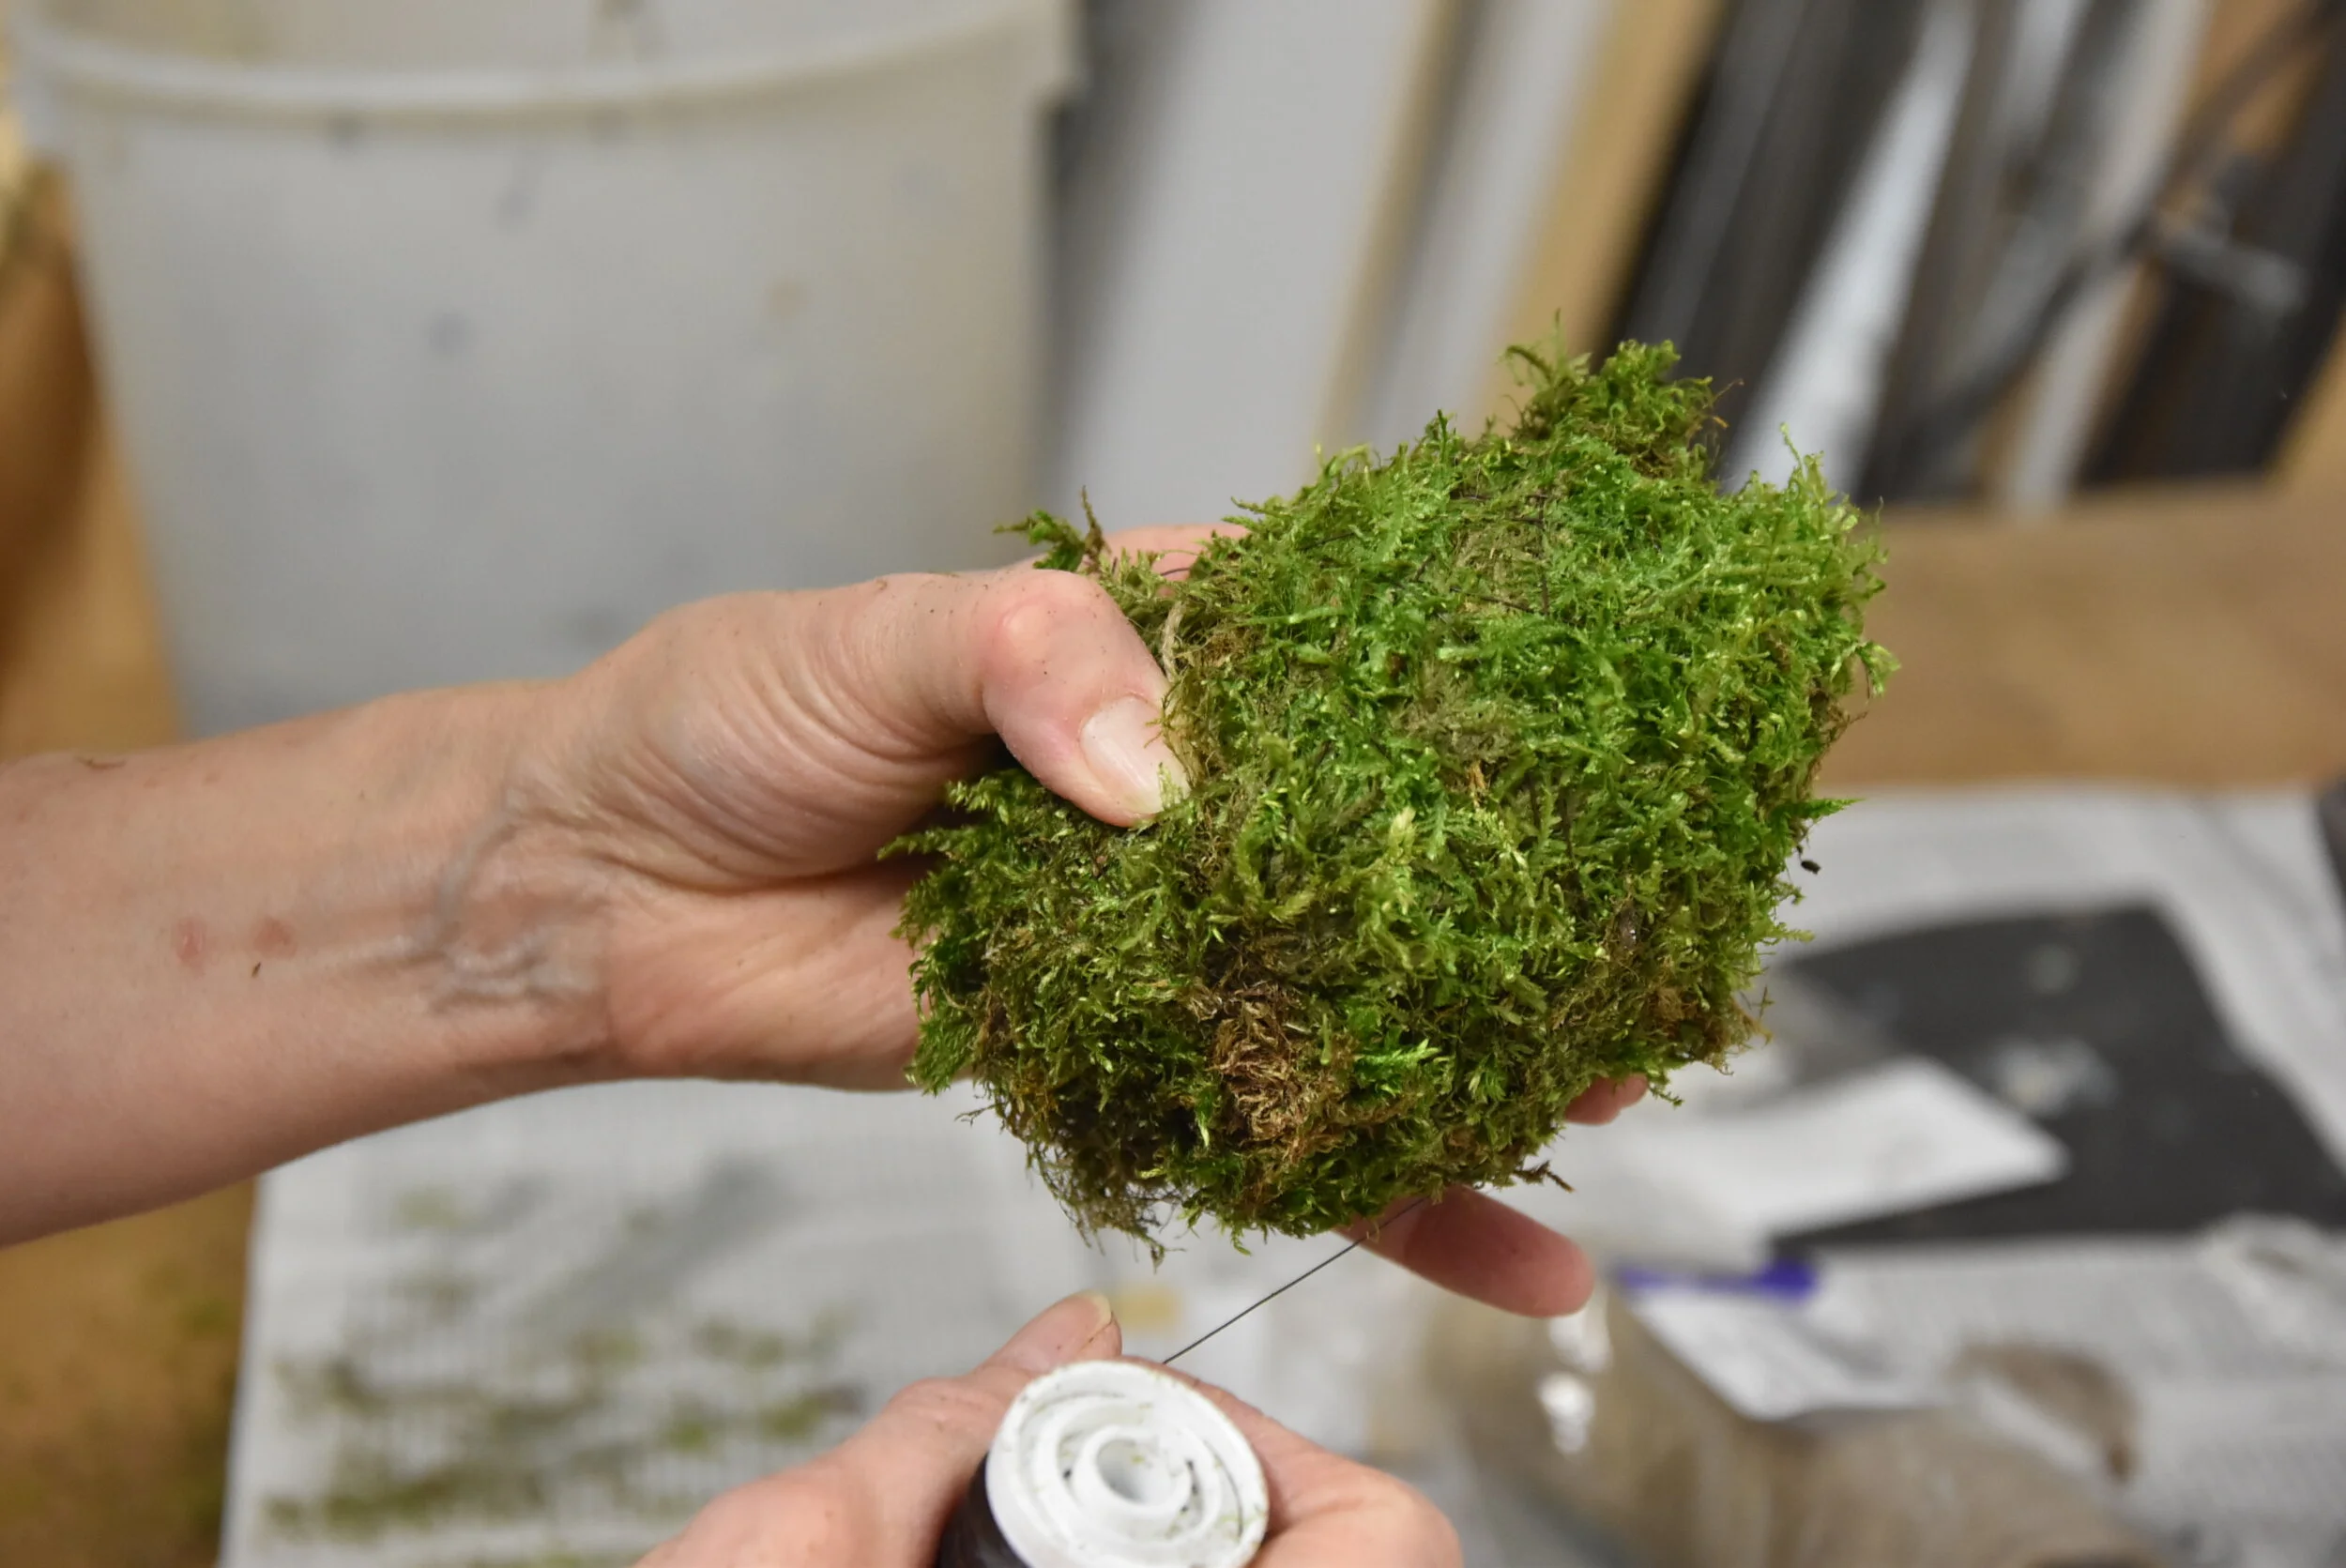
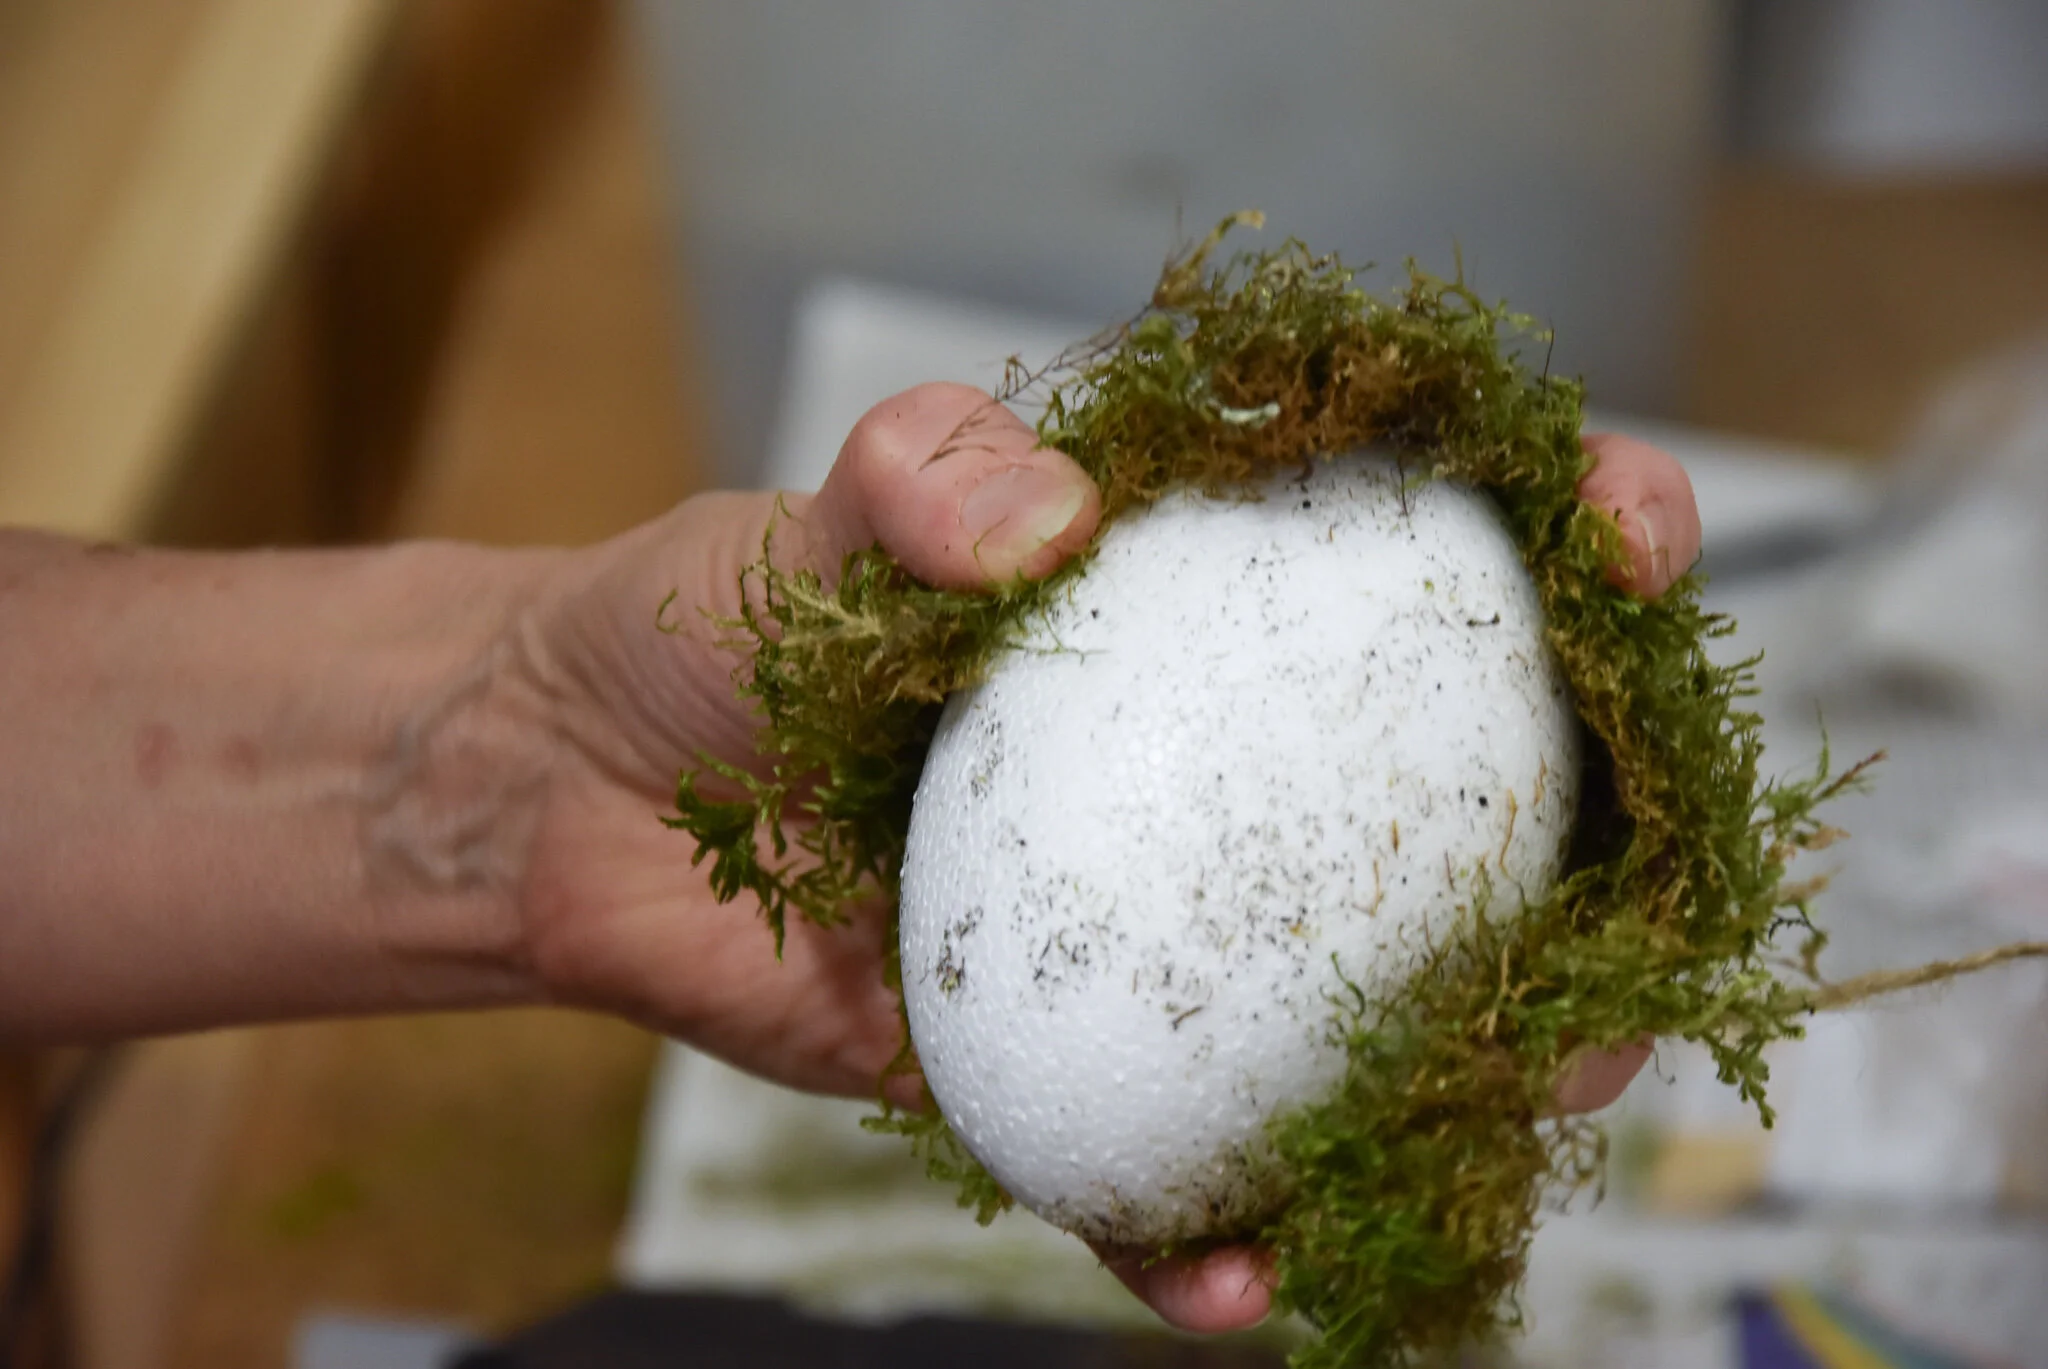
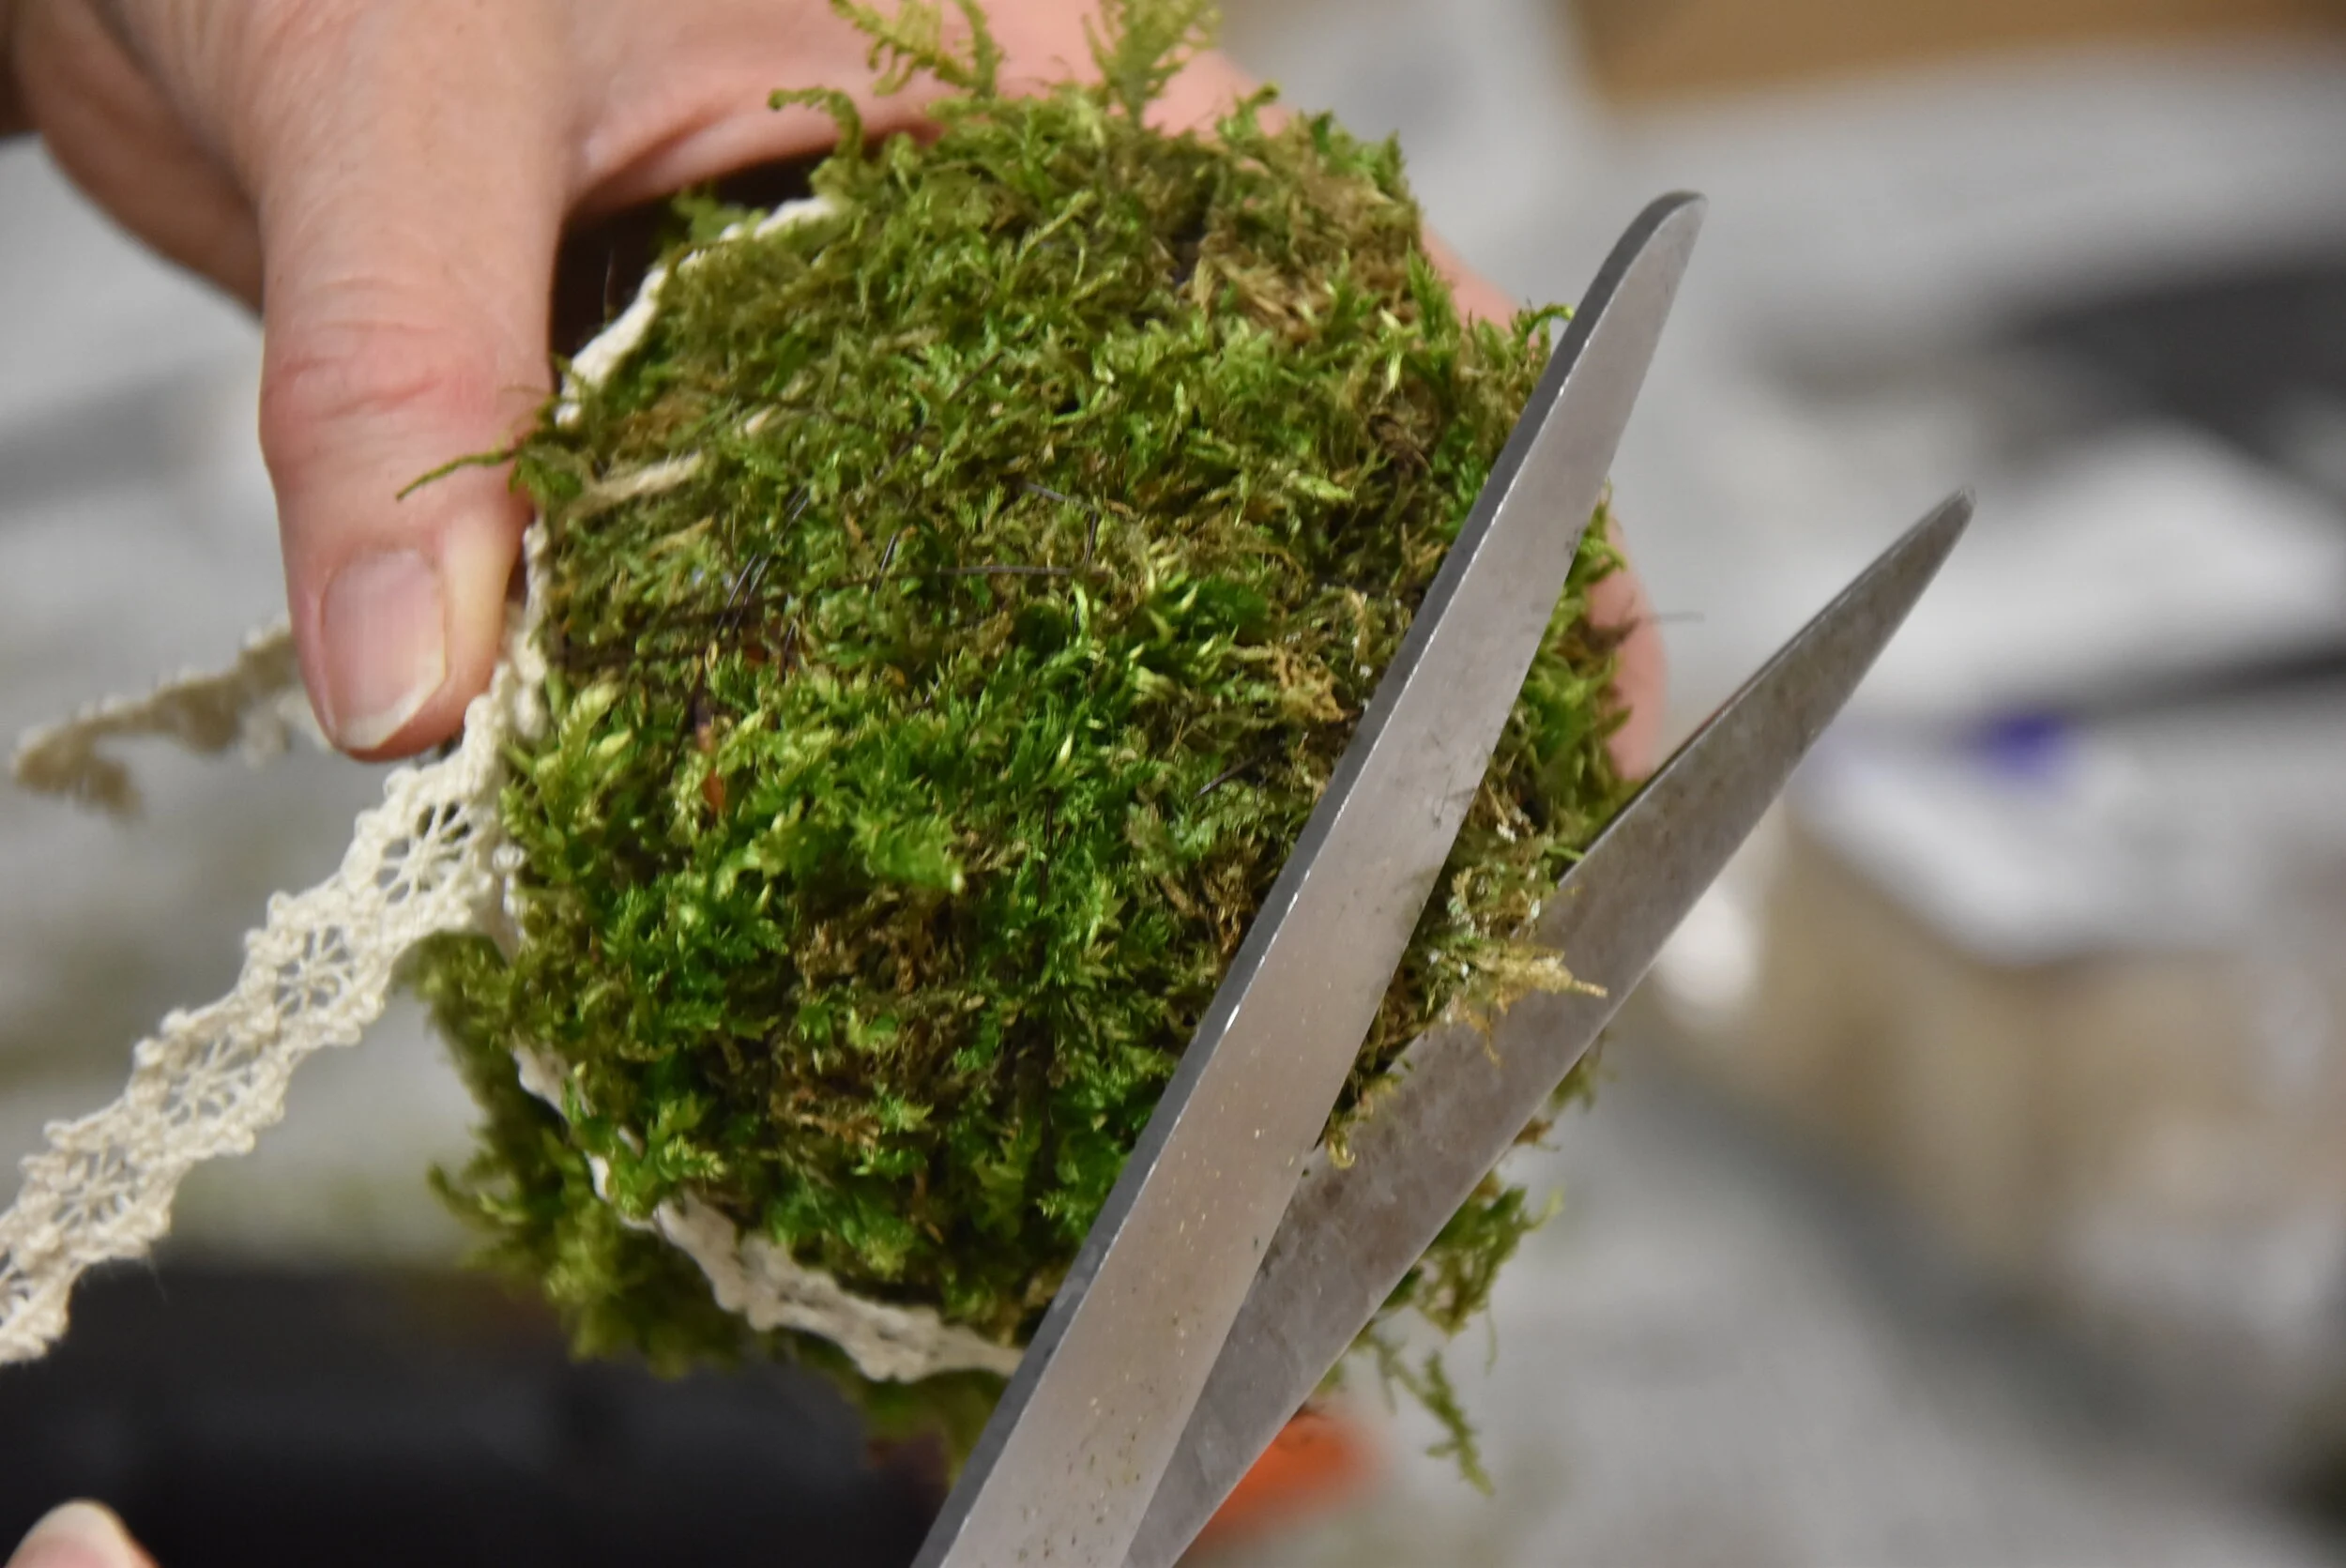
Now take a piece of moss and lay it on the egg. (Picture 2) Use the wire to attach it. Cover the entire egg with moss. (Picture 3) If some of the “hair” of the moss stands out too much you can cut it off with scissors. (Picture 4)
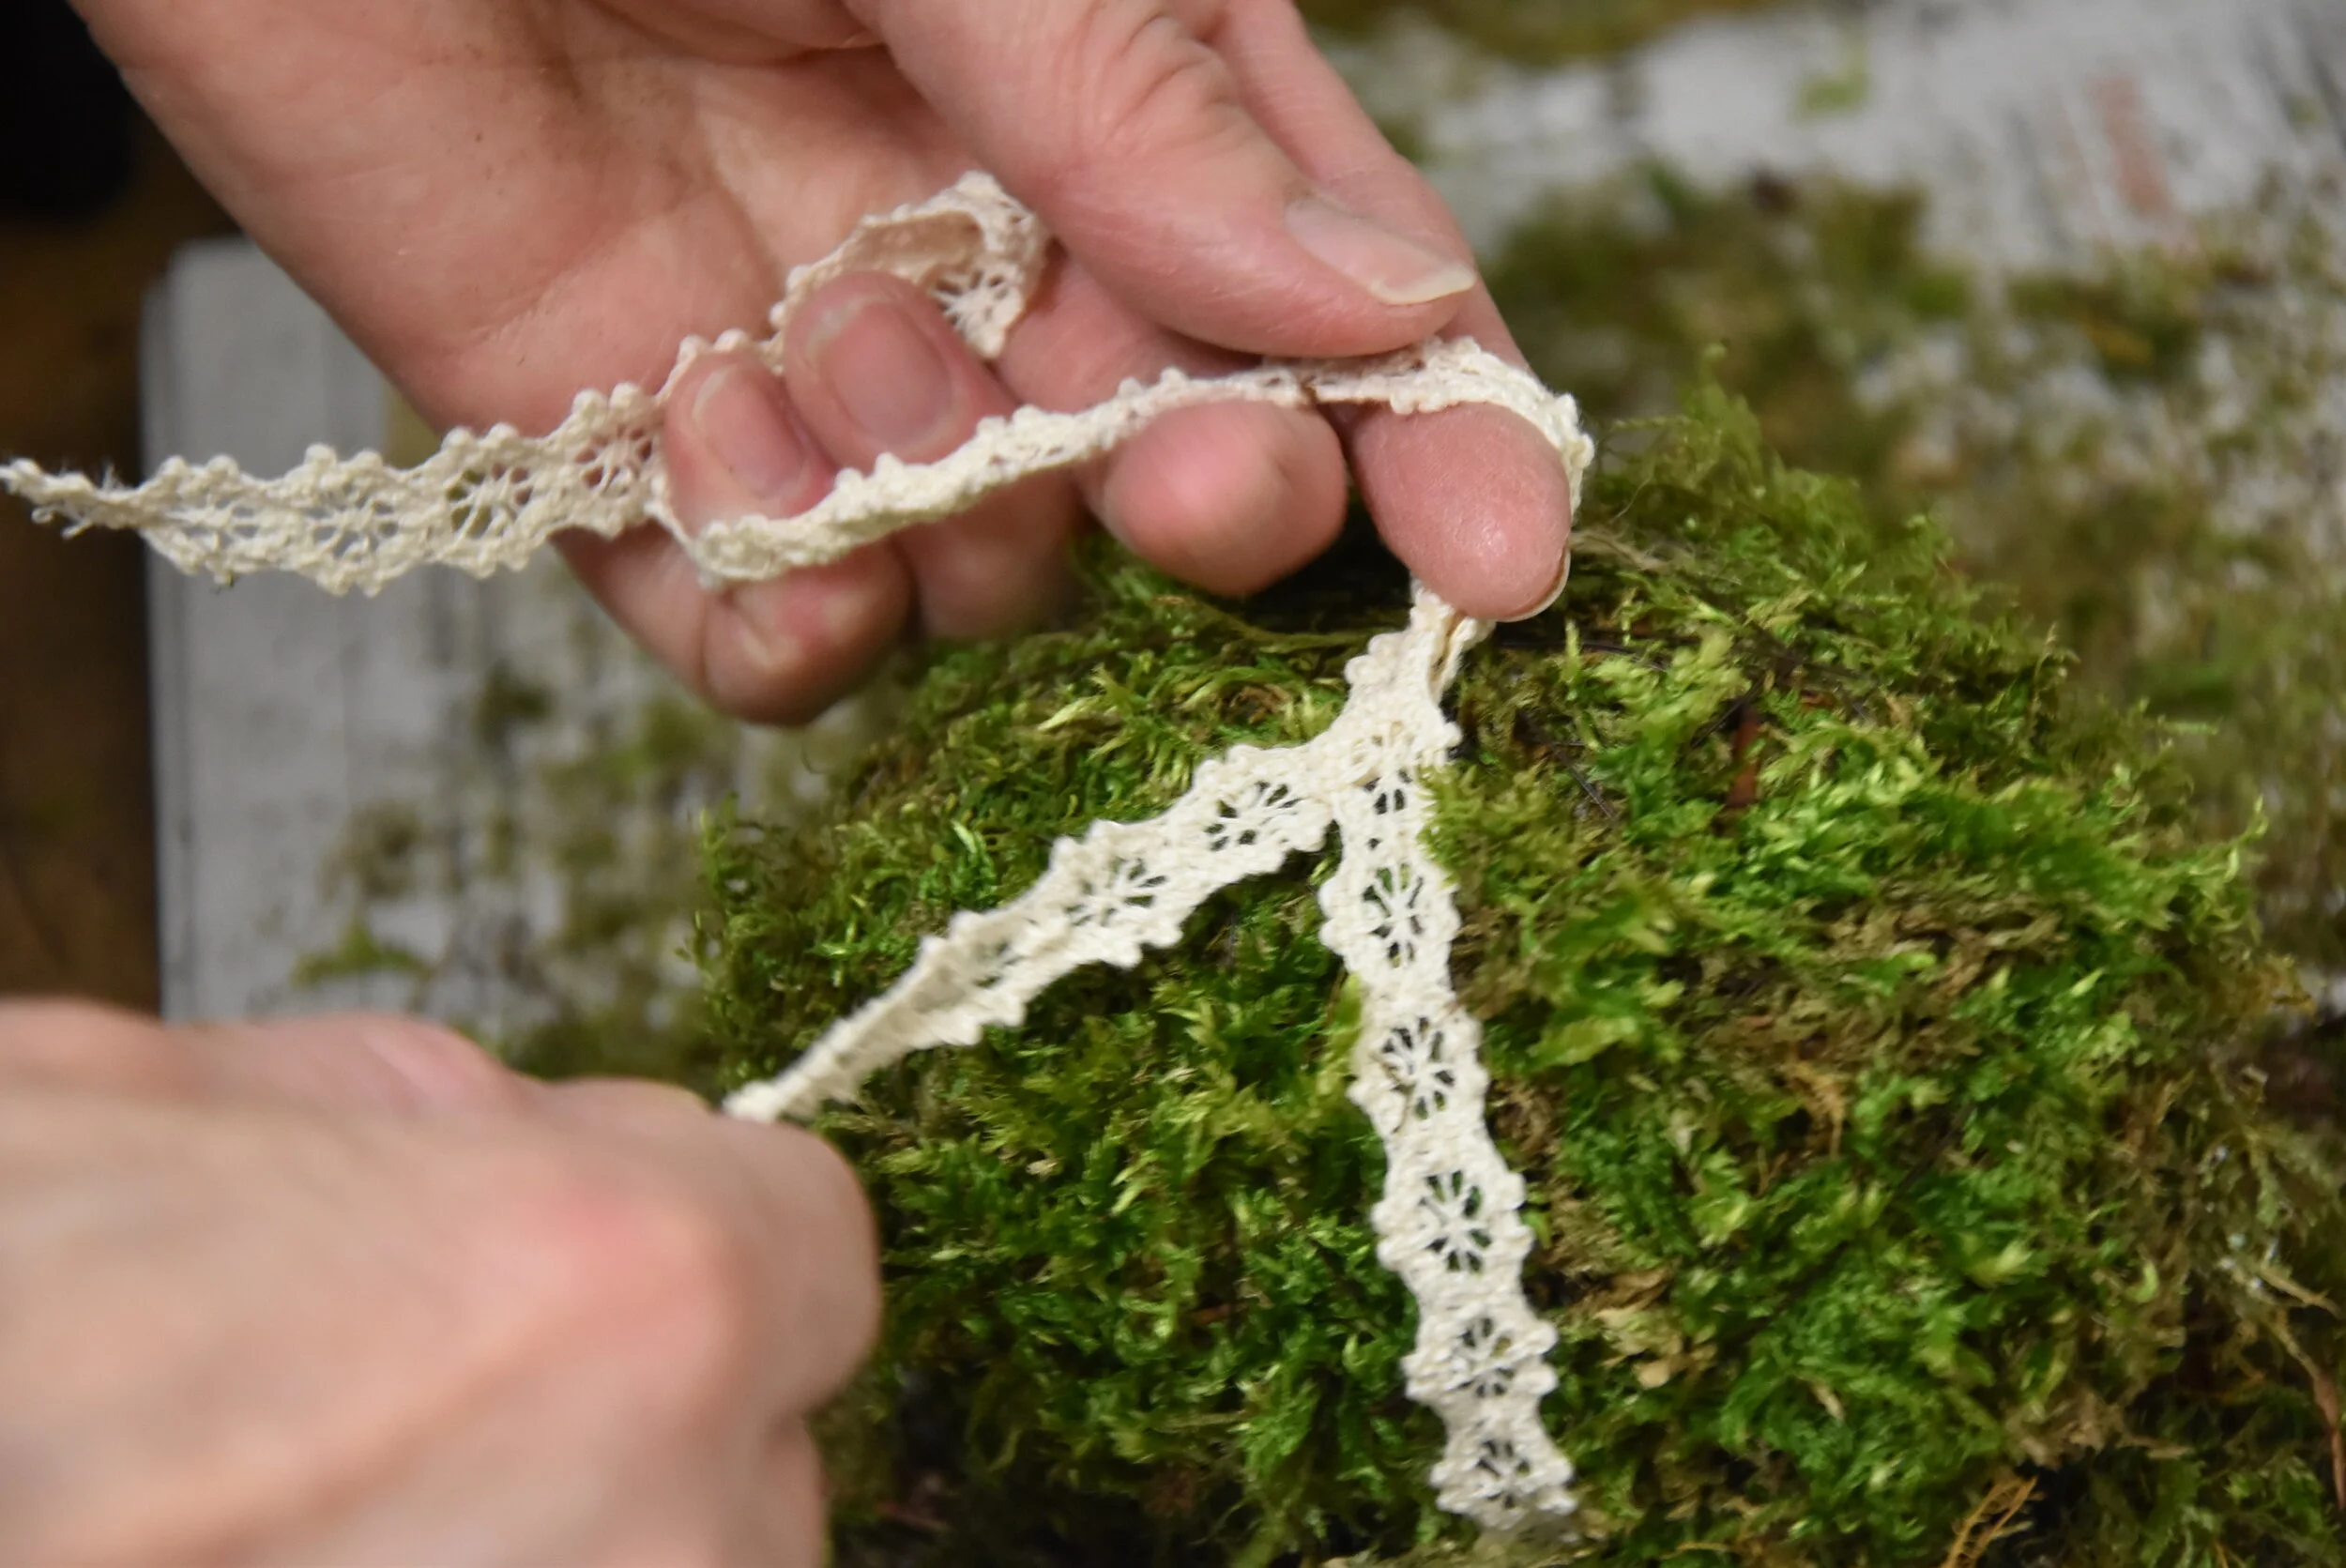
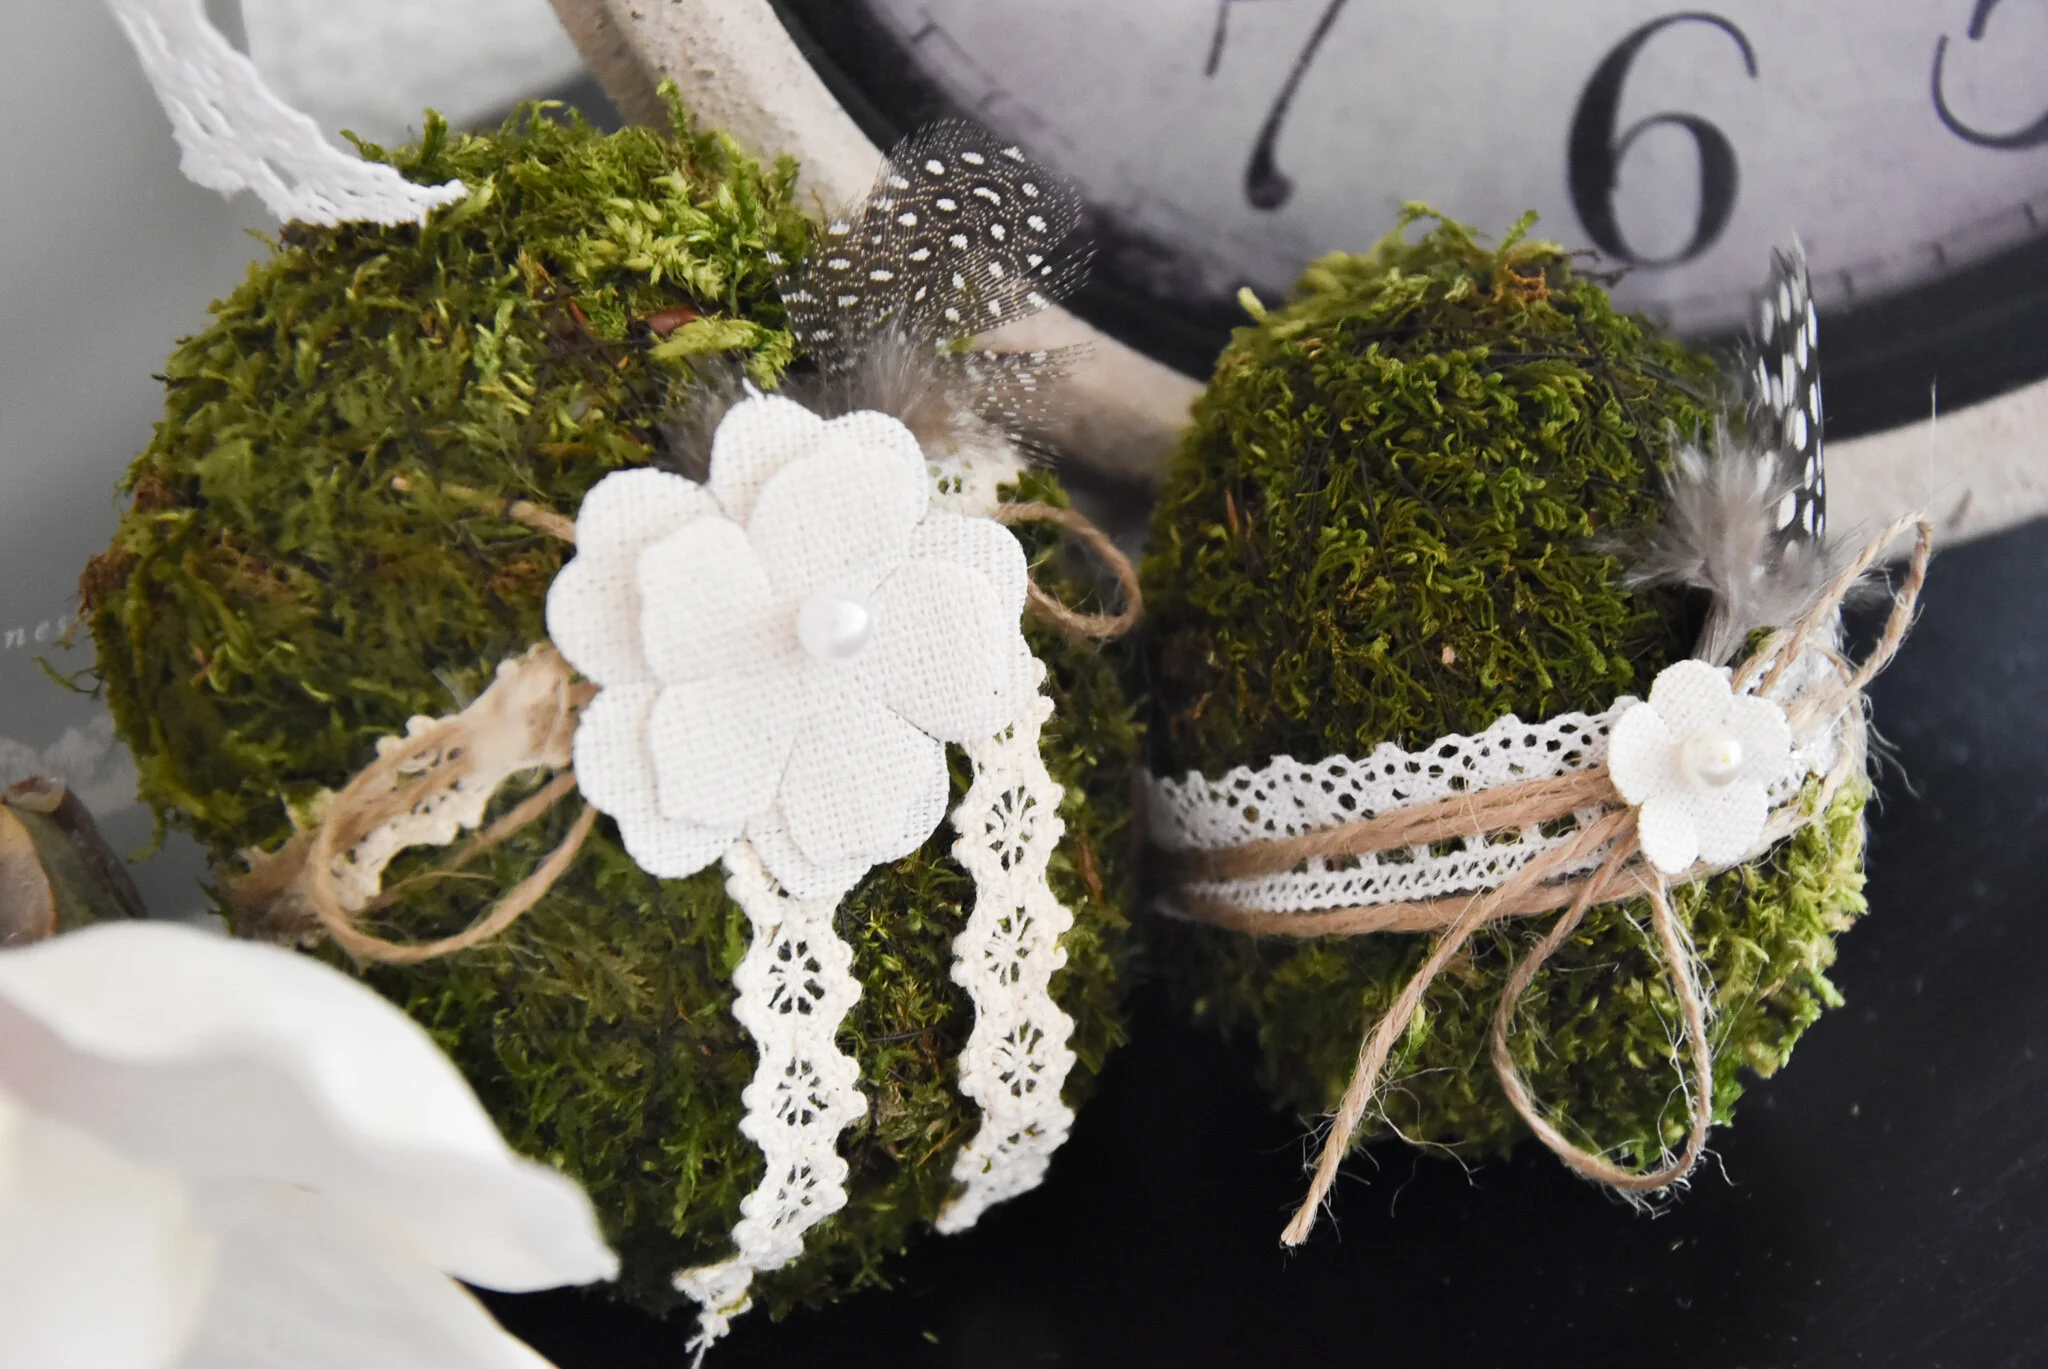
Tie a ribbon around the egg. (Picture 5) You can also tie several different kinds of ribbon. Stick the feather underneath and use hot glue to attach the flower. (Picture 6)
1
3
5
2
4
6

