Retro Birthday Card

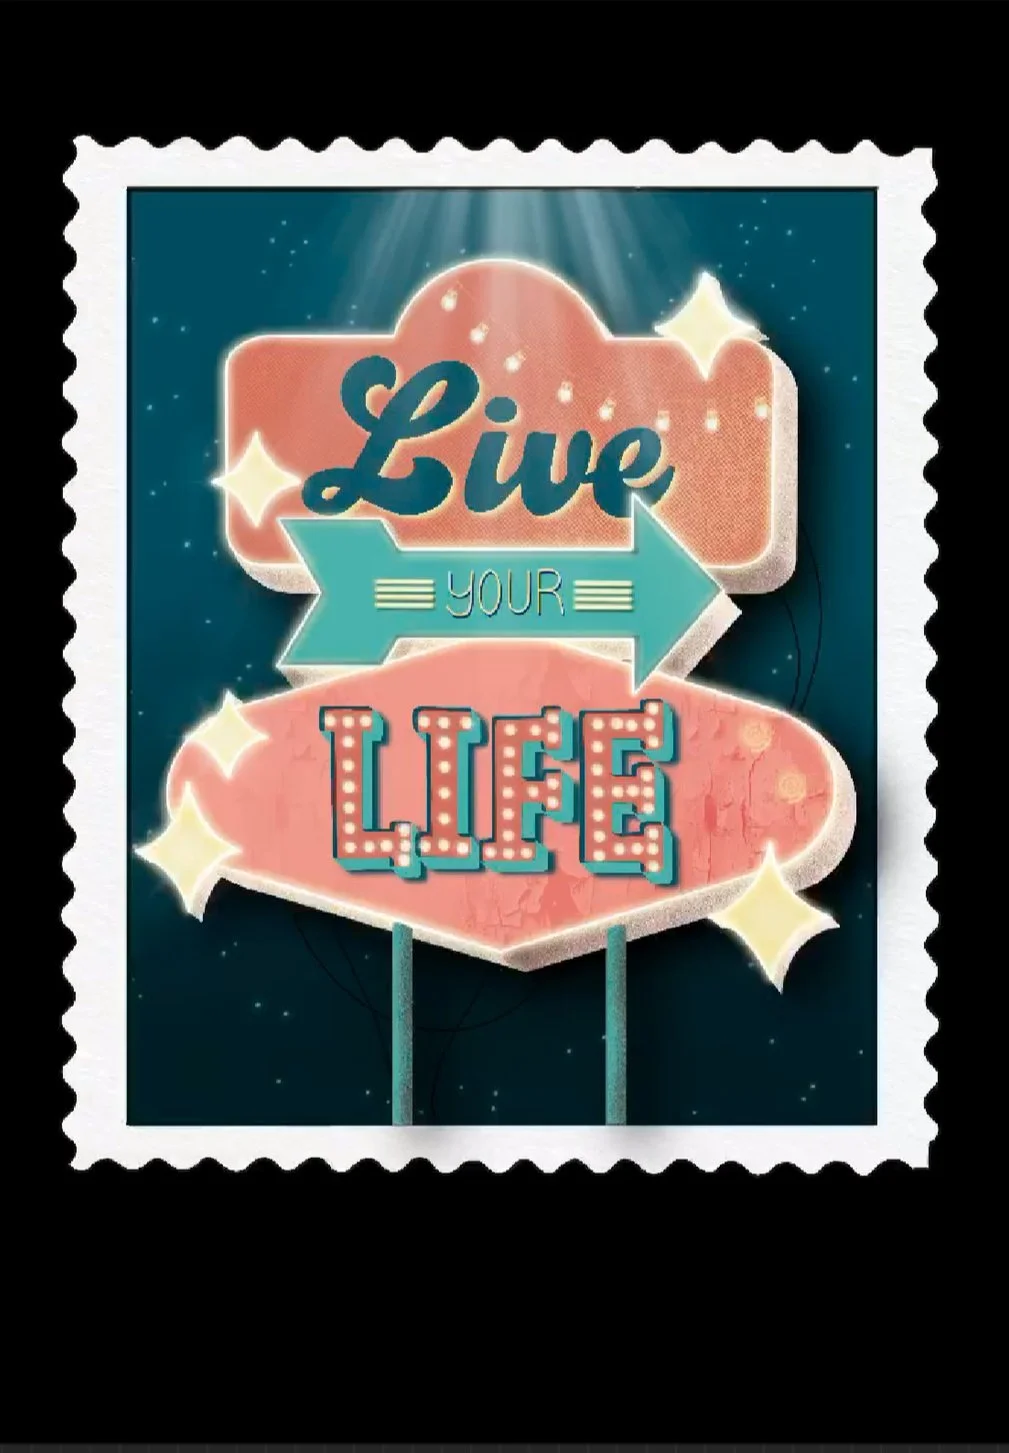
Another birthday, another card. As I am scrolling through all my art works on my iPad, I realize how many birthday cards I have made over the years. Only a few of them I showed here. (Vintage Card, Hawaiian Card, Batman Card, Cherry Blossom Card) I like to make cards for a special occasion and being able to give someone a personal, unique gift. This time it was a birthday card for my sister. I wanted to combine the idea of a retro sign and a stamp.
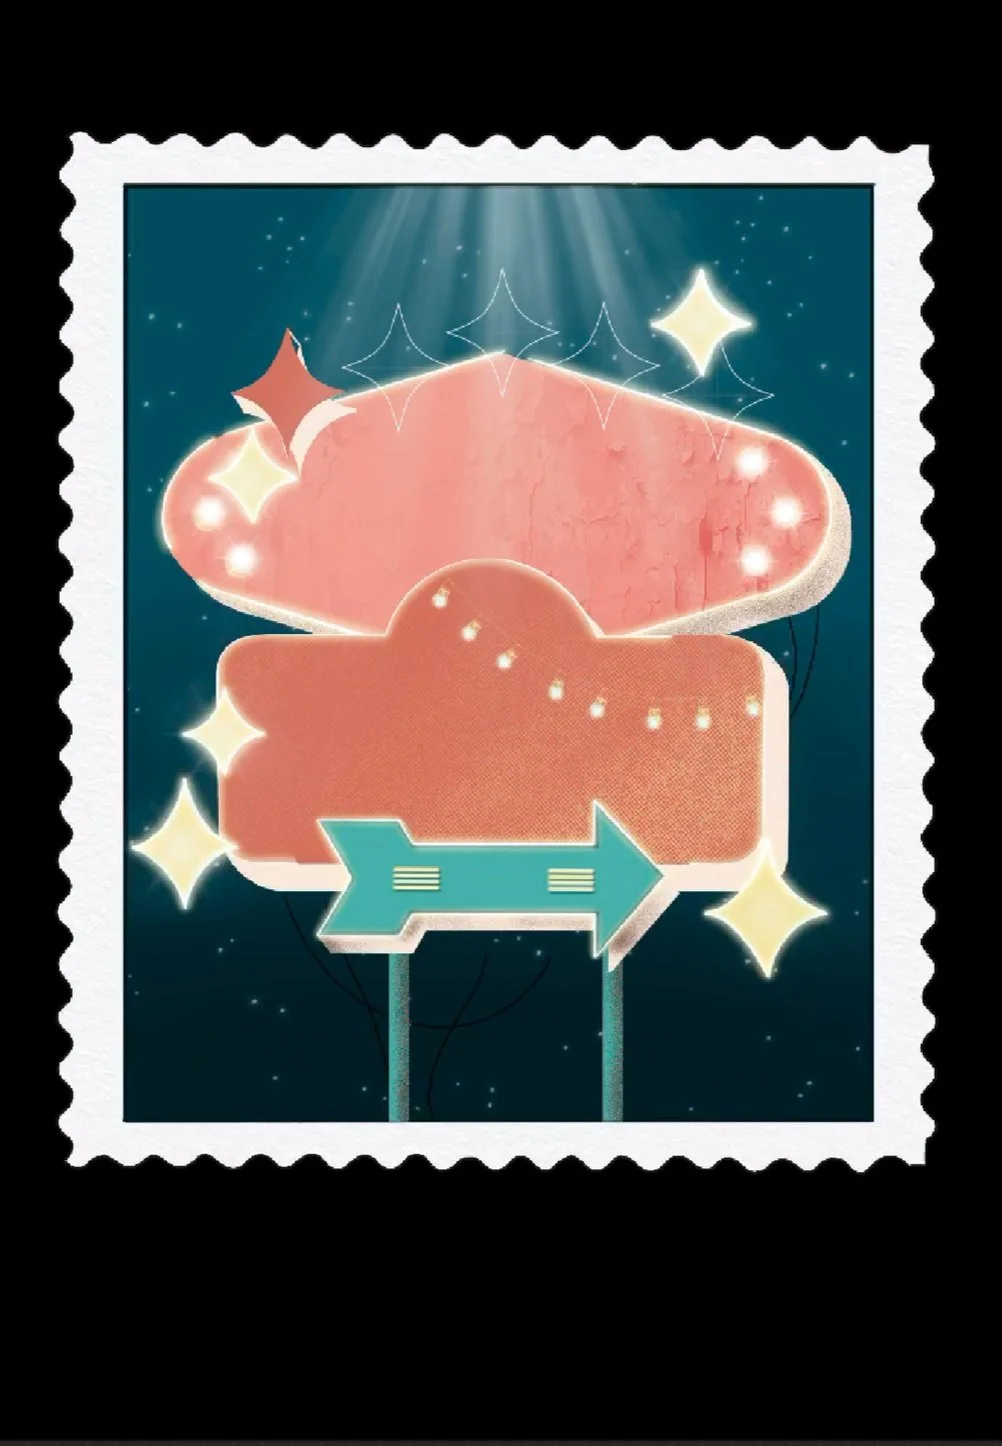
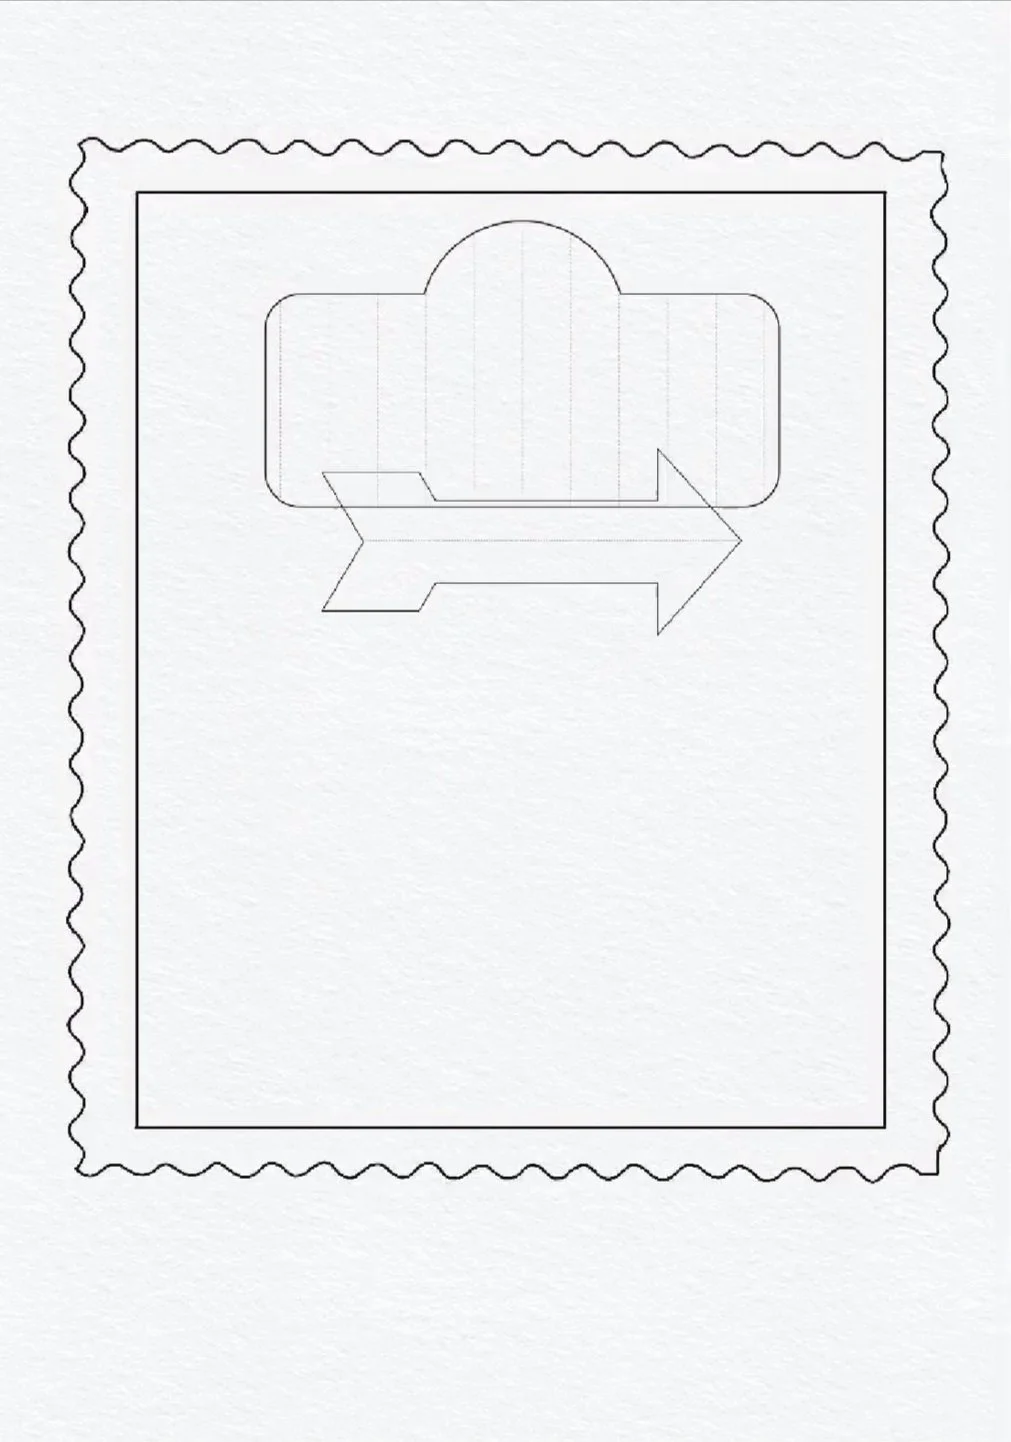
For that I started drawing the stamp and then designed the sign. (I previously made a similar art work which I used to help me to draw the birthday card. This is why some of the photos have a different order of shapes or other words.)

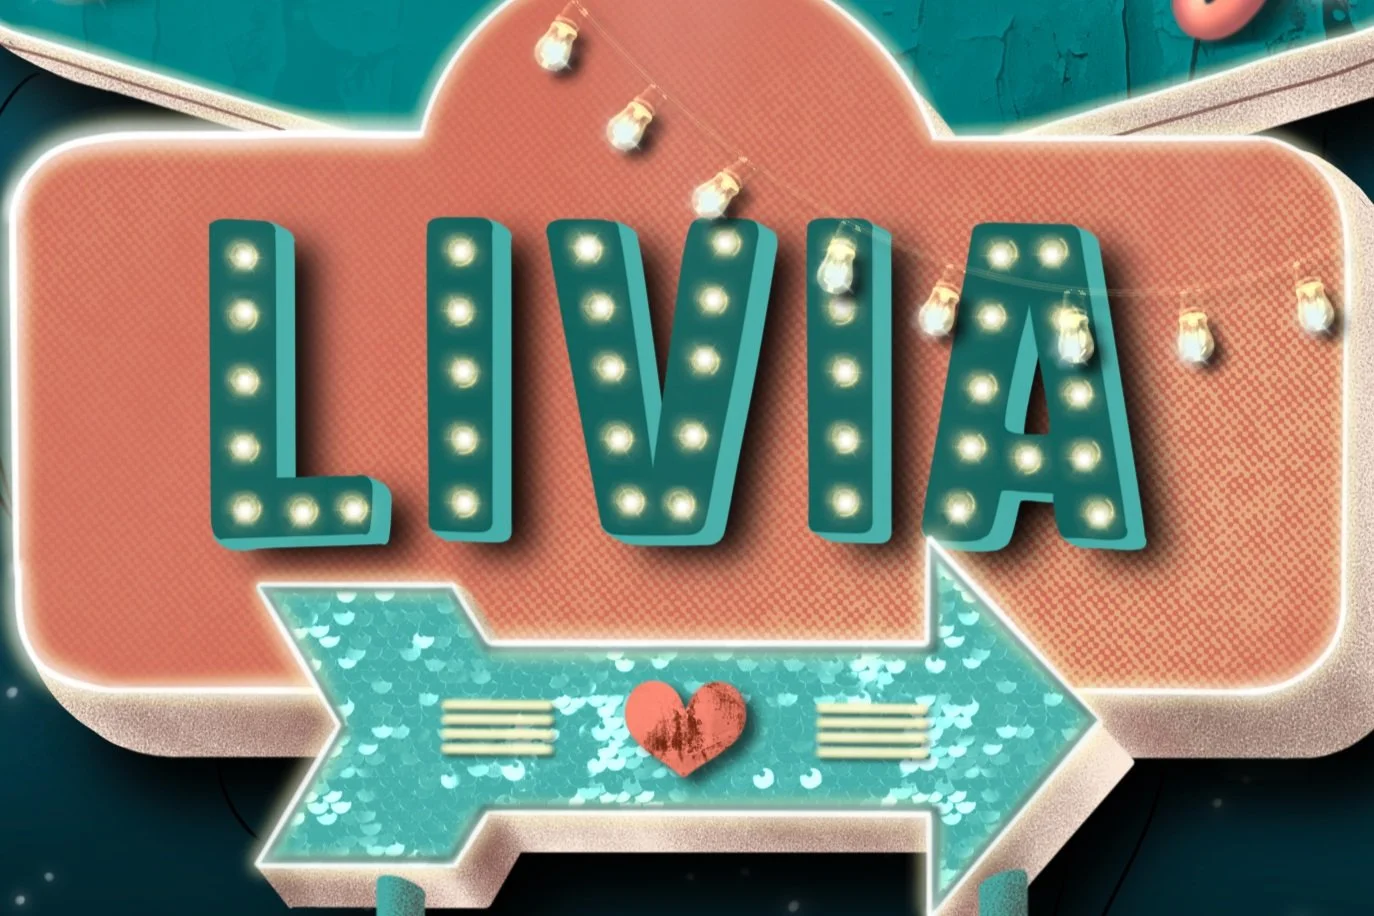
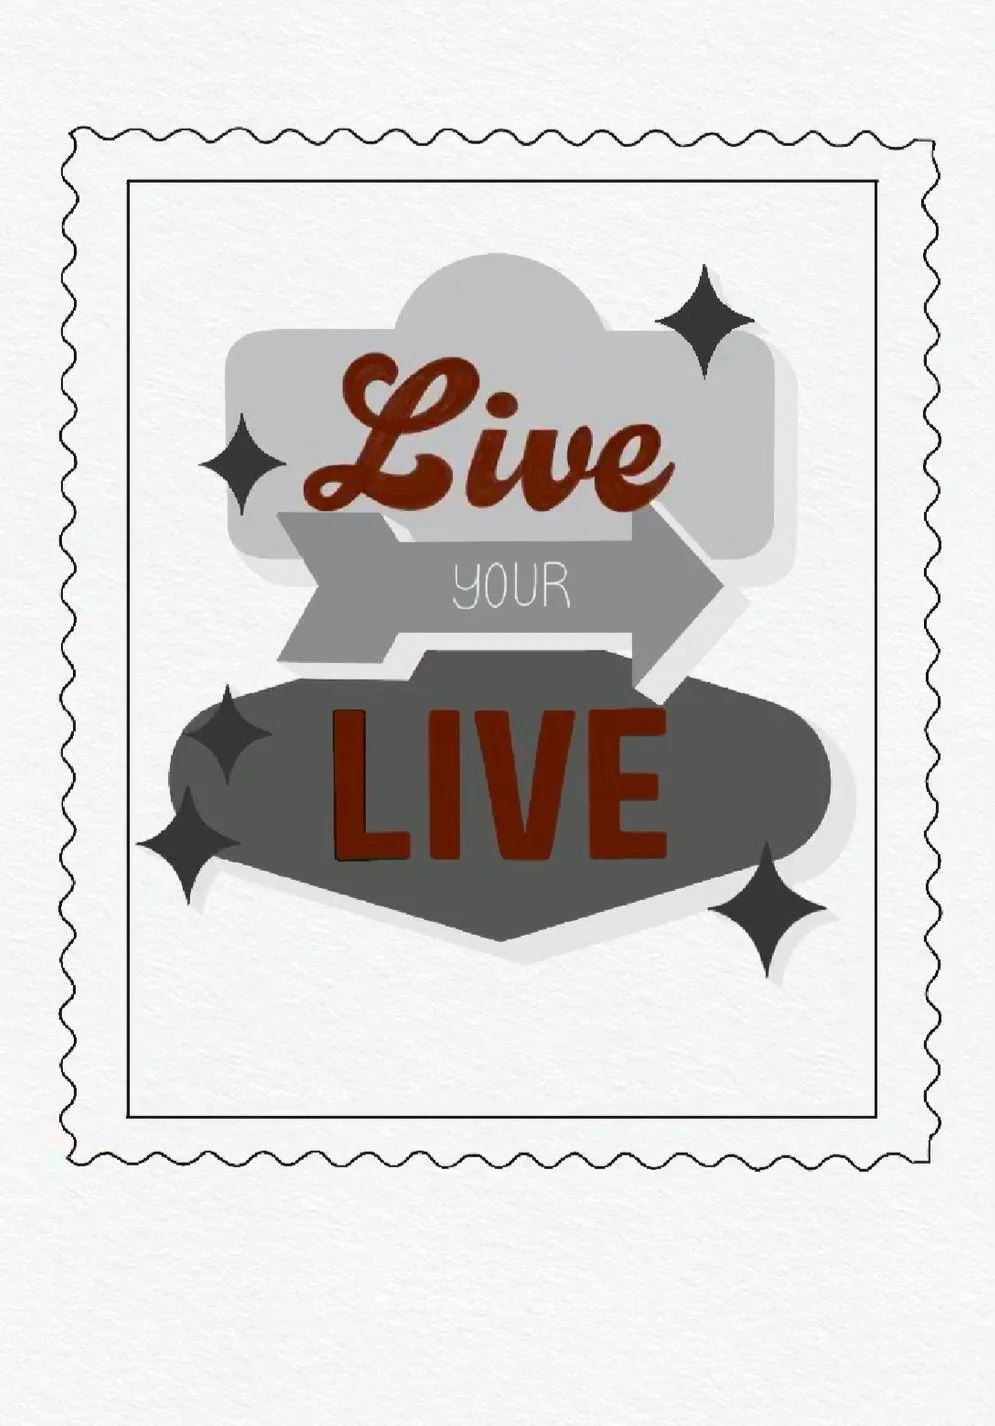
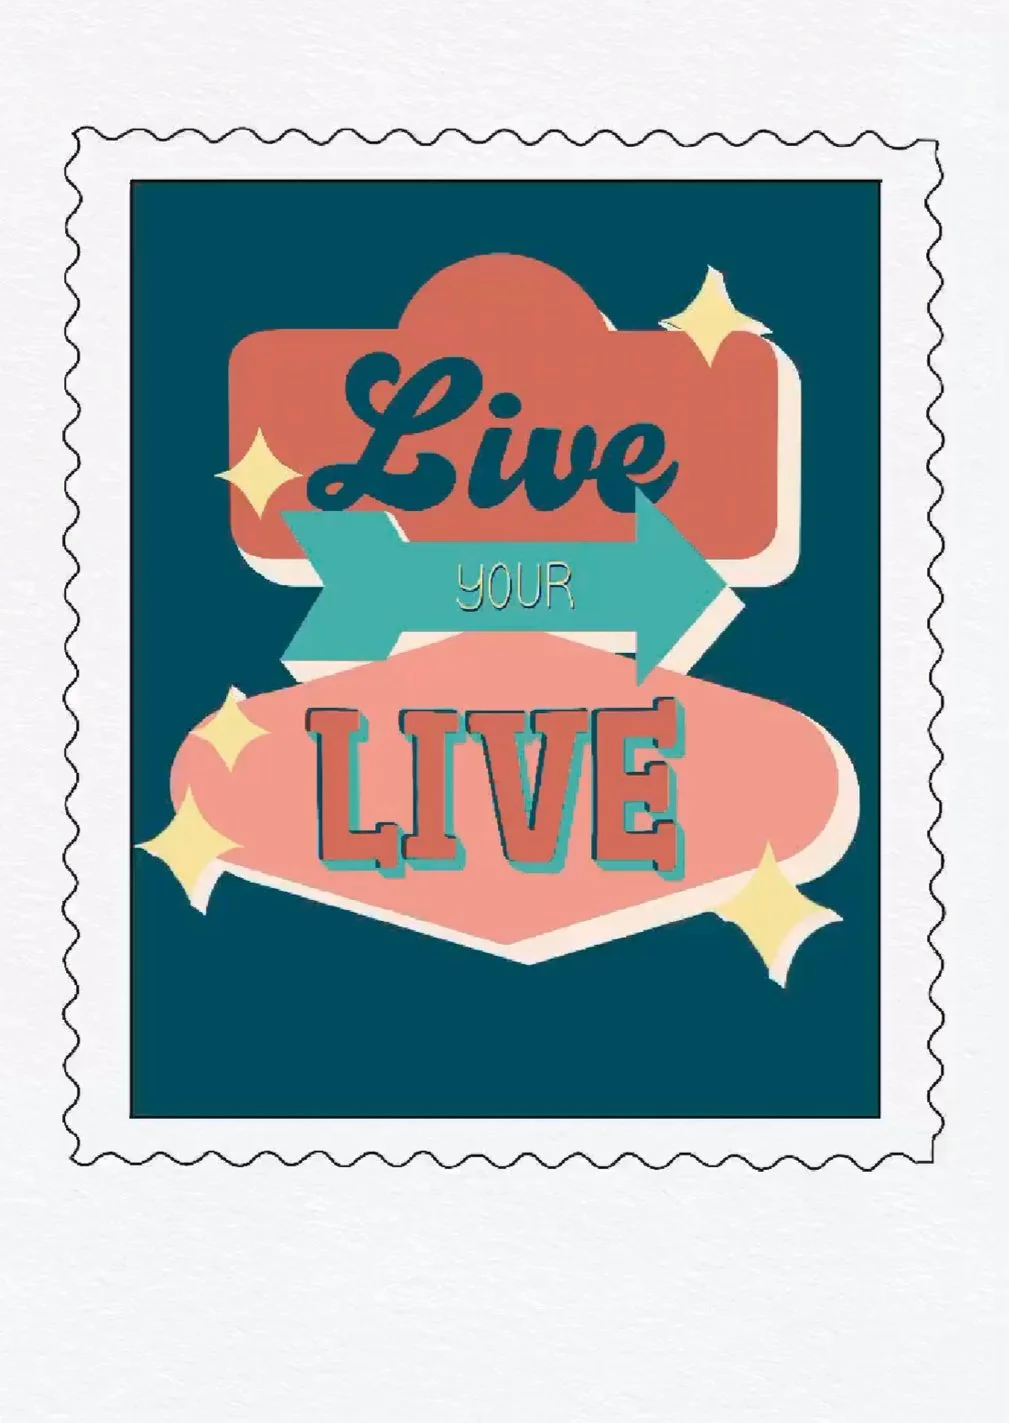
The next step was to choose a font and make it match the design. When choosing fonts I like to combine a cursive, serif and sans serif font. After finishing the writing, I started to color. I picked 3 main colors for the entire picture. I could still use lighter and darker versions of the colors to mix things up later on. Complementary colors are amazing for retro signs, which I used for my art here as well! (Btw, I have made a few retro signs which you can see here: Retro Sign Road Trip, Retro Sign Forest, Retro Sign the Classic.)
After coloring I work on textures, shading and light. This part of the process took me the longest but also added the most realism to the art. I made sure every shape word had either a special texture, lights or a 3D effect.
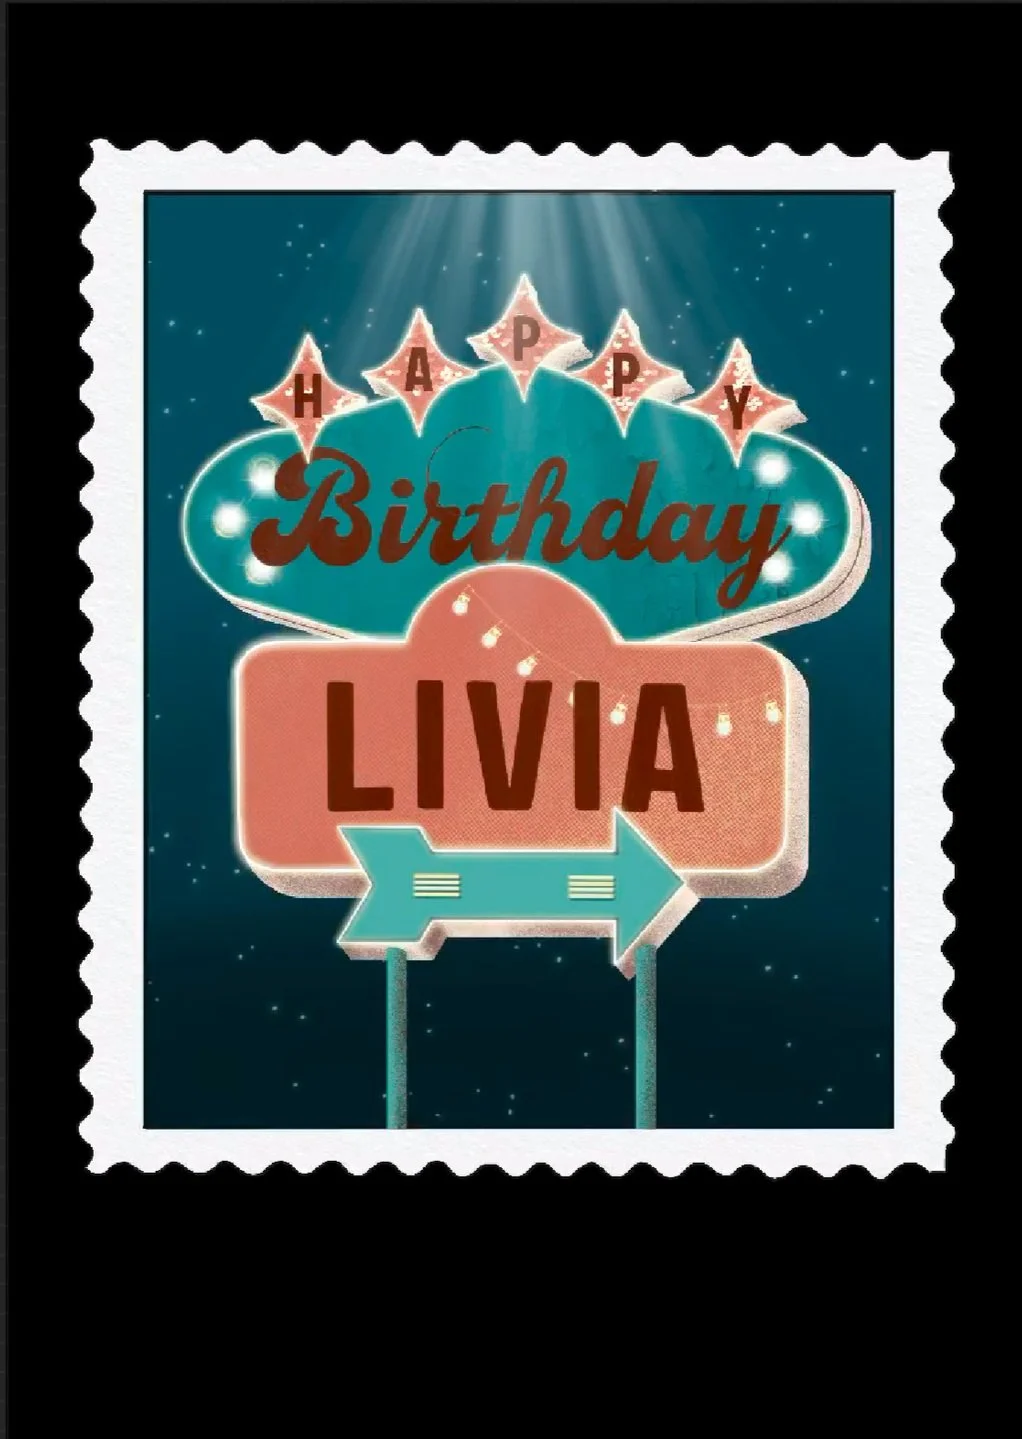
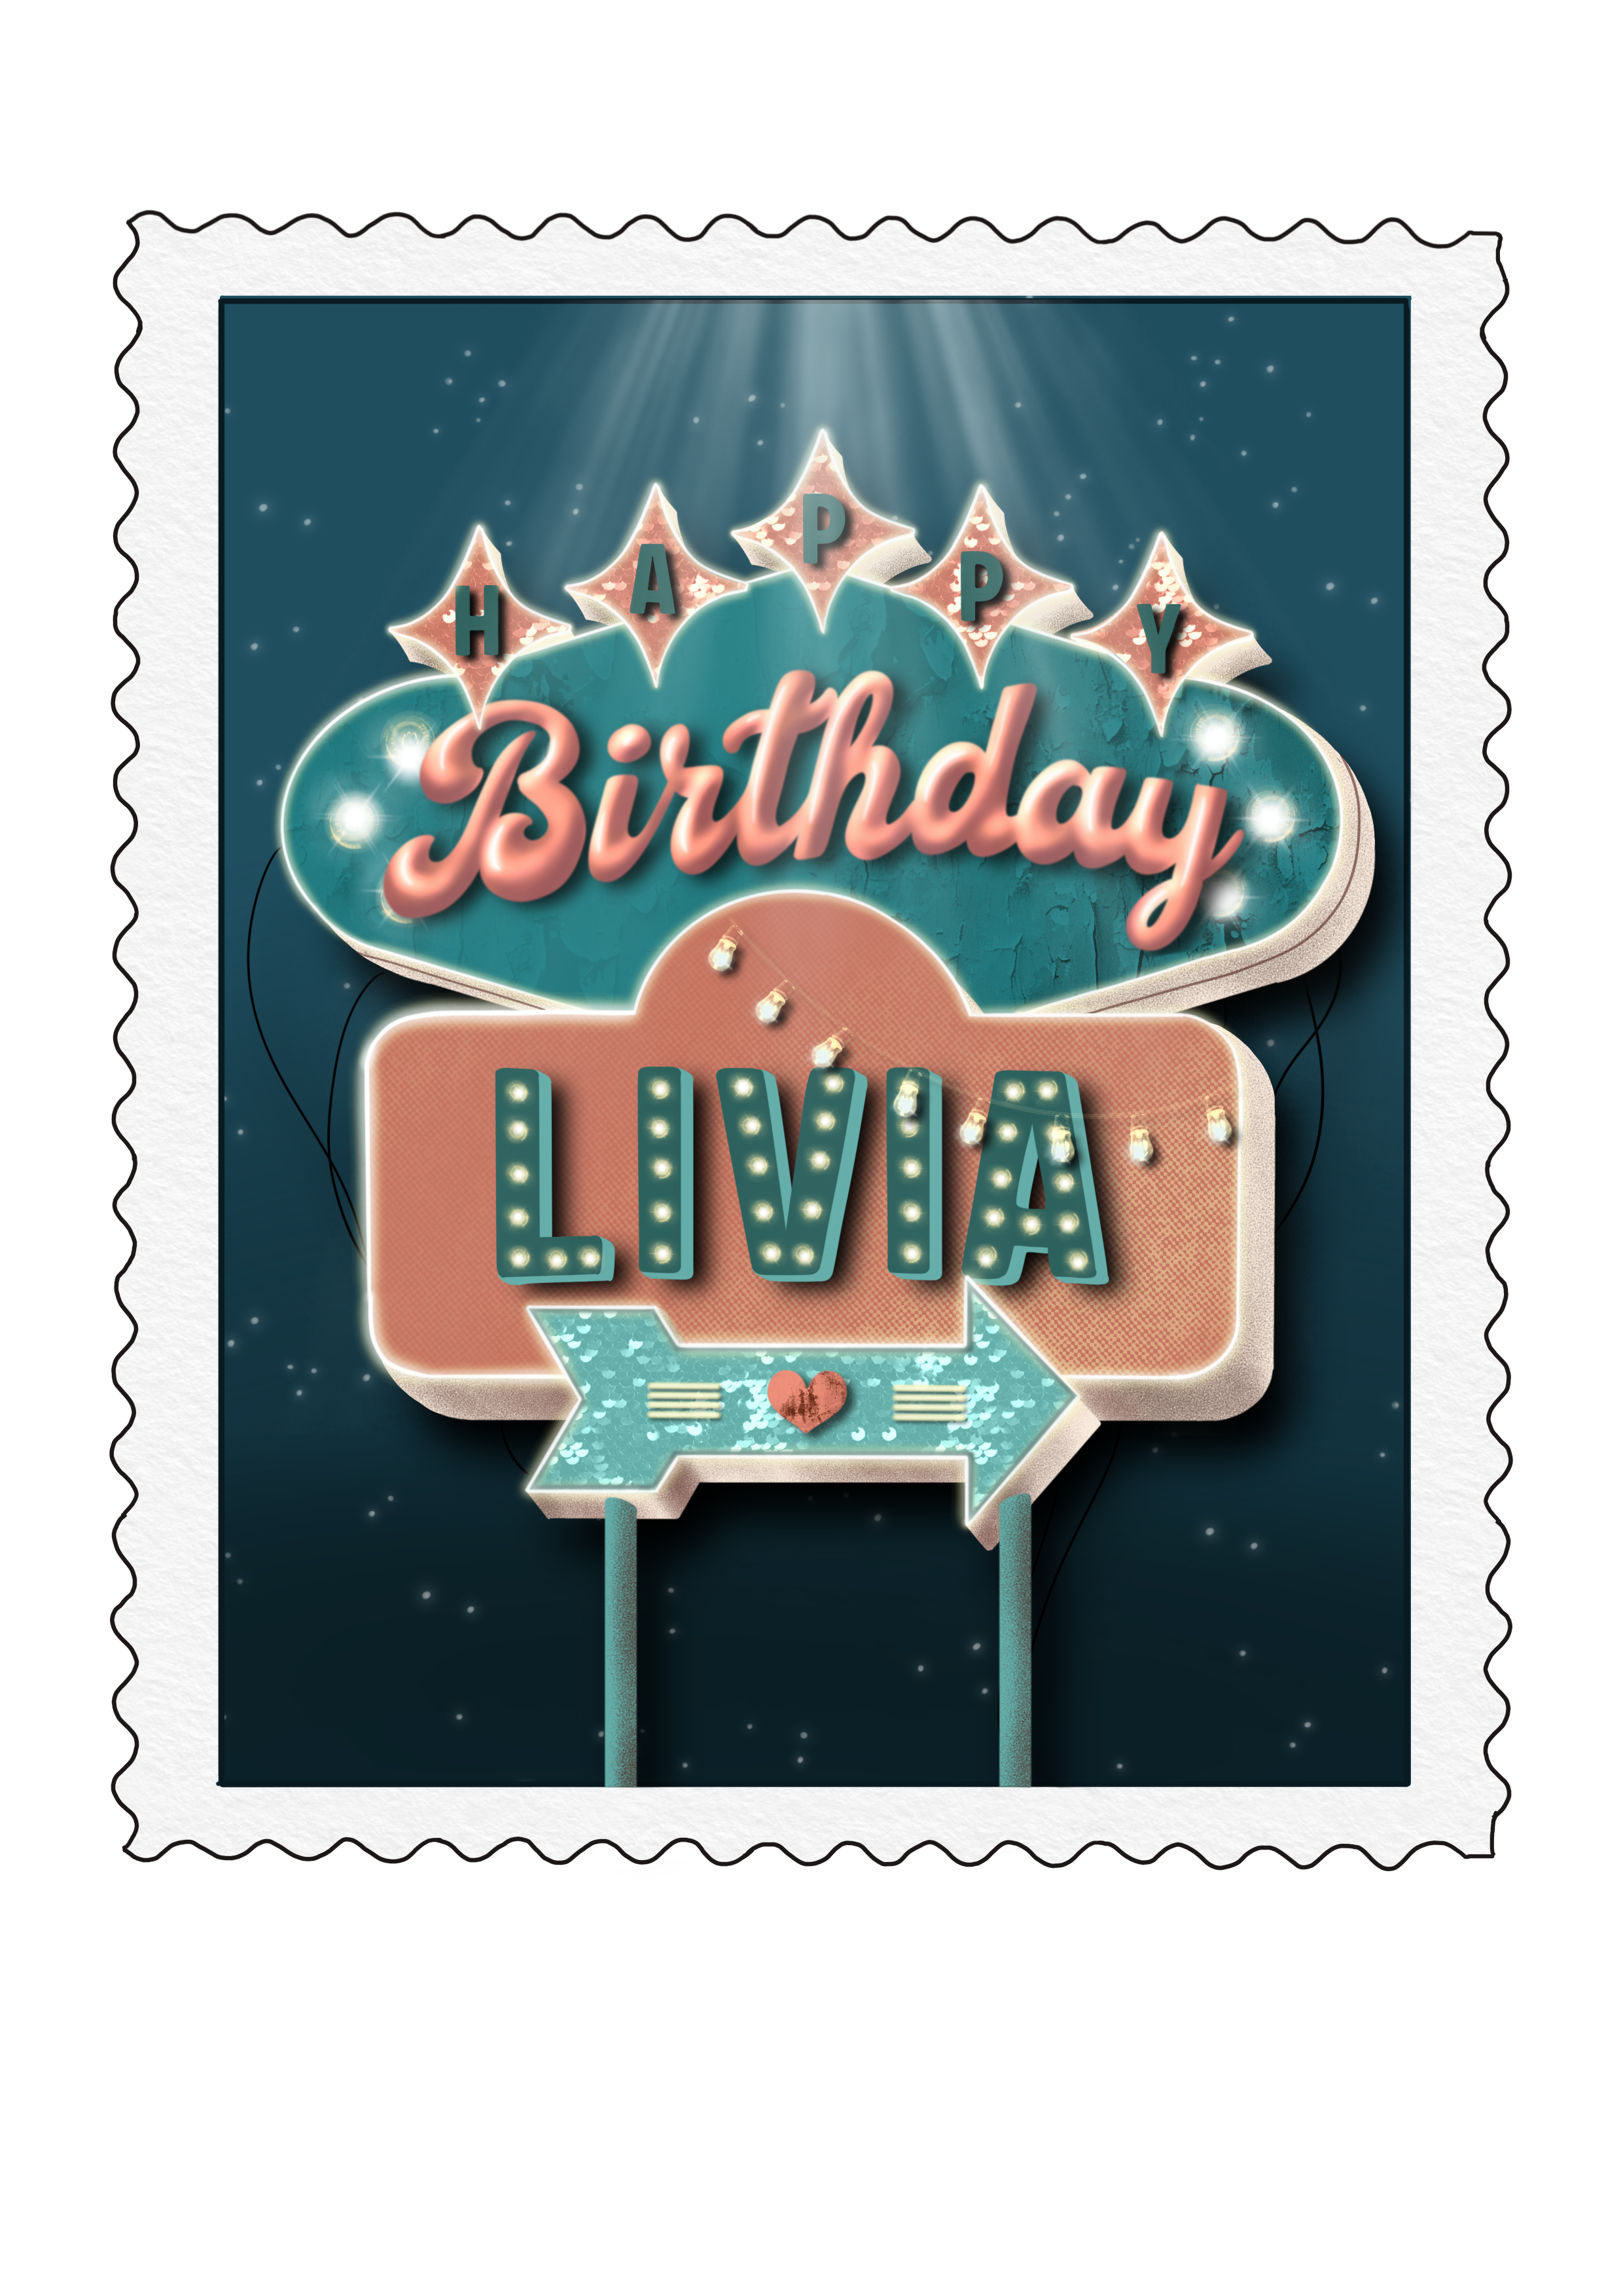
The finished picture (bottom left) helped me to make the birthday card. For that I had to mix the shapes, so all the words could fit properly. For example, I couldn’t squish the word “birthday” into the arrow. It also was the most important word, so it had to be big!
I am more than happy with the finished product. I printed the card with my photo printer and cut the “stamp” along the wavy edges. My sister also really liked the card!