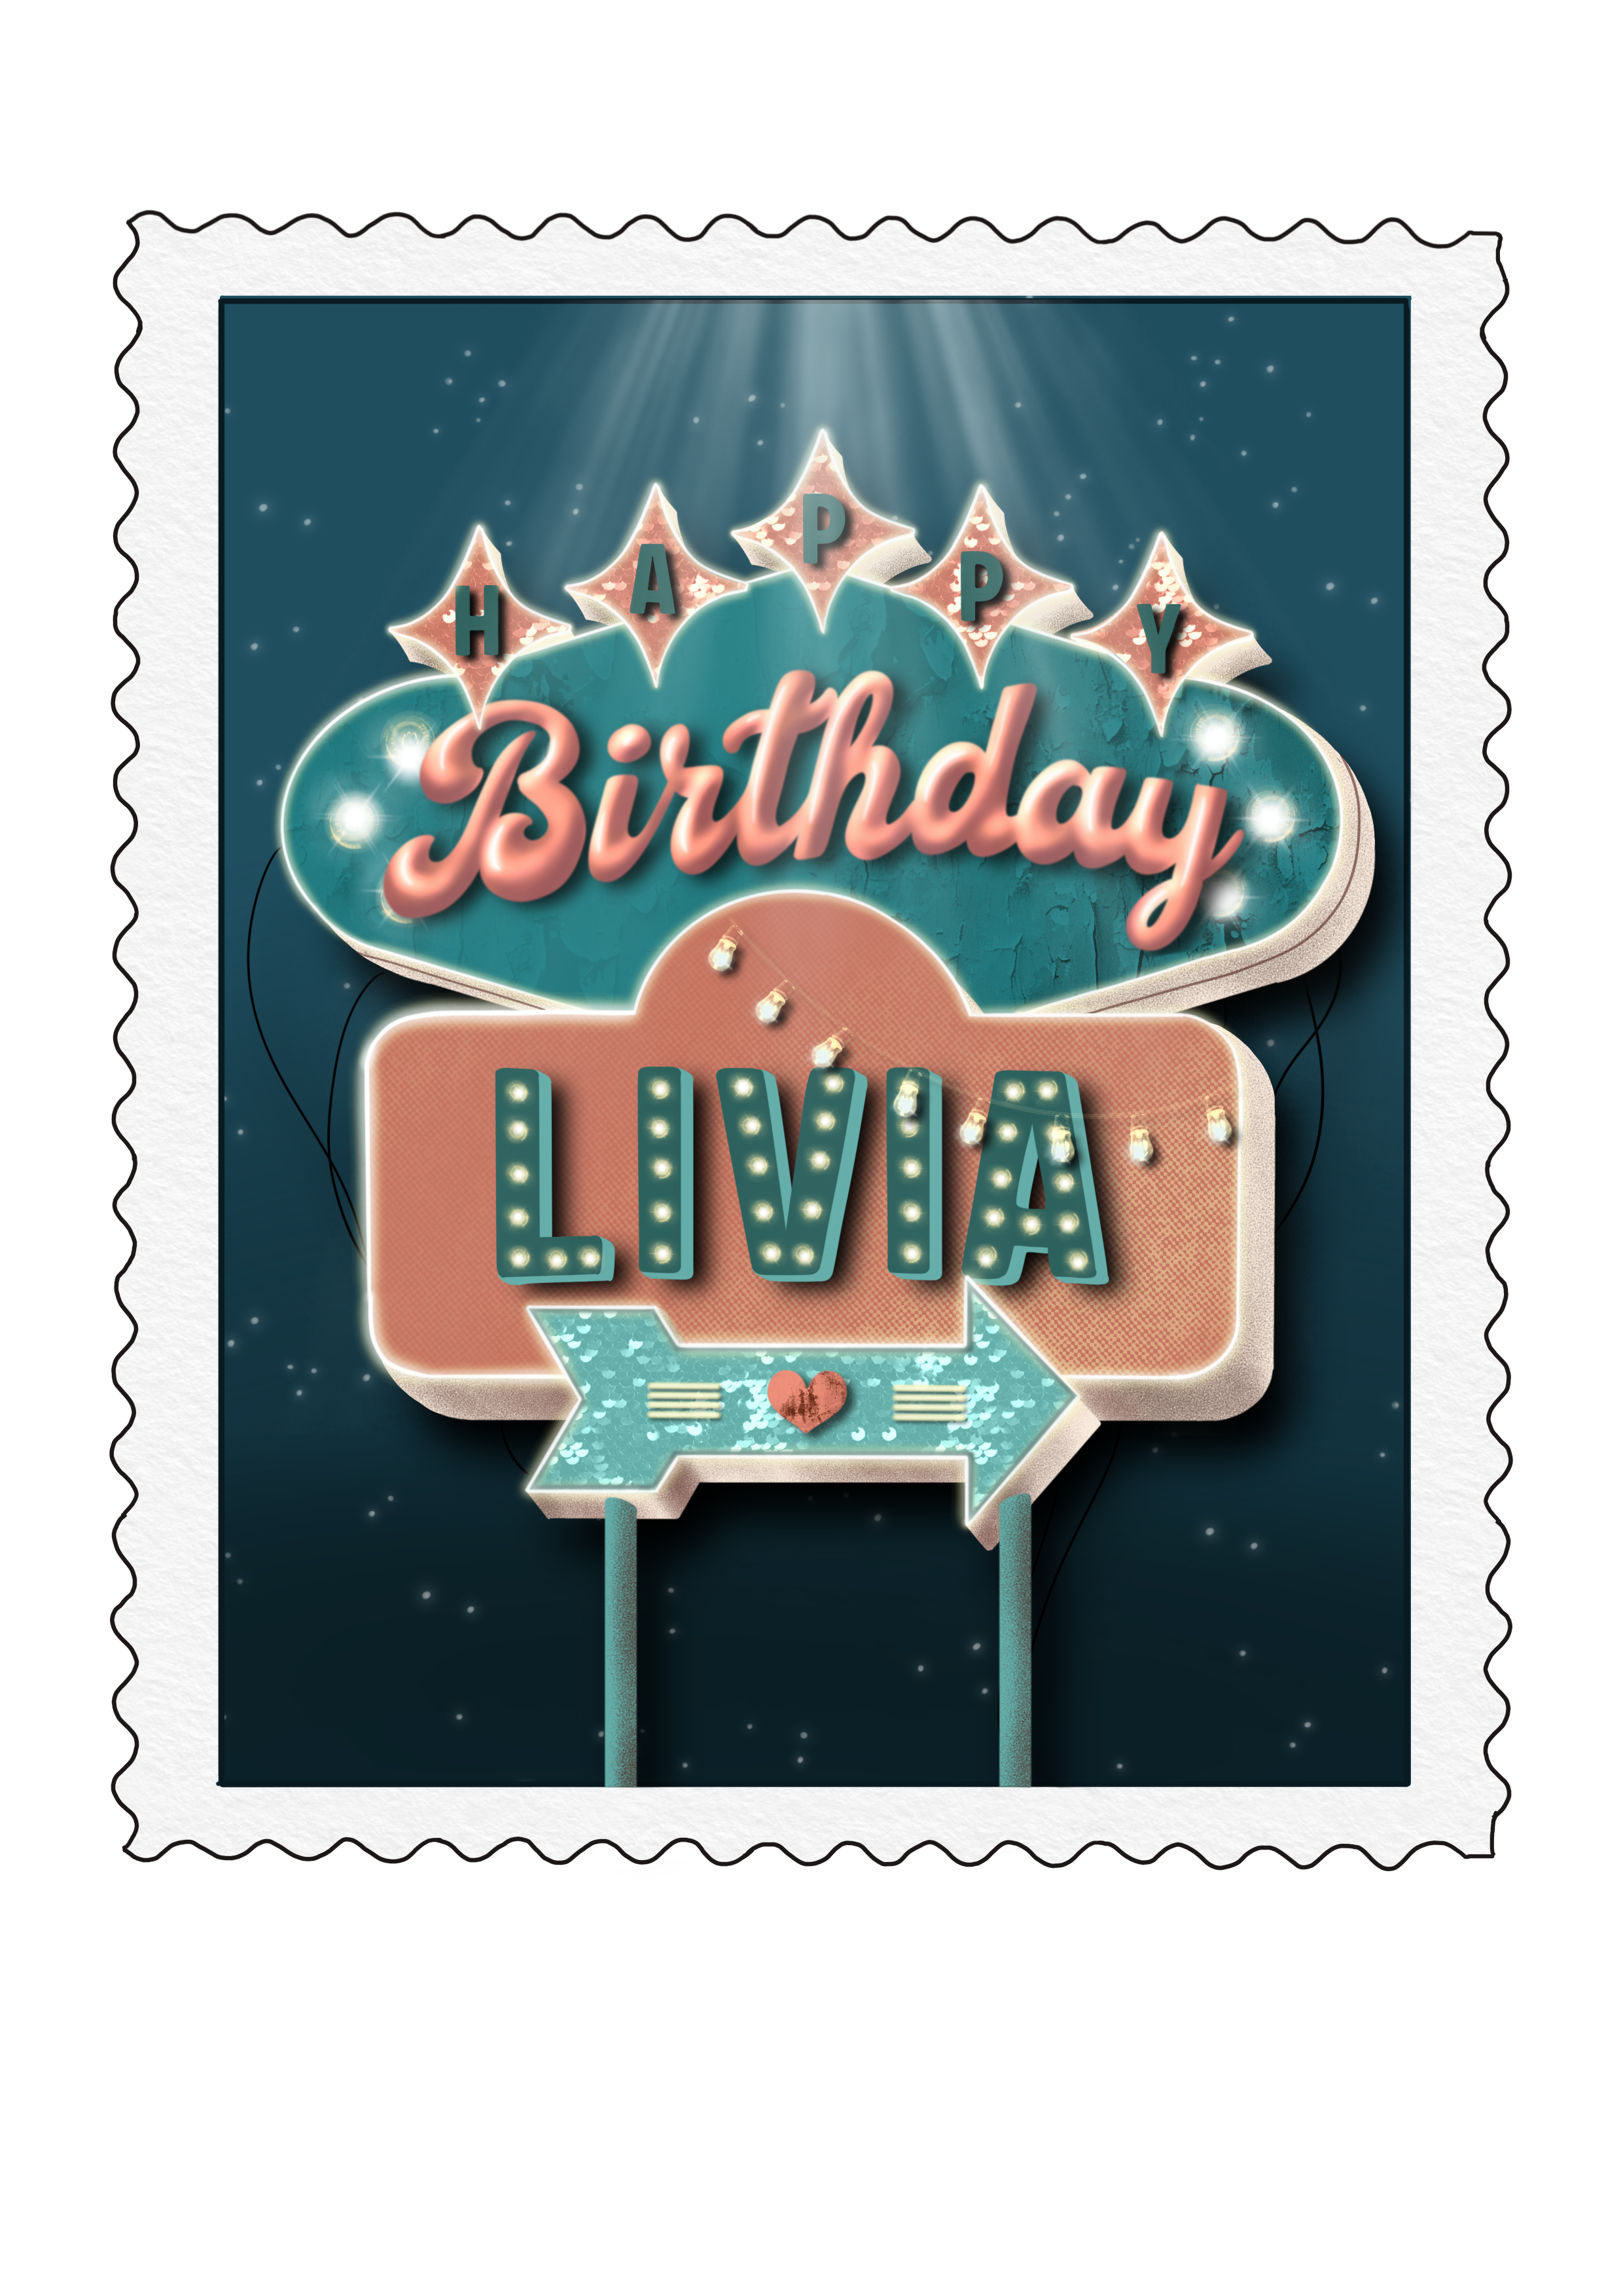
Retro Birthday Card

Ein weiterer Geburtstag, eine weitere Karte. Während dem ich durch meine vielen Zeichnungen auf dem iPad scrolle, realisiere ich, wie viele Geburtstagskarten ich schon gemacht habe. Einige wenige davon habe ich hier geteilt. (Vintage Karte, Hawaiianische Karte, Batman Karte, Kirschblüten Karte) Ich mag es Karten zu speziellen Anlässen zu zeichnen und somit der Person eine persönliche, individuelle Karte zu überreichen. Dieses Mal war die Karte für den Geburtstag meiner Schwester. Ich wollte die Idee eines Retroschilds und einer Briefmarke zusammenfügen.

Dazu zeichnete ich zuerst die Briefmarke und designte dann das Retroschild. (Zuvor hatte ich schon mal ein ähnliches Bild gemacht, welches mir für den Anfang eine Stütze im Design war. Deshalb benutze ich bei den Fotos unten zuerst andere Formen und Wörter)


Another birthday, another card. As I am scrolling through all my art works on my iPad, I realize how many birthday cards I have made over the years. Only a few of them I showed here. (Vintage Card, Hawaiian Card, Batman Card, Cherry Blossom Card) I like to make cards for a special occasion and being able to give someone a personal, unique gift. This time it was a birthday card for my sister. I wanted to combine the idea of a retro sign and a stamp.

For that I started drawing the stamp and then designed the sign. (I previously made a similar art work which I used to help me to draw the birthday card. This is why some of the photos have a different order of shapes or other words.)

2. Outlines

Der nächste Schritt war es die Schriftart auszuwählen und dem Design anzupassen. Beim Aussuchen der Schrift achtete ich darauf kursiv, serif und sans serif zu mischen. Nachdem die Schriften fertiggestellt waren, kam das Kolorieren. Dabei wählte ich 3 Farben aus, die ich für das ganze Bild benutzte. Hellere und dunklere Versionen dieser Farbe konnte ich aber immer noch hinzufügen. Für die Retroschilder eignen sich Komplementärfarben sehr gut, welche ich auch hier einsetzte. (Ich habe übrigens schon einige Retroschilder gemacht, welche du hier sehen kannst: Retro Schild Reise, Retro Schild Wald, Retro Schild Klassisch.)


The next step was to choose a font and make it match the design. When choosing fonts I like to combine a cursive, serif and sans serif font. After finishing the writing, I started to color. I picked 3 main colors for the entire picture. I could still use lighter and darker versions of the colors to mix things up later on. Complementary colors are amazing for retro signs, which I used for my art here as well! (Btw, I have made a few retro signs which you can see here: Retro Sign Road Trip, Retro Sign Forest, Retro Sign the Classic.)

Nach dem Kolorieren arbeitete ich an den Texturen, Schatten und Licht. Dieser Prozess dauert meistens am längsten, lässt aber das Endobjekt viel realistischer und interessanter aussehen. Ich achtete dabei darauf, dass jedes Wort und Schild entweder eine Textur, spezielle Lichter oder 3D-Effekt hatte.

Das erste fertige Bild (unten links) half mir die Geburtstagskarte zu gestalten. dazu vermischte ich die Formen und natürlich die Wörter. Die Formen musste ich vertauschen, damit die Wörter Platz hatten. “Birthday” konnte ich nicht in den Pfeil hineinquetschen. Zudem war es das wichtigste Wort, weshalb es gross sein musste.

Mit dem Endprodukt bin ich mehr als zu Frieden! Ich druckte die Karte mit dem Fotodrucker aus und schnitt die “Briefmarke” den Wellenlinien nach aus. Meiner Schwester gefiel die Karte übrigens auch super!


After coloring I work on textures, shading and light. This part of the process took me the longest but also added the most realism to the art. I made sure every shape word had either a special texture, lights or a 3D effect.

The finished picture (bottom left) helped me to make the birthday card. For that I had to mix the shapes, so all the words could fit properly. For example, I couldn’t squish the word “birthday” into the arrow. It also was the most important word, so it had to be big!

I am more than happy with the finished product. I printed the card with my photo printer and cut the “stamp” along the wavy edges. My sister also really liked the card!